
How Do Chickpeas Grow
Hello, green thumbs! Today on plantcoachcenter.com, we’re delving into the world of chickpeas. Ever wondered, “How do chickpeas grow?” Let’s embark on this exciting journey, unraveling the secrets of chickpea cultivation.
Chickpea Origins
The Birthplace of Chickpeas
Chickpeas, also known as garbanzo beans, have a rich history. Originating from the Middle East, they’ve been a staple in diets for over 7,000 years!
The Chickpea Plant
Morphology of Chickpea Plants
Chickpea plants are a sight to behold! They stand about 20-25 inches tall, boasting feathery, pinnate leaves, and adorable little white flowers with blue, violet, or pink veins.
How Do Chickpeas Grow?
Germination Stage
Just like a fascinating story, “how do chickpeas grow” starts with a small seed. After planting, the chickpea seed absorbs water and begins to swell. The seed coat splits, revealing a tiny root that plunges into the soil.
Vegetative Stage
Next, the stem sprouts upwards, and leaflets unfurl. This stage is all about growth and establishing a strong root system.
Flowering Stage
The chickpea plant then enters the reproductive stage, where lovely flowers bloom. It’s nature’s way of saying, “Get ready, something amazing is about to happen!”
Pod Formation Stage
The flowers, after pollination, transform into pods. Each pod typically contains one or two chickpea seeds.
Maturation Stage
Finally, the chickpea seeds mature, and it’s harvest time! The pod turns brown and dries up, signaling that the chickpeas are ready.
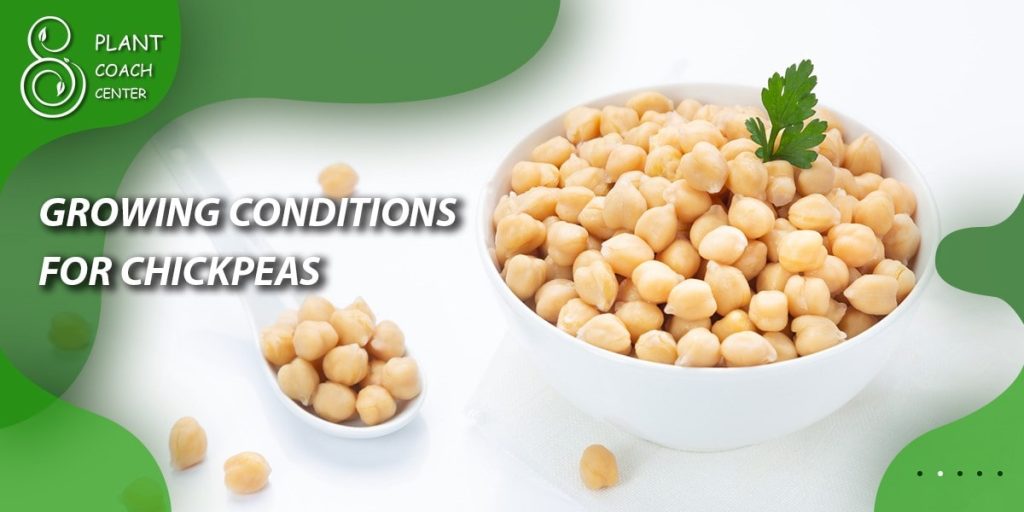
Growing Conditions for Chickpeas
Optimum Soil Type
Chickpeas prefer well-drained soils with a neutral to slightly alkaline pH. They’re not fans of waterlogged conditions, so make sure your soil drains well!
Ideal Climate
They love the sun and do best in temperate climates. Too much humidity? Chickpeas say “No, thank you.”
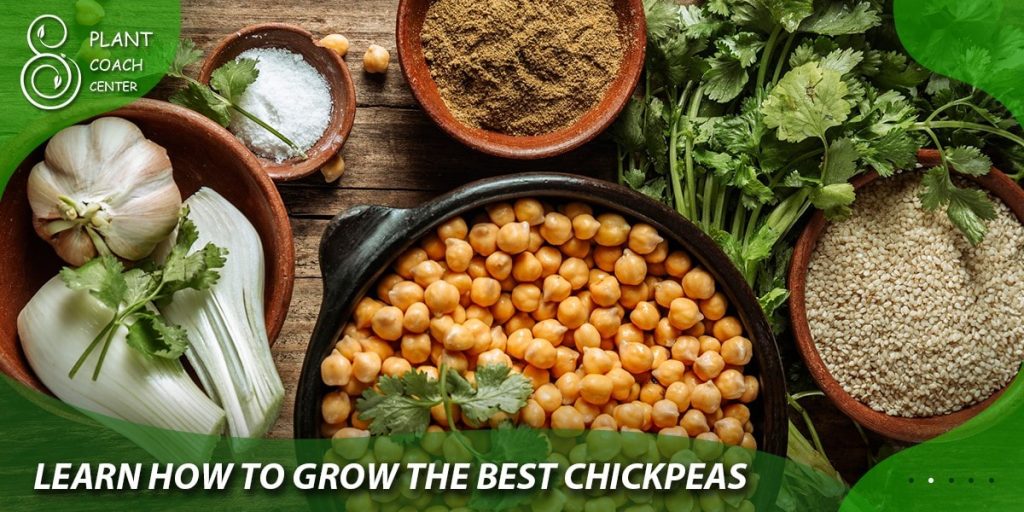
How to Plant Chickpeas?
Preparing the Soil
Before sowing, prepare your soil by removing weeds and adding organic matter if needed. Remember, chickpeas love a comfy bed to grow in.
Planting the Seeds
Plant the seeds about 1-2 inches deep and 3-6 inches apart. It’s like tucking the seeds in for a long nap. When they wake up, they’re ready to grow!
Watering and Fertilizing
Water thoroughly after planting, but be careful not to overwater. Chickpeas are low-maintenance plants and generally do not require additional fertilization.
Harvesting Chickpeas
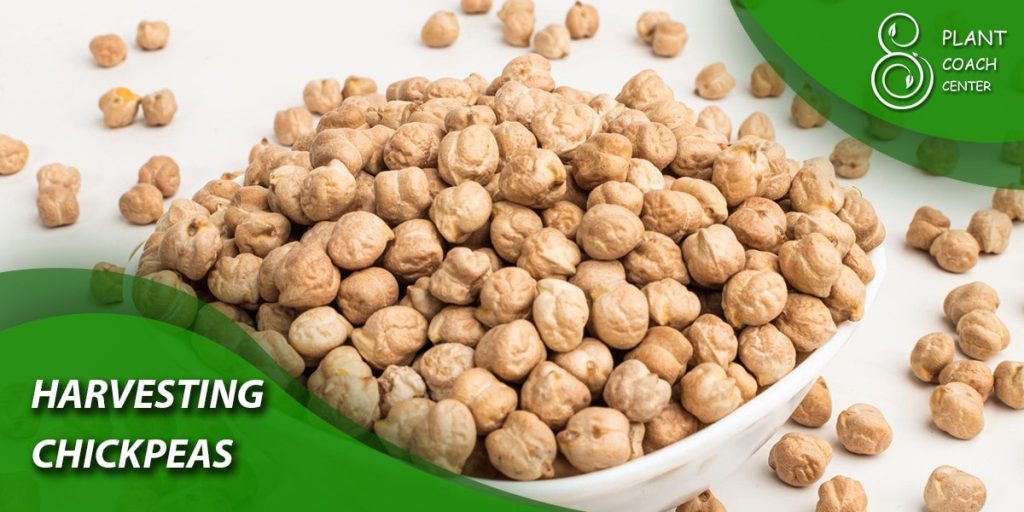
When to Harvest chickpeas?
Is it time to harvest? The pods will tell you. When they turn brown and dry, it’s time to bring in the bounty.
How to Harvest Chickpeas?
Harvesting chickpeas is easy. Simply pluck the pods from the plant, shell them, and voila! You’ve got fresh chickpeas.
The Health Benefits of Chickpeas
Chickpeas are a nutritional powerhouse! They’re packed with protein, fiber, and essential vitamins and minerals. Truly, the health benefits of chickpeas are too many to count.
What are some common challenges faced during chickpea cultivation?
Chickpea cultivation isn’t without its challenges. Here are a few common ones that growers often encounter.
1. Pest and Disease Management: Chickpea plants are susceptible to a variety of pests and diseases. Aphids, cutworms, fusarium wilt, ascochyta blight, and root rot can all pose significant threats to a healthy chickpea crop.
2. Climate Sensitivity: Chickpeas prefer a specific climate range for optimal growth. They are sensitive to excessive humidity and do not fare well in cold or overly wet conditions. Ensuring the right growing environment can be a challenge in regions that do not naturally meet these conditions.
3. Soil Requirements: Chickpeas need well-drained soil with a neutral to slightly alkaline pH. They do not grow well in heavy, clay-like, or waterlogged soils.
4. Harvesting Timing: The timing of chickpea harvest is crucial. Harvesting too early or too late can affect the quality and yield of the crop. Farmers need to monitor their crop closely to ensure that they harvest at the right time when the pods are mature and dry.
5. Resource Management: Like all crops, chickpeas require careful management of resources like water and fertilizer. Overwatering can lead to diseases, while under watering can affect yield. Likewise, while chickpeas generally do not require much fertilization, inadequate nutrient supply can hamper growth.
6. Addressing these challenges requires a good understanding of chickpea cultivation techniques, local environmental conditions, and effective pest and disease management strategies.
What are some techniques for ensuring the right growing environment for chickpeas?
Creating the right environment for chickpea cultivation requires careful planning, preparation, and management. Here are some strategies:
1. Soil Preparation: Ensuring the soil is well-drained is crucial. You can improve the soil’s drainage by adding organic matter like compost or well-rotted manure. This not only enhances the soil’s texture but also its fertility. If the soil is acidic, you can amend it with lime to bring it to a neutral to slightly alkaline pH level.
2. Crop Rotation: Rotating chickpeas with other crops can help prevent the buildup of diseases in the soil and improve soil fertility. Crops that are good to rotate with chickpeas include cereals like wheat or barley and other legumes.
3. Irrigation Management: While chickpeas are relatively drought-tolerant, they do need water at critical growth stages like flowering and pod formation. It’s important to water deeply but infrequently to promote deep root growth and avoid waterlogging. Using drip irrigation systems can help provide consistent moisture while conserving water.
4. Pest and Disease Control: Regularly inspect your chickpea plants for signs of pests or disease. Using integrated pest management strategies, such as encouraging beneficial insects, using disease-resistant varieties, and applying organic or synthetic pesticides when necessary, can help keep pests and diseases under control.
5. Climate Consideration: Planting chickpeas at the right time can help ensure they grow under optimal climate conditions. In cooler regions, plant chickpeas in late spring when the risk of frost has passed and temperatures are consistently above 50°F. In hotter regions, chickpeas can be planted in fall for a winter crop.
6. Proper Spacing: When planting chickpea seeds, ensure they are spaced sufficiently apart (about 3-6 inches) to allow for air circulation and prevent the spread of diseases.
7. Remember, each garden and region is unique, so it’s important to observe your plants and adjust care techniques as needed.
Conclusion
From a tiny seed to a bountiful harvest, the journey of “how do chickpeas grow” is a fascinating one. Not only do they offer a delightful culinary experience, but they also bring a ton of nutritional benefits to the table. So why not try growing chickpeas in your garden? You’ll be part of an ancient tradition and reap the benefits of your green thumb!
What is the ideal temperature for chickpea growth?
Chickpeas thrive in temperatures between 70°F and 80°F.
How long does it take for chickpeas to grow?
It takes around 100 days from planting to harvest.
Can chickpeas grow in any soil?
No, chickpeas prefer well-drained, neutral to slightly alkaline soil.
What are the common pests and diseases in chickpea cultivation?
Chickpeas can be susceptible to a variety of pests and diseases. Common pests include aphids and cutworms.
How do I store harvested chickpeas?
After harvesting, dry the chickpeas properly before storing them in a cool, dry place. Proper storage can extend their shelf life for up to a year.