
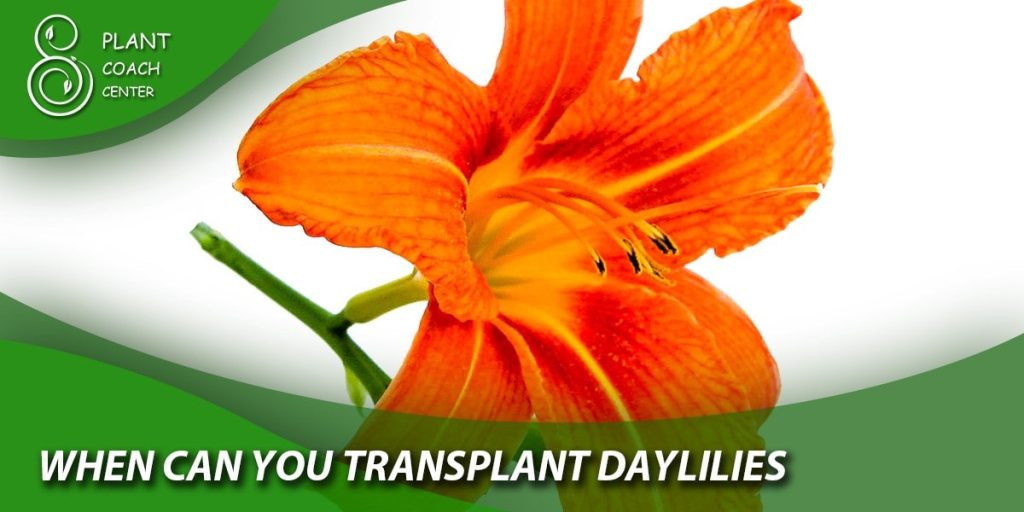
When Can You Transplant Daylilies
Daylilies have become beloved additions to gardens and landscapes with their vibrant blooms and hardy nature. As seasons change and gardeners seek to refresh their green spaces, the thought of transplanting daylilies may arise. However, successful transplantation requires careful consideration of timing, preparation, and ongoing Care.
This guide will explore the art and science of transplanting daylilies, uncovering the best practices to ensure a seamless transition for these resilient beauties. Whether you’re a seasoned horticulturist or a budding enthusiast, understanding the ideal time to transplant daylilies and the necessary steps for their successful relocation is paramount.
From dividing robust clumps to choosing the perfect spot in your garden, we will delve into the intricacies of this process. So, grab your gardening gloves and get ready to unlock the secrets of nurturing and thriving daylilies as we embark on this horticultural journey together. Prepare to witness your daylilies flourish, and your landscape come alive with a symphony of colors as we demystify the art of transplanting daylilies with confidence and flair.
Seasonal Symphony: Choosing the Perfect Time
Transplanting daylilies is an exciting endeavor, but timing is crucial in ensuring their successful establishment in their new home. Understanding the seasonal cues and selecting the perfect time to undertake this task can make all the difference in your daylilies’ growth and bloom. Let’s explore the ideal seasons for transplanting daylilies and the factors influencing this decision.
Spring Serenade: The Season of Renewal
Spring is one of the best seasons to transplant daylilies and for a good reason. Daylilies emerge from dormancy as temperatures warm and show signs of new growth. Transplanting during this period allows them to settle into their new location while enjoying the ample spring rainfall.
The increased moisture in the soil helps establish their roots and promotes vigorous growth for the upcoming summer bloom. Aim to transplant early in the spring, just as the ground becomes workable, and avoid doing so when new shoots have grown too tall to prevent unnecessary stress on the plants.
Summer Symphony: A Harmonious Challenge
While spring remains optimal, transplanting daylilies in the early part of summer is also feasible. However, this season requires more caution and diligence in caring for the newly transplanted daylilies. Choose a cloudy day or transplant during the more remarkable part of the evening to minimize stress from intense sunlight and heat.
Adequate watering is essential during the hot summer months to prevent the plants from wilting and to help them establish their root systems. Be vigilant for signs of stress or dehydration and provide extra attention to ensure their successful adaptation.
Fall Finesse: Seizing the Opportunity
As summer ends and temperatures start to cool, a second window of opportunity opens for transplanting daylilies. The fall season offers favorable conditions, such as milder temperatures and reduced evaporation rates, providing a comfortable environment for the newly transplanted daylilies to settle in.
Transplanting in the fall allows the daylilies to focus on root development during the cooler months, ensuring they are well-prepared to burst into vibrant blooms when spring returns. However, it’s essential to transplant early enough in the fall to give the plants ample time to establish their roots before winter frost sets in.
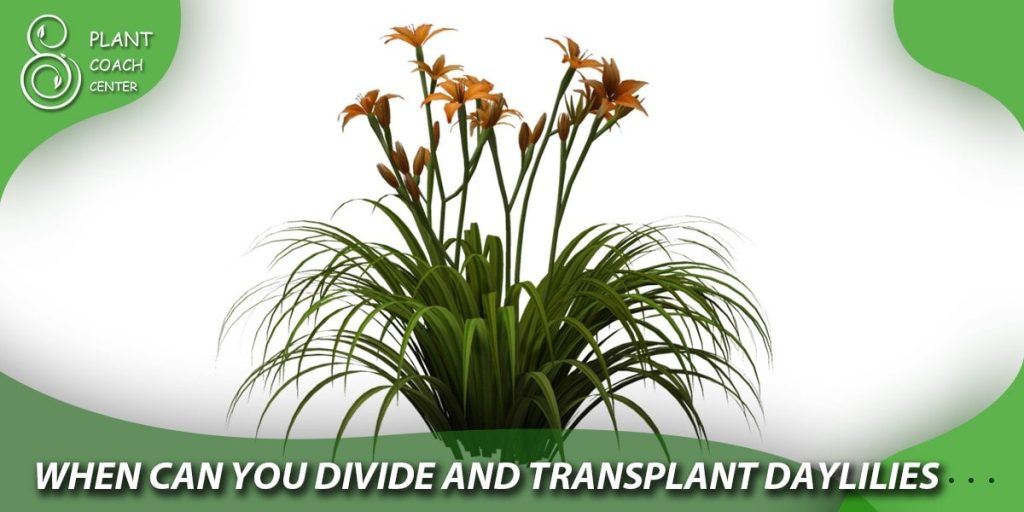
Divide and Conquer: Splitting Daylilies for Successful Transplantation
Dividing daylilies is an essential practice not only for maintaining their health and vitality but also for expanding your daylily collection or sharing them with fellow gardening enthusiasts. When daylilies become overcrowded, their growth and flowering can suffer, making division an essential technique for rejuvenating and propagating these beautiful perennials. This section will delve into the step-by-step process of dividing daylilies to ensure a successful transplant and a thriving garden.
Timing Is Everything: When to Divide Daylilies
The best time to divide daylilies is during their dormant period or just as new growth begins in early spring. Splitting during dormancy ensures that the plants experience minimal stress, as their energy is focused on root development rather than sustaining foliage and flowers. Avoid dividing daylilies during active growth, leading to shock and reduced flowering.
Preparation and Tools
Before you begin dividing your daylilies, gather the necessary tools, including a sharp spade or garden fork, a clean knife or pruning shears, a bucket of water, and a gardening glove. Thoroughly water the daylilies a day or two before division to ensure the plants are well-hydrated, making the process easier and less stressful for them.
Digging and Lifting
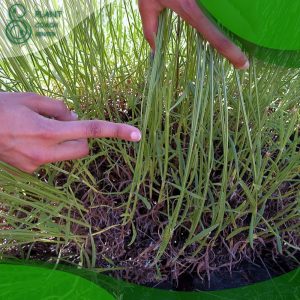
Carefully dig around the entire clump of daylilies, starting at the outer edge, to avoid damaging the roots. Insert the spade or garden fork into the soil at an angle, gently lifting the clump from the ground. Shake off excess earth to reveal the individual fans (clumps) connected by fleshy roots.
Division Technique
Inspect the clump for natural divisions or sections with visible growth points (crown). Using the sharp knife or pruning shears, carefully separate the fans, ensuring each division has its own set of roots and at least three to five healthy, leafy shoots. Be patient and gentle to avoid any unnecessary damage.
Trimming and Pruning
Once divided, trim any damaged or excessively long roots, and cut back the foliage to about six inches from the crown. This will help reduce water loss through transpiration and allow the plant to focus its energy on root establishment.
Replanting and Care
Select a suitable planting location with well-draining soil and partial to full sunlight. Create a hole large enough to accommodate the roots without bending or crowding. Plant the divisions at the same depth they were previously growing. Water thoroughly after planting, and keep the soil consistently moist in the weeks following transplantation to support root establishment.
Aftercare and Patience
After transplanting, closely monitor the newly divided daylilies for signs of stress, such as wilting or yellowing leaves. Continue providing regular water and light fertilization to aid in their recovery. It may take a few weeks for the divisions to fully establish themselves and produce new growth, so Patience is essential during this period.
Location, Location, Daylilies: Finding the Perfect Spot
Selecting the ideal planting location for your transplanted daylilies is essential for their long-term health and overall aesthetic impact on your garden or landscape. Daylilies are remarkably adaptable plants, but providing them with the right conditions will ensure they thrive and show spectacular blooms. This section will explore the factors to consider when finding the perfect spot for your daylilies and how to integrate them seamlessly into your outdoor space.
Sunlight Requirements
Daylilies are sun-loving plants that perform best when exposed to ample sunlight. To achieve optimal growth and abundant blooms, choose a location that receives at least six to eight hours of direct sunlight daily. Avoid planting daylilies in deep shade, which can lead to reduced flowering and weaker plants. If you’re in a hot climate, consider providing afternoon shade to protect the daylilies from intense heat.
Soil Conditions
Well-draining soil is crucial for daylilies to prevent waterlogged roots, which can lead to root rot and other diseases. Sandy loam or loamy soil with good organic content is ideal for these plants. Before planting, amend heavy clay soils with organic matter to improve drainage. Conduct a soil test to assess pH levels; daylilies prefer slightly acidic to neutral soil (pH 6.0 to 7.0).
Air Circulation
Choosing a location with good air circulation is beneficial for preventing fungal diseases and promoting healthy growth. Avoid planting daylilies too close to walls, dense shrubbery, or other structures that may impede airflow. Proper spacing between daylilies is also essential, allowing enough room for each plant to grow and spread without overcrowding.
Complementing Your Landscape Design
Daylilies come in various colors and sizes, making them versatile additions to any garden or landscape design. Consider the color scheme of your existing plants and flowers, and select daylily varieties that complement or add contrasting splashes of color. Group daylilies in clusters or mix them with other perennials and ornamental grasses to create visually appealing and harmonious plant combinations.
Focal Points and Borders
Use daylilies strategically to enhance focal points in your garden. Placing daylilies near entrances, walkways, or seating areas can draw attention and create a welcoming atmosphere. Additionally, daylilies make excellent border plants due to their graceful foliage and profusion of blooms. Their adaptability and low-maintenance nature make them perfect for defining garden edges or lining pathways.
Container Gardening
Daylilies can thrive in containers for those with limited space or challenging soil conditions. Choose large, well-draining containers and select appropriate daylily varieties for container gardening. Ensure the containers receive enough sunlight, and remember to water regularly, as potted plants can dry out more quickly than those planted in the ground.
Transplant Troubleshooting: Overcoming Common Challenges
Transplanting daylilies can be a rewarding experience, but it’s not without its share of challenges. Despite your best efforts, you may encounter specific issues during or shortly after transplantation. Fear not! In this section, we will address some common challenges gardeners face when transplanting daylilies and provide practical solutions to ensure your precious plants adapt and thrive in their new environment.
Transplant Shock and Stress
One of the most common challenges after transplanting is the onset of shock and stress in daylilies. The sudden change in environment and disruption to their root system can cause wilting, yellowing of leaves, and slowed growth.
To mitigate transplant shock, water the daylilies thoroughly immediately after transplantation and keep the soil consistently moist in the following days. Adding a light layer of mulch around the base of the plants can help retain moisture and regulate soil temperature, providing additional support during this critical period.
Root Damage and Rot
During transplantation, there’s a risk of damaging the delicate root system of daylilies. To minimize the likelihood of root damage, handle the plants with Care and avoid excessive disturbance to the root ball. Additionally, ensure that the new planting location has well-draining soil to prevent waterlogged roots, which can lead to root rot. If you notice signs of root rot, such as wilting leaves and mushy, discolored roots, promptly remove the affected plant and replant it in a well-draining area with fresh soil.
Weather Extremes
Transplanting during periods of extreme weather, such as heat waves or freezing temperatures, can add stress to the plants. If you need to transplant during such conditions, take extra precautions to shield the daylilies. Provide afternoon shade or use shade cloth to protect them from intense sunlight during hot weather. Consider using frost blankets or row covers to shield the plants from frost or freezing winds in colder temperatures.
Pests and Diseases
Transplanting can temporarily weaken the daylilies’ defenses, making them susceptible to pests and diseases. Keep a close eye on your plants after transplantation, and regularly inspect for any signs of problems or disease symptoms. If you detect any issues, promptly address them with appropriate treatments, such as organic insecticides or fungicides. Encouraging natural predators in your garden can also help control pest populations.
Nutrient Deficiencies
Transplanting daylilies to a new location can disrupt their access to essential nutrients, leading to deficiencies that manifest as yellowing leaves or stunted growth. Prioritize soil preparation before transplanting by amending the soil with organic matter and providing a balanced fertilizer. Regularly monitor the plants for signs of nutrient deficiencies and adjust your fertilization regimen accordingly.

The Caretaker’s Guide: Aftercare and Maintenance
Congratulations! You’ve successfully transplanted your daylilies to their new home, and now it’s time to focus on aftercare and maintenance to ensure their continued health and beauty. Proper aftercare is essential for helping the daylilies establish themselves in their new location and promoting robust growth and abundant blooms. In this section, we will explore the key steps and practices for taking Care of your transplanted daylilies throughout the growing season and beyond.
Watering Wisdom
After transplantation, the first few weeks are critical for root establishment. Adequate watering is crucial during this period. Keep the soil consistently moist but not waterlogged to support root growth. On average, daylilies require about one inch of water per week from rainfall or supplemental irrigation. Deep, infrequent watering is preferable to frequent shallow watering, as it encourages the roots to grow deeper into the soil.
Fertilization for Flourishing Blooms
Provide your daylilies with regular fertilization to promote healthy growth and prolific blooming. Apply a balanced, granular fertilizer for flowering plants in early spring and late summer. Avoid excessive use of nitrogen-rich fertilizers, which may result in lush foliage but fewer flowers. Follow the manufacturer’s instructions for application rates, and water the plants well after fertilizing to prevent root burn.
Deadheading Delight
Deadheading, the removal of spent flowers, is a simple yet effective practice encouraging continuous blooming throughout the growing season. As each daylily flower fades, use clean pruning shears or fingers to snip or pinch off the withered bloom just above the next set of healthy leaves. This process diverts the plant’s energy from seed production to new bud formation, leading to more colors and a more extended flowering period.
Weed Warfare
Weeds can compete with daylilies for essential nutrients and water, hindering their growth and overall health. Regularly inspect the planting area for weeds and promptly remove them by hand or using a gentle cultivator. Applying a layer of organic mulch around the daylilies can also help suppress weed growth, providing additional moisture retention and regulating temperature.
Pest Patrol
Keep a watchful eye on your daylilies for any signs of pest infestation. Common pests targeting daylilies include aphids, thrips, and spider mites. Regularly inspect the foliage for any signs of damage, such as stippling, wilting, or distorted growth. Early detection is critical to preventing severe infestations. Use organic insecticidal soaps or horticultural oils to control minor pest problems, and consider introducing beneficial insects to your garden to assist with pest control.
Division and Propagation
As daylilies mature, they naturally form clumps and become crowded over time. Dividing daylilies every few years helps maintain plant health and allows you to propagate and expand your daylily collection. Dividing is best done during the plant’s dormant period in early spring or fall. Follow the earlier division techniques, and replant the new divisions in well-prepared soil with appropriate spacing.
Conclusion
In conclusion, transplanting daylilies is a rewarding and fulfilling journey that allows you to witness the beauty and resilience of these captivating perennials firsthand. By understanding the seasonal symphony that guides the timing of transplantation, mastering the art of dividing and conquering to ensure successful plant relocation, and finding the perfect spot for daylilies to flourish in your garden or landscape, you can create a symphony of colors and textures that will enchant both you and your visitors.
Embracing the challenges and triumphs of transplanting daylilies, such as troubleshooting common issues and providing diligent aftercare and maintenance, empowers you to become a confident caretaker of these remarkable flowers. As you nurture your daylilies with love and attention, they will reward you with bountiful blooms year after year, becoming a cherished focal point in your outdoor space. So, head to Plantcouchcenter.com to explore more horticultural delights and discover a world of gardening inspiration. Happy gardening, and may your daylilies bloom brightly for many seasons!
Can I transplant daylilies in the summer?
Yes, you can transplant daylilies in early summer, but provide shade and ample water to reduce stress.
How often should I water newly transplanted daylilies?
Regularly water newly transplanted daylilies, keeping the soil moist for the first few weeks to aid root establishment.
When is the best time to divide daylilies?
The best time to divide daylilies is during their dormant period in early spring or fall.