
When Dividing the Iris
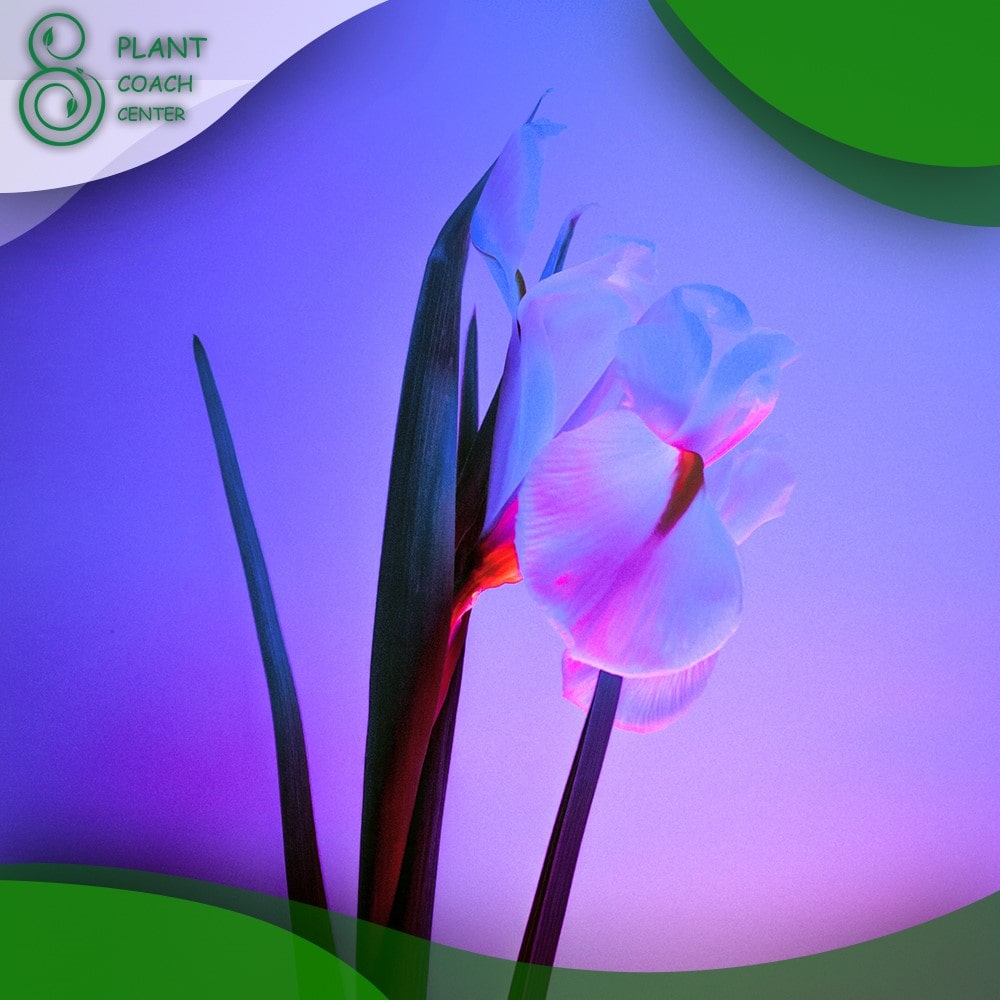
Welcome to the vibrant world of iris cultivation! These enchanting blooms bring a burst of color and elegance to gardens, captivating gardeners and passersby alike. Yet, as any seasoned gardener knows, even the most beautiful plants require a little attention to continue thriving.
This is where the art of iris division comes into play – a horticultural technique that ensures the vitality of your iris plants and multiplies their beauty year after year. Imagine unlocking the secret to an abundant iris display that defies nature. Whether you’re a green thumb enthusiast or a novice cultivator, this article will guide you through the fascinating journey of when and how to divide iris.
We’ll delve into the intricate dance of timing, the signals your irises give when they’re ready for a change, and the gratifying steps to witness your garden transform into a breathtaking tapestry of these resplendent flowers. So, roll up your sleeves and prepare to embark on a floral adventure that promises horticultural rewards and a deeper connection to the cycles of nature.
Seasonal Timing for Division
The timing of the iris division plays a crucial role in the overall success of the process. Understanding the natural rhythms of these remarkable plants will enable you to make the most of their growth cycles. Generally, there are two prime periods for dividing iris: late summer to early fall and late winter to early spring.
Late Summer to Early Fall (August to September)
As the summer heat wanes and the first hints of autumn appear, iris plants transition from active growth to dormancy. This time window, usually from late August to early September, offers an ideal opportunity to divide and replant your iris. The soil is still warm, encouraging new root development before winter. Dividing during this period gives the plants ample time to establish their root systems and become well-rooted before the onset of colder temperatures.
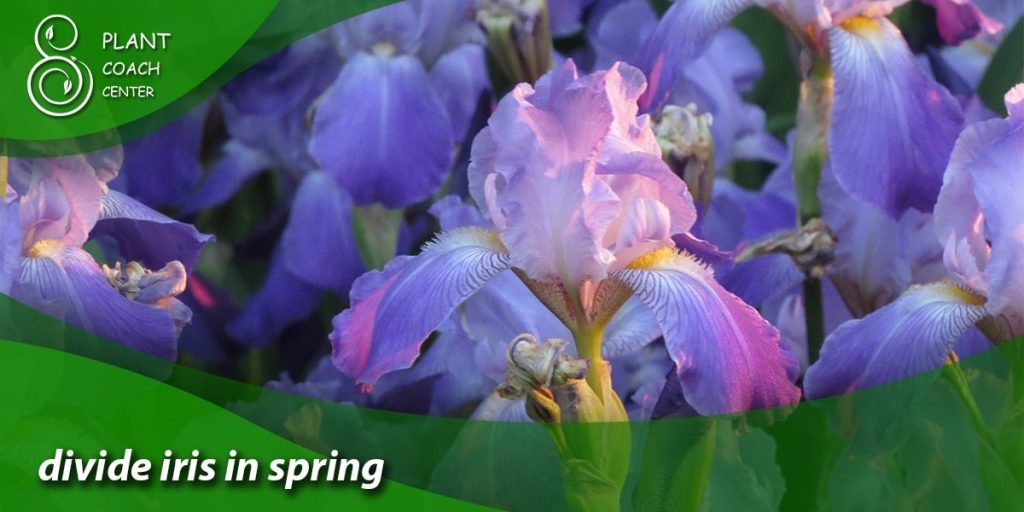
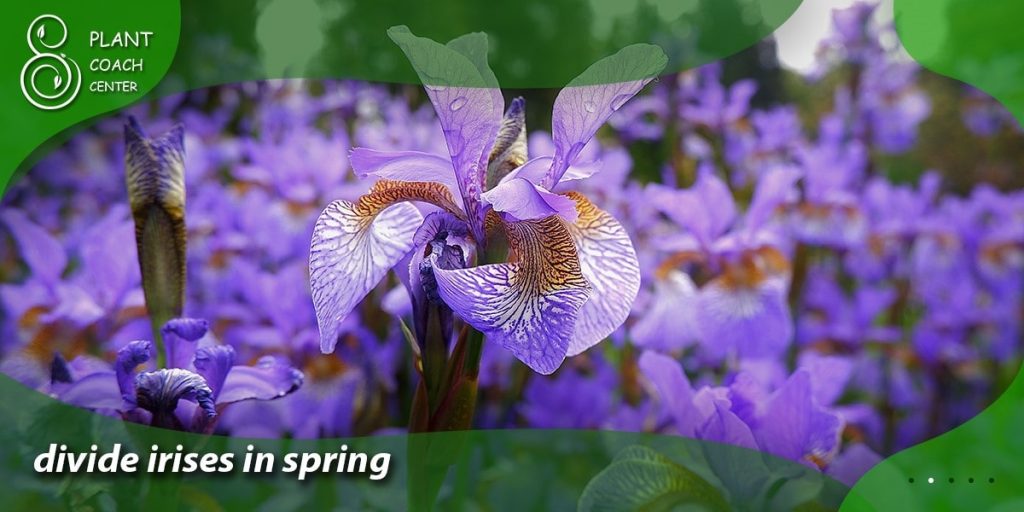
Late Winter to Early Spring (February to March)
Another suitable period for iris division is the late winter to early spring timeframe, typically from late February to early March. As the frost recites and the days gradually extend, iris plants begin to awaken from their winter slumber. Dividing during this time allows you to take advantage of their early growth phase.
The plants are not yet fully active but are beginning to show signs of new shoots emerging. Dividing in late winter to early spring helps avoid disrupting the plants during their peak growing season and allows them to quickly establish in the warming soil.
Choosing the right moment for the iris division sets the stage for a seamless transition and robust growth in the upcoming seasons. Whether you opt for the late summer to early fall slot or the late winter to early spring window, your iris plants will thank you with an exuberant display of blooms and lush foliage.
Recognizing Signs of Overcrowding
Iris plants are naturally prolific growers, and over time, their underground rhizomes can spread and multiply, leading to overcrowding within a planting bed. While irises are known for their resilience, overcrowding can hinder their overall health and diminish the vibrancy of their blooms. Recognizing the signs of overcrowding is essential for maintaining a thriving iris garden.
Diminished Bloom Quality
One of the most noticeable signs of overcrowding is a decline in the quality of blooms. When iris plants are too close together, they compete for nutrients, sunlight, and space. This competition can result in smaller, fewer, and less vibrant flowers.
Sparse Foliage
Overcrowded iris beds often exhibit sparse and thin foliage. The lack of space prevents each plant from growing to its full potential, reducing leaf production. Sparse foliage affects the plants’ visual appeal and reduces their ability to photosynthesize effectively.
Stagnant Growth
If you notice that your iris plants have not grown much over a couple of growing seasons, overcrowding might be the culprit. Healthy iris plants should exhibit vigorous growth and multiply naturally. If they struggle to do so, it strongly indicates they need more room to expand.
Difficulty in Dividing Clumps
When dividing your iris plants, you might find it increasingly challenging to separate the overcrowded clumps. The rhizomes might be tightly intertwined, making it difficult to extract individual plants without causing damage.
Increased Disease Susceptibility
Crowded plants are more susceptible to diseases and pests. Poor air circulation and increased humidity within dense foliage can create favorable conditions for fungal infections and other issues.
Lack of Airflow
Overcrowded iris beds restrict proper airflow, which is crucial for preventing moisture buildup and disease. Poor airflow can also contribute to the spread of fungal infections among closely situated plants.
Step-by-Step Division Guide
Dividing iris plants might seem like a daunting task, but with a clear step-by-step guide, you’ll find the process to be both manageable and rewarding. Here’s a comprehensive breakdown of how to successfully divide your iris plants:
Step 1: Gather Your Tools
Collect the necessary tools before you begin. You’ll need a sharp garden knife or spade, a pair of pruning shears, a bucket of water, and gloves to protect your hands.
Step 2: Choose the Right Time
As discussed earlier, opt for either late summer to early fall or late winter to early spring. The ideal time will depend on your climate and local conditions.
Step 3: Prepare the Area
Water the iris bed thoroughly a day before division to make digging easier. This also helps reduce stress on the plants during the process.
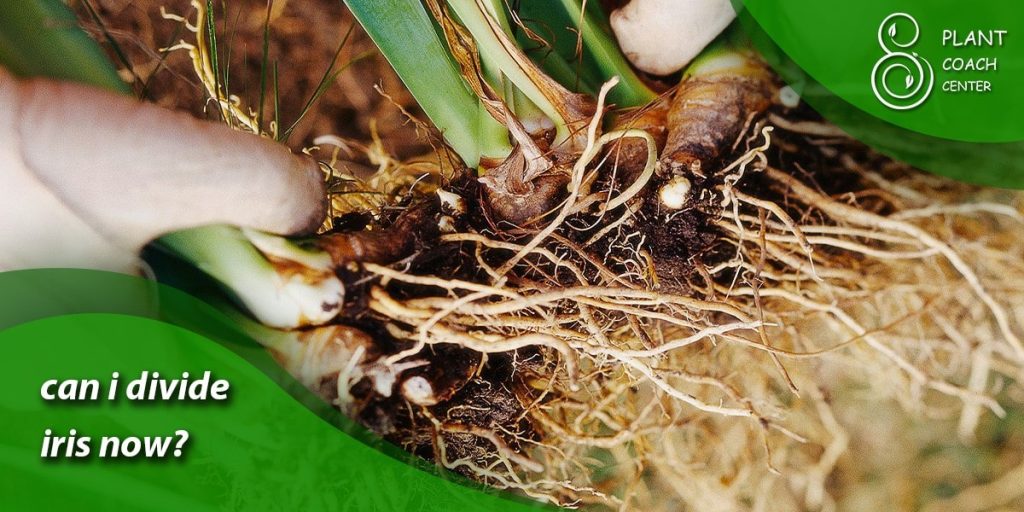
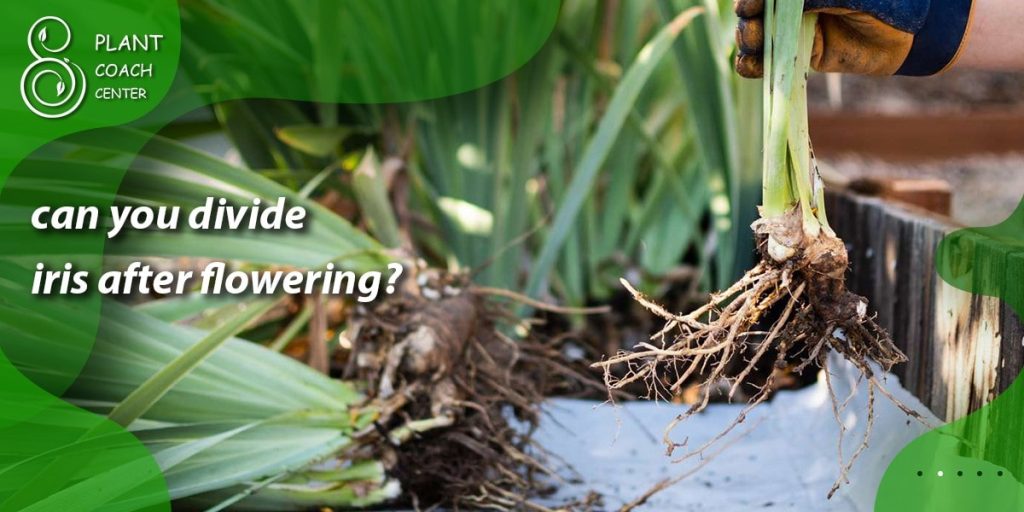
Step 4: Lift the Rhizomes
Carefully dig around the clump of iris plants, loosening the soil as you go. Gently lift the rhizomes out of the ground, not damaging them.
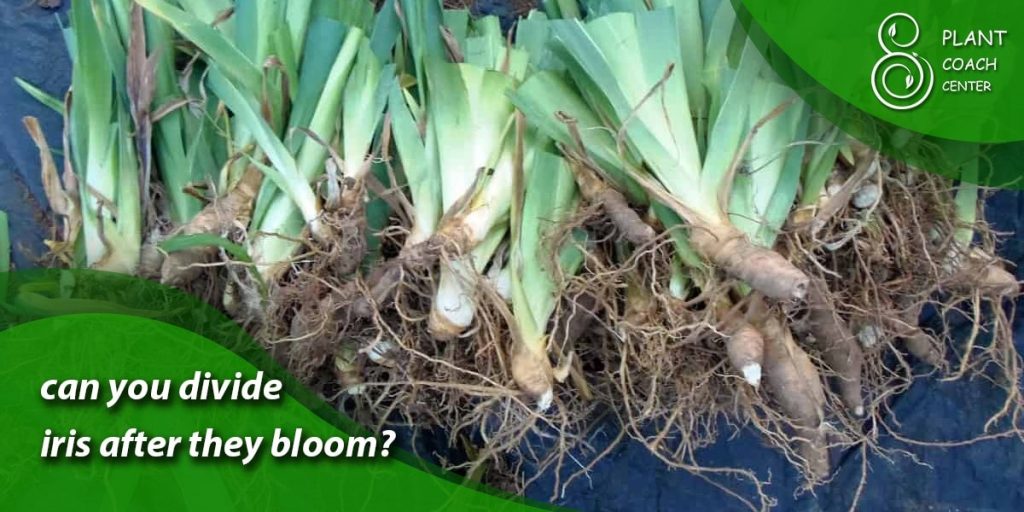
Step 5: Separate the Rhizomes
Examine the rhizomes and identify natural divisions or areas where they can be separated. Use your hands or a sharp tool to carefully separate them into individual sections, ensuring each section has healthy roots and at least one fan of leaves.
Step 6: Trim and Clean
Trim any damaged or diseased parts of the rhizomes using the pruning shears. Clean the rhizomes by removing excess soil and old, dead leaves.
Step 7: Replant
Choose a new location for each divided iris plant, ensuring proper spacing to avoid future overcrowding. Dig a hole large enough to accommodate the rhizome comfortably and position it horizontally with the fan of leaves facing outward. Cover the rhizome with soil, leaving the top exposed.
Step 8: Water and Mulch
After planting, thoroughly water the newly divided iris plants to settle the soil around the roots. Apply a layer of mulch to help retain moisture and suppress weed growth.
Step 9: Post-Division Care
Continue to water the divided irises regularly during their establishment period. Monitor their growth and adjust care as needed.
Step 10: Enjoy the Results
With time, the divided iris plants will establish themselves and reward you with vibrant blooms and healthy foliage. Step back and admire your handiwork as your garden comes to life.
Tools of the Trade
Dividing iris plants requires a few essential tools to ensure a smooth and successful process. Having the right equipment will make the task more accessible and more efficient. Here’s a rundown of the critical tools you’ll need for iris division:
Garden Knife or Spade
A sharp garden knife or spade is crucial for digging around the clump of iris plants and lifting the rhizomes out of the ground. Opt for a tool with a sturdy blade that can easily cut through the soil without causing damage to the rhizomes.
Pruning Shears
Pruning shears come in handy for trimming any damaged or diseased parts of the rhizomes before replanting. Make sure your shears are sharp to ensure clean cuts.
Bucket of Water
Before dividing the iris plants, it’s a good practice to water the bed thoroughly a day or two in advance. This helps soften the soil and reduces plant stress during the division process.
Gloves
Wearing gloves is essential to protect your hands from dirt, debris, and potential thorns or sharp edges while handling the iris plants and using the tools.
Mulch
While not a traditional tool, mulch is essential for post-division care. Mulch helps retain moisture, suppress weed growth, and provide insulation to the newly divided plants.
Measuring Tape or Marking Stakes
To ensure proper spacing between the newly divided iris plants, consider using a measuring tape or marking stakes to mark the planting locations. This helps prevent overcrowding in the future.
Wheelbarrow or Garden Cart
Having a wheelbarrow or garden cart nearby can help transport tools, soil, and debris as you divide and replicate the iris.
Garden Hose
A garden hose can be pretty handy if you need to wash off excess soil from the rhizomes before trimming and replanting.
Labeling Materials
As you divide and replant different iris varieties, consider labeling materials such as markers or plant tags to keep track of the specific types of irises and their planting locations.
Pre-Division Prep
Preparing your iris plants and the garden space before diving into the division process is essential for a successful outcome. Taking these preliminary steps ensures that you and your plants are ready for the task. Here’s a guide to pre-division preparation:
Choose the Right Day
Select a day for iris division when the weather is mild and the soil is slightly moist. Avoid days with extreme heat or heavy rainfall, as these conditions can stress the plants and make the division process more challenging.
Water the Bed
Water the iris bed thoroughly a day or two before you divide the plants. Adequate moisture in the soil will make it easier to dig and lift the rhizomes without damaging them.
Clear the Area
Remove debris, weeds, or dead foliage around the iris plants. This gives you a clear view of the plants and prevents interference during the division process.
Digging Tools Ready
Ensure that your digging tools, such as a garden knife or spade, are clean and sharp. Dull tools can cause unnecessary damage to the rhizomes.
Work Gloves
Wear sturdy work gloves to protect your hands from dirt, potential thorns, and sharp edges while handling the plants and tools.
Pruning Shears
Check that your pruning shears are in good working condition. Clean and sharpen them if needed to ensure clean cuts when trimming the rhizomes.
Designate Replanting Spots
Decide where to replant the divided iris sections. Proper spacing is crucial to prevent overcrowding and ensure healthy growth.
Prepare Labels
If you’re dividing different iris varieties, prepare plant labels or markers to keep track of their names and planting locations.
Wheelbarrow or Cart
Have a wheelbarrow or garden cart to transport tools, soil, and debris as you work.
Review the Steps
Take a moment to review the step-by-step division process to familiarize yourself with the sequence of actions you’ll be taking.
Visualize the Outcome
Before you begin, take a moment to envision the vibrant blooms and healthier plants that will result from your efforts. This positive visualization can boost your motivation and enthusiasm.
Caring for Divided Iris
Once you’ve successfully divided and replanted your iris plants, proper post-division care is essential to ensure their healthy growth and continued vibrancy. The following guidelines will help you provide the best care for your newly divided irises:
Watering
After replanting, thoroughly water your iris plants to settle the soil around the roots. During the first few weeks, monitor the soil moisture and water when the top inch of soil feels dry. Avoid overwatering, as excessive moisture can lead to root rot.
Mulching
Apply a layer of mulch around the newly divided irises. Mulch helps retain soil moisture, suppress weed growth, and regulate temperature. Keep the mulch a few inches away from the rhizomes to prevent rot.
Fertilizing
Wait a few weeks before applying any fertilizer. Once new growth is visible, apply a balanced, slow-release fertilizer to provide essential nutrients. Follow the manufacturer’s recommendations for application rates.
Deadheading
As the irises bloom, remove spent flowers to encourage the plant’s energy to focus on producing new blooms and foliage rather than seed production.
Pest and Disease Control
Regularly inspect your iris plants for signs of pests or diseases. Aphids, iris borers, and fungal diseases are potential threats. Early detection and appropriate treatment can prevent significant issues.
Staking
If your irises have tall, heavy blooms, consider taking them to prevent bending or breaking. Use discreet stakes and ties to support the flower stalks.
Divided Iris Monitoring
Keep a close eye on the newly divided plants. Watch for signs of growth, such as new shoots and leaves. Healthy growth indicates that the plants have successfully acclimated to their new locations.
Division Schedule
Record when you divided each iris variety. This will help you plan future maintenance and division cycles, ensuring that the plants remain vigorous and not overcrowded.
Regular Maintenance
Throughout the growing season, continue routine maintenance tasks such as weeding, monitoring for pests, and ensuring proper irrigation.
Winter Care
As winter approaches, cut back the foliage of the irises to about 6 inches above the ground after it has turned brown. Mulch the bed with a layer of straw or leaves to protect the plants from freezing temperatures.
Conclusion
In the art of iris division, we uncover a world of patience, observation, and nurturing that yields splendid rewards. Armed with the knowledge of seasonal timing, signs of overcrowding, division techniques, essential tools, pre-division preparation, post-care guidance, and troubleshooting wisdom, you’re now equipped to embark on a journey of transforming your iris garden into a captivating masterpiece.
As you delve into the intricacies of this process, remember that every step contributes to the resilience and beauty of your irises. The expertise you’ve gained here serves as your compass, guiding you through the challenges and triumphs of cultivating these enchanting blooms. So, whether you’re a seasoned gardener or just setting out on your horticultural voyage, the vibrant world of iris division welcomes you with open petals.
Explore the rich resources available at PlantCouchCenter.com, where nature’s wonders and human expertise converge for more gardening insights and inspiration.
When should I divide iris plants?
Late summer to early fall or late winter to early spring.
How do I know if my irises are overcrowded?
Sparse foliage, reduced blooming, and difficulty dividing clumps are signs of overcrowding.
What tools do I need for iris division?
Garden knife, pruning shears, gloves, bucket of water, and mulch.