
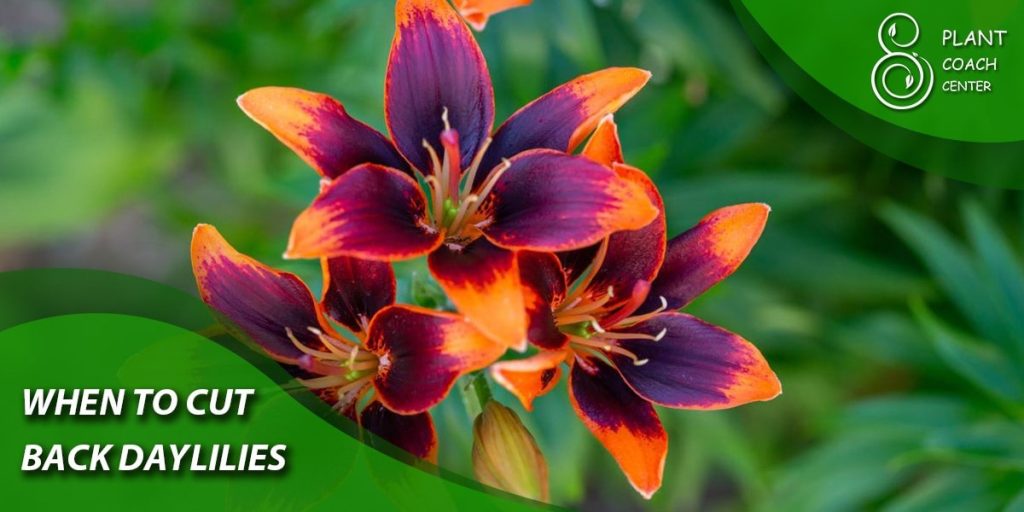
When to Cut Back Daylilies for Winter
Daylilies (Hemerocallis spp.) are popular perennial plants known for their beautiful and vibrant blooms. They belong to the Liliaceae family and are valued for their easy maintenance and ability to thrive in various climates. Before we delve into the intricacies of cutting back daylilies for winter, let’s understand these fascinating plants and their growth cycle.
Overview of Daylilies
- Daylilies are herbaceous, clump-forming plants with long, strap-like leaves and trumpet-shaped flowers.
- They come in a wide range of colors, making them a favorite among gardeners and landscapers.
- Daylilies are classified into early, midseason, and late bloomers based on their flowering time.
- The flowers of daylilies typically last for one day, but they produce multiple blooms over several weeks, providing a continuous display of color.
Importance of Proper Care
- Providing appropriate care throughout the year is crucial for the health and longevity of daylilies.
- Proper maintenance ensures robust growth, abundant blooms, and enhanced resilience to environmental stressors.
- Cutting back daylilies at the right time before winter sets in is a vital aspect of their care routine.
Purpose of the Article
In this comprehensive article, we will guide you through the process of determining the ideal time to cut back daylilies for winter. We will cover the signs that indicate it’s time to perform the cutback, step-by-step instructions for the process, winter care tips, and troubleshooting common daylily problems.
Understanding Daylilies and Their Growth Cycle
To master the art of cutting back daylilies, it’s essential to understand the various stages of their growth cycle.
Characteristics of Daylilies
- Daylilies are resilient plants that can adapt to different soil types and light conditions.
- They prefer well-draining soil and full sun but can tolerate partial shade.
- The plants form dense clumps over time, and their root systems store essential nutrients.
Growth Stages of Daylilies
Spring Growth
- As winter ends and temperatures rise, daylilies emerge from dormancy and start their spring growth.
- New shoots and leaves begin to emerge from the crown of the plant.
Summer Blooming
- Daylilies produce their spectacular blooms during the summer months.
- The flowering period can vary depending on the variety, providing a delightful array of colors in the garden.
Fall Preparations
- Towards the end of summer, daylilies start preparing for the winter season.
- Energy is redirected from flower production to strengthening the plant for the cold months ahead.
Winter Dormancy
- Daylilies enter a state of dormancy in winter to conserve energy and protect themselves from harsh conditions.
- During this period, the plant’s above-ground growth withers, leaving only the dormant crown and roots.
Signs It’s Time to Cut Back Daylilies
Observing the behavior of your daylilies will help you determine the right time for a winter cutback.
Wilting Leaves and Flowers
- As summer comes to an end, you may notice some of the daylily’s leaves and flowers starting to wilt or look tired.
- This is a natural response as the plant prepares for dormancy.
Fading Blooms
- As fall approaches, daylily blooms may begin to fade and lose their vibrancy.
- The colors become less vivid, indicating that the plant is shifting its focus from blooming to conserving energy.
Yellowing Foliage
- Yellowing foliage is a sign that the plant is withdrawing nutrients from the leaves and transferring them to the crown and roots.
- This is a clear indication that winter is approaching, and the plant is preparing for dormancy.
Decline in Plant Vigor
- If you observe a general decline in the plant’s overall vigor and growth rate, it may be a signal that winter cutback is imminent.
- Less active growth is an indicator that the plant is getting ready for its winter rest.
Preparing Daylilies for Winter
Before the first frost sets in, it’s crucial to prepare daylilies for their winter dormancy. Proper winter preparation sets the stage for healthy regrowth in the following spring.
Importance of Winter Preparation
- Winter can be harsh on daylilies, especially in regions with freezing temperatures and heavy snowfall.
- Preparing the plants for winter helps them survive the cold and ensures they have enough energy to resume growth when warmer conditions return.
- A well-prepared daylily will have a head start in the next growing season, leading to stronger and more vibrant blooms.
Best Practices for Cutting Back Daylilies
Cutting back daylilies is a critical part of their winter preparation. Here are some best practices to follow:
Pruning Techniques
- Use clean and sharp pruning shears to avoid damaging the plant.
- Cut the foliage back to a few inches above the crown, leaving enough space to prevent damage to the crown during winter.
Tools Required
- Pruning shears or scissors: For cutting back the foliage.
- Gardening gloves: To protect your hands while working with the plants.
Timing the Cutback
Timing the cutback is essential to ensure daylilies are adequately prepared for winter dormancy.
Considering Climate and Geographic Location
- Daylilies in colder climates with early frosts may need to be cut back earlier than those in milder regions.
- Pay attention to the average first frost date in your area to determine the best time for the cutback.
Frost Dates and First Hard Frost
- The first hard frost is a clear indicator that winter is on its way, and it’s time to prepare your daylilies.
- Ideally, perform the cutback before the first hard frost to avoid damaging frozen foliage.
Monitoring Weather Conditions
- Keep an eye on weather forecasts to anticipate temperature drops and frost warnings.
- If a hard frost is predicted, consider performing the cutback a day or two before to give the plants time to recover.
Step-by-Step Guide to Cutting Back Daylilies
Now that you understand the significance of winter preparation and the best timing for the cutback let’s walk through the process step-by-step.
- Evaluating the Plant’s Health
- Before beginning the cutback, inspect the daylilies for any signs of disease or pest infestations.
- If you notice any issues, address them appropriately before proceeding.
- Removing Dead and Diseased Foliage
- Start by removing any dead or diseased leaves, as they can attract pests and pathogens during winter.
- Cut the damaged foliage back to the crown or ground level, ensuring no diseased material remains.
- Trimming Spent Blooms
- Trim off spent flower stalks to prevent the plant from wasting energy on seed production.
- Cut the stalks near the base, leaving a clean cut to promote quicker healing.
- Dividing Overcrowded Clumps
- If your daylilies have become overcrowded, consider dividing the clumps during the cutback.
- Gently dig up the clump and separate the individual plants, then replant them at the appropriate spacing.
- Mulching and Protecting the Crown
- After completing the cutback, apply a layer of mulch around the crown of the daylilies.
- Mulching helps insulate the crown and roots, protecting them from extreme temperature fluctuations.

Winter Care for Daylilies
As winter sets in, daylilies need extra care and protection to survive the cold temperatures and potential frost. Follow these essential winter care tips to ensure your daylilies stay healthy and ready for a beautiful bloom in the next growing season.
Choosing the Right Mulch
- Organic mulches, such as straw, wood chips, or shredded leaves, work well for daylilies.
- Avoid using mulches that retain too much moisture, as excessive wetness can lead to crown rot.
Applying Winter Mulch
- After the cutback, apply a layer of mulch around the crown of the daylilies, leaving a small space around the stems to prevent rot.
- Mulch should be about 3-4 inches deep to provide adequate insulation.
Providing Adequate Watering
- Water daylilies thoroughly before the first hard frost to ensure they are well-hydrated going into winter.
- During winter, daylilies don’t need much water, but it’s essential to keep an eye on soil moisture.
- Water sparingly if there is a prolonged dry spell to prevent dehydration.
Shielding Daylilies from Harsh Winter Conditions
- For daylilies grown in containers, consider moving them to a sheltered area, such as a garage or basement, where they are protected from freezing temperatures.
- In colder regions, consider covering daylilies planted in the ground with frost cloth or burlap during extreme cold spells.
- Avoid using plastic covers, as they can trap moisture and cause fungal issues.
Monitoring Daylilies During Winter
During the winter months, it’s essential to keep an eye on your daylilies to ensure they are coping well with the colder temperatures.
Checking for Pests and Diseases
- Even in winter, pests and diseases can pose a threat to daylilies.
- Periodically inspect your plants for any signs of trouble, such as pest damage, fungal growth, or wilting.
Snow Accumulation and Its Impact
- If your region experiences heavy snowfall, be mindful of the snow accumulation around daylilies.
- Excessive snow can weigh down the plants and cause damage, especially to the delicate flower stalks.
Reacting to Extreme Temperature Swings
- Rapid temperature fluctuations, with freezing temperatures followed by sudden thaws, can stress daylilies.
- Keep an eye out for such weather patterns and be prepared to offer extra protection if necessary.
Transitioning Daylilies to Spring
As winter comes to an end, and the weather begins to warm up, it’s time to prepare your daylilies for the upcoming growing season.
Signs of Winter’s End
- Look for the emergence of new shoots and green foliage as signs that the daylilies are coming out of dormancy.
- Once you observe new growth, it’s an indication that it’s time to remove the winter mulch.
Removing Winter Mulch
- Gently remove the winter mulch from around the crown of the daylilies, taking care not to damage the new shoots.
- The mulch can be used as organic matter to enrich the soil around the plants.
Resuming Normal Watering and Fertilization
- As the plants wake up from dormancy, gradually resume normal watering and fertilization.
- Use a balanced, slow-release fertilizer to provide essential nutrients to support growth.
Early Spring Maintenance
- During early spring, you may want to inspect the daylilies for any signs of winter damage or disease.
- Prune away any dead or damaged foliage to promote healthy regrowth.
Common Daylily Problems and Troubleshooting
While daylilies are generally resilient plants, they can face certain challenges. Here are some common problems and how to address them:
Pest Infestations
- Common pests include aphids, thrips, and spider mites.
- Use insecticidal soap or neem oil to control pests, but avoid using chemicals that harm beneficial insects.
Disease Management
- Daylilies can be susceptible to fungal diseases like rust and crown rot.
- Remove and dispose of infected leaves immediately, and consider using fungicides if the problem persists.
Nutrient Deficiencies
- Yellowing leaves may indicate a nutrient deficiency.
- Apply a balanced fertilizer or specific nutrient supplements as needed.
Environmental Stress Factors
- Daylilies may struggle in extreme weather conditions, especially if they experience prolonged drought or flooding.
- Mulching and proper watering can help mitigate the impact of environmental stress.
Advanced Daylily Care Tips
For enthusiasts looking to take their daylily care to the next level, consider these advanced techniques:
Hybrid Daylily Varieties
- Explore the world of hybrid daylilies, where different cultivars are crossbred to produce unique characteristics.
- Learn about hybridizing techniques and how to create your own daylily hybrids.
Collecting Daylily Seeds
- If you’re interested in propagating daylilies, collect seeds from your favorite varieties.
- Allow the seed pods to fully ripen on the plant before harvesting them.
Winter Protection Techniques for Container-Grown Daylilies
- For daylilies grown in containers, consider insulating the pots with bubble wrap or other materials to protect the roots from freezing temperatures.

Conclusion
In conclusion, mastering the art of cutting back daylilies for winter is a crucial skill for every gardener and plant enthusiast. Daylilies, with their stunning blooms and adaptability, can bring joy and beauty to any garden. Proper care, including timely cutbacks, plays a significant role in ensuring the plants’ health and resilience.
Throughout this comprehensive guide, we explored the fascinating world of daylilies, from understanding their growth cycle to learning how to prepare them for winter dormancy. By recognizing the signs that indicate it’s time for a cutback and following the best practices for pruning, you can provide the optimal conditions for your daylilies to thrive.
Winter care for daylilies is equally important, as it safeguards the plants from freezing temperatures and potential pest and disease issues. By choosing the right mulch, providing adequate watering, and shielding daylilies from harsh winter conditions, you can ensure their well-being throughout the cold months.
Transitioning daylilies to spring requires patience and observation, as you wait for the first signs of new growth. Removing the winter mulch and gradually resuming normal watering and fertilization will set the stage for a successful growing season ahead.
Throughout the year, daylilies may face various challenges, such as pests, diseases, and nutrient deficiencies. Being aware of these common problems and knowing how to address them will help you keep your daylilies healthy and vibrant.
For those looking to take their daylily care to the next level, exploring hybrid varieties, collecting seeds, and providing extra protection for container-grown daylilies are advanced techniques worth considering.
As you embark on your daylily care journey, remember that gardening is a journey of learning and patience. Each daylily is unique, and by observing and understanding their individual needs, you can create a thriving and enchanting garden.
So, roll up your sleeves, immerse yourself in the beauty of daylilies, and let the joy of gardening fill your heart as you nurture these captivating plants through every season. With dedication, care, and a little help from nature, your daylilies will reward you with a breathtaking display of colors and blooms year after year.
Happy gardening, and may your daylily-filled garden be a haven of tranquility and natural beauty for you to cherish for years to come!
When should I cut back daylilies for winter?
Before the first hard frost.
How do I protect daylilies from extreme cold?
Cover with frost cloth or burlap.
How often should I water daylilies in winter?
Water sparingly when soil is dry.