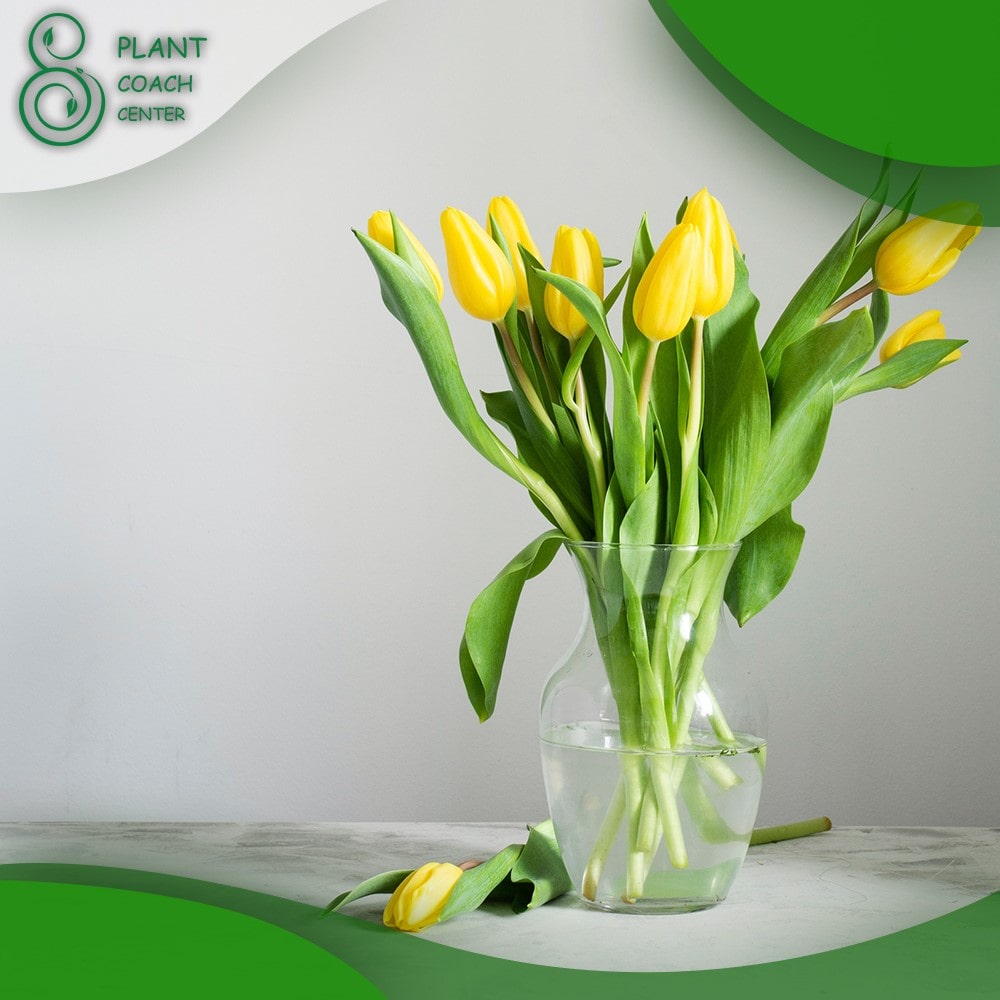
When to Cut Back Tulips
Spring brings a burst of colors and freshness; few flowers symbolize this season better than tulips and daffodils. These vibrant spring bulbs have captivated gardeners with their beauty and charm for centuries. Understanding when to cut back these blooms is crucial for ensuring their health and longevity. This comprehensive guide delves into the growth cycle of tulips and daffodils, the significance of pruning, when to cut, and other essential care tips to help your garden flourish.

Understanding the Growth Cycle of Tulips and Daffodils
The lifecycle of tulips and daffodils is a fascinating journey, from the moment their leaves push through the soil in early spring until they transition into dormancy later in the year. To care for these plants properly, we need to comprehend the various stages they go through.
- Emergence of Foliage
The first green shoots of tulips and daffodils emerge as the ground begins to warm in early spring. This delicate foliage sets the stage for the beautiful blooms to come, gathering energy from the sun through photosynthesis.
- Flowering Period
Once the foliage has fully developed, the magic happens – tulips and daffodils burst into a mesmerizing display of colors. The flowers grace our gardens with striking hues and alluring fragrances, attracting bees and butterflies as pollinators.
- Post-flowering Phase
As the spring days give way to warmer temperatures, the blooms eventually fade, and the plants enter the post-flowering phase. At this point, gardeners must make crucial decisions regarding cutting back and aftercare.
Factors Influencing Growth
Several environmental factors influence the growth of tulips and daffodils. Knowing these elements helps us tailor our care practices to meet their needs.
- Climate and Region
The timing of flowering and the overall growth cycle can vary depending on the local climate and region. Understanding your area’s unique conditions will help you plan when to expect blooms and when to initiate pruning.
- Soil Conditions
Tulips and daffodils thrive in well-draining soil, as excessive moisture can lead to bulb rot. Testing and amending the soil can significantly impact the plants’ health and blooming potential if necessary.
- Light Requirements
Both tulips and daffodils favor full sun to thrive. Ensuring ample sunlight during their growth stages is vital for robust foliage and vibrant flowers.
The Significance of Pruning and Cutting Back
Pruning is pivotal in tulips and daffodils’ overall health and appearance. By removing spent flowers and foliage at the appropriate time, gardeners encourage the plants to channel their energy into bulb development and root growth.
Promoting Plant Health and Longevity
Pruning helps prevent plants from expending unnecessary energy on seed production, allowing them to store more energy in their bulbs. This, in turn, supports stronger bulbs that are more likely to return with impressive blooms year after year.
Enhancing Aesthetics and Bloom Production
Removing spent flowers not only tidies up the garden but also encourages the growth of new blooms. This careful management can prolong the flowering period and create a more stunning display.
Preventing Diseases and Pests
Cutting back tulips and daffodils after flowering reduces the chances of diseases like tulip fire and botrytis blight from taking hold. Additionally, it helps control pests that may target fading flowers or developing seeds.
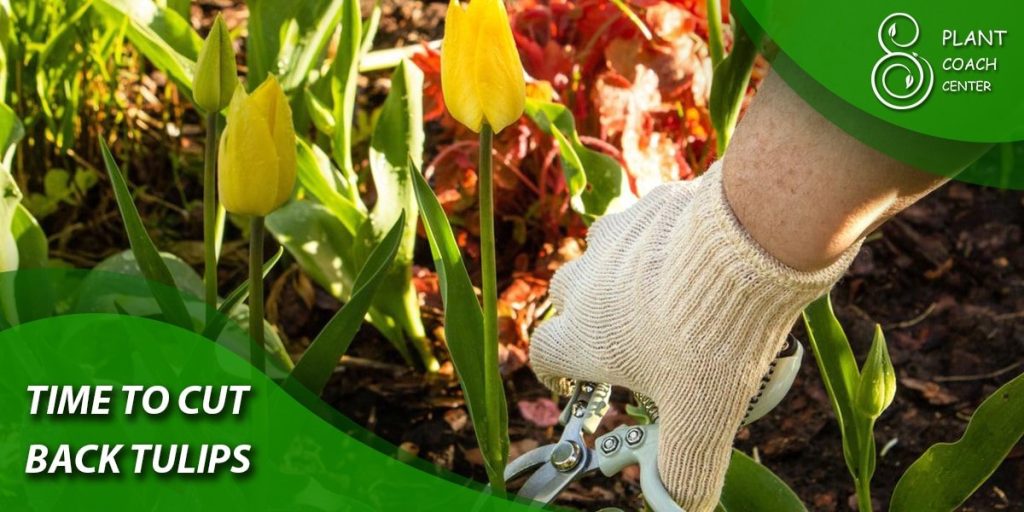
When to Cut Back Tulips
Timing is crucial when it comes to cutting back tulips. Properly assessing the growth stage and knowing when the plant has peaked is essential for successful pruning.
- Post-Flowering Considerations
Monitoring the petals ‘ condition after the tulip flowers have put on their dazzling show is essential. As they start to wilt and lose their vibrancy, it’s a sign that the flowering stage is ending.
- Observing Seedpod Formation
Some tulip varieties produce seedpods after the flowers have faded. As these seedpods develop, they draw energy from the bulb. If you plan to save seeds for propagating new tulips, leave the seedpods intact; otherwise, it’s best to remove them to conserve energy for the bulb.
- Timing Based on Climate and Region
The best time to cut back tulips may vary depending on where you live. In cooler climates, where the growing season is shorter, it’s generally best to cut back the foliage sooner. You can wait longer in warmer regions before pruning, allowing the plant to benefit from the extra photosynthesis.
- Optimal Pruning Practices
When cutting back your tulips, it’s crucial to use proper techniques to avoid injuring the bulb or the surrounding plant. Use sharp garden shears to make clean cuts just above the soil line. Avoid cutting the foliage too early; the plant needs time to replenish its bulb for future growth.
When to Cut Back Daffodils
Daffodils, also known as Narcissus, have their unique growth cycle, and knowing when to cut them back ensures their continued beauty in the following years.
- Understanding Daffodil Growth Patterns
Daffodils have a more extended post-flowering phase than tulips, allowing for a more extended period to enjoy their blooms. However, knowing when the peak flowering period is over is crucial to plan for pruning.
- Determining Post-Flowering Stages
As daffodil flowers begin to fade, addressing them promptly is essential. Trim off the spent flowers, but leave the foliage intact until it matures and turns yellow or brown. The green foliage is vital in the bulb’s energy production and storage.
- Handling Fading Blooms
Removing the fading blooms is important to avoid diverting energy into seed production. This process is commonly known as “deadheading.” Use sharp scissors or pruners to cut the stems just below the spent flower, being careful not to damage the emerging buds for next year’s blooms.
- Addressing Seed Heads
Let the seed heads develop fully if you wish to propagate daffodils or collect seeds for other purposes. However, remove the seed heads after they mature to encourage bulb growth and prevent self-seeding.
Regional Variations in Pruning Schedules
The timing for cutting back daffodils may differ slightly depending on your region’s climate and the specific variety you have planted. Always consider local conditions to make the most informed decisions for your garden.
The Aftercare Process
After pruning, providing proper aftercare is crucial to ensure the tulips and daffodils continue to thrive and return with their glorious display in the following seasons.
Allowing the Foliage to Mature
While it may be tempting to cut back the foliage as soon as the blooms fade, allowing the leaves to photosynthesize and nourish the bulb is vital. The foliage will eventually turn yellow or brown, indicating it’s ready for removal.
Maintaining Proper Watering and Fertilization
During the post-flowering phase, continue to water the plants as needed, especially if there’s a lack of rainfall. However, avoid overwatering, as overly wet soil can lead to bulb rot.
Addressing Common Problems and Troubleshooting
Monitor your tulips and daffodils for any signs of diseases, pests, or nutrient deficiencies. Timely intervention can prevent these issues from spreading and harming the plants.
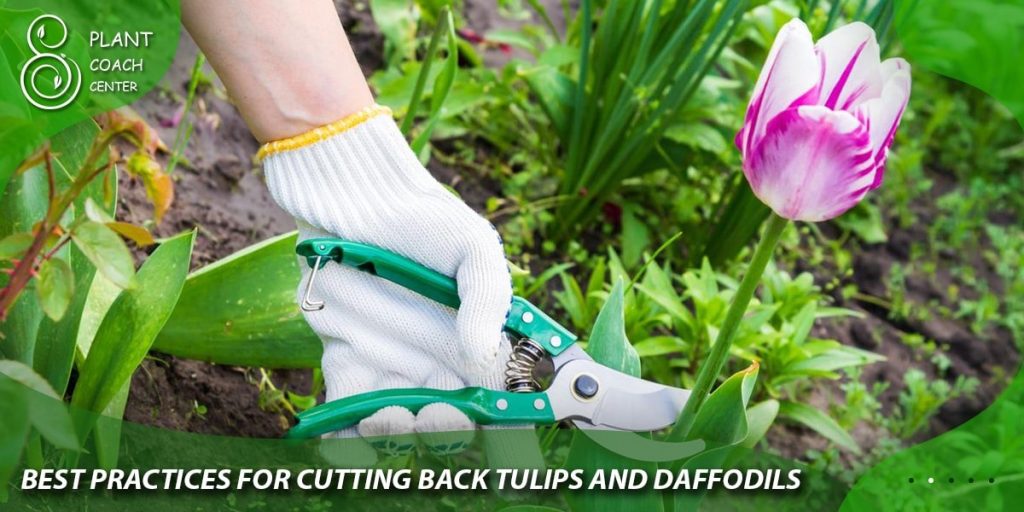
Best Practices for Cutting Back Tulips and Daffodils
When it comes to cutting back tulips and daffodils, following proper practices ensures that you maximize the benefits for your plants and maintain their overall health.
Techniques for Cutting
Use sharp and sanitized pruning shears or scissors to make clean and precise cuts. Position the blades just above the soil line and avoid damaging the bulbs or neighboring foliage. If you’re dealing with many plants, consider using a clean, sharp knife or a hedge trimmer to expedite the process.
Dealing with Diseased Plants
Suppose you encounter any signs of disease, such as fungal infections or viral issues, while cutting back tulips or daffodils. In that case, it’s important to take appropriate action. Prune affected parts immediately, ensuring you sanitize your tools between cuts to prevent the spread of pathogens. Removing and disposing of a bulb is best to prevent the disease from spreading further if a bulb is severely affected.
Composting and Recycling Cut Plant Material
Rather than discard the cut plant material, consider composting it to nourish your garden. Organic matter from tulips and daffodils can enrich the compost pile, contributing to the overall health of your soil. However, avoid composting diseased plant material to prevent the spread of pathogens. Instead, dispose of them safely.
Extending the Blooming Season
Wouldn’t it be wonderful to enjoy the beauty of tulips and daffodils for an extended period? With some planning and strategic planting, you can extend the blooming season and enjoy a continuous display of colorful flowers.
Pre-Planting Strategies for Staggered Blooms
To achieve staggered blooms, you can pre-chill bulbs before planting them. Place the bulbs in a paper bag and refrigerate them for a few weeks before planting. This technique can help synchronize the emergence and flowering of your tulips and daffodils, providing a longer blooming window.
Succession Planting for Continuous Flowering
Succession planting involves planting bulbs in multiple batches with staggered intervals. Doing this ensures a continuous succession of blooms throughout the spring season. Calculate the bloom duration of different tulip and daffodil varieties, and plan your planting schedule accordingly.
Tips for Managing Tulips and Daffodils in Different Climates
The ideal care practices for tulips and daffodils vary depending on your climate and region. Consider the following tips to manage your bulbs successfully based on your specific climate conditions.
- Cold Climates
In colder regions, tulips and daffodils benefit from a layer of mulch to protect the bulbs from freezing temperatures. Apply a thick layer of organic mulch, such as straw or shredded leaves, after the ground has frozen. This insulates the bulbs and helps maintain a consistent soil temperature.
- Warm Climates
Tulips and daffodils may not receive the necessary chilling hours for optimal growth in warmer climates. To simulate a cooling period, you can refrigerate the bulbs before planting, as mentioned earlier. Additionally, choose varieties that are more tolerant of warmer conditions and require fewer chilling hours.
- Container Gardening Considerations
Tulips and daffodils can be grown in containers, allowing greater flexibility and mobility. Ensure that the containers have drainage holes to prevent waterlogging. Use a well-draining potting mix and provide adequate sunlight. Adjust the watering frequency to prevent the soil from drying or becoming overly saturated.
Frequently Encountered Plant Problems and Solutions
Even with proper care, tulips and daffodils may encounter some common issues. Identifying and addressing these problems promptly will help you maintain the health and beauty of your plants.
Pests Affecting Tulips and Daffodils
- Aphids: These tiny insects can cluster on new growth, sucking sap from the plants and causing distorted leaves and flowers. Use a strong stream of water or insecticidal soap to dislodge and control aphids.
- Slugs and Snails: These nocturnal pests feed on tender foliage and flowers, leaving holes and slime trails behind. Handpick them at night or use organic slug and snail bait to protect your plants.
- Deer and Rabbits: In areas with these animals, tulips, and daffodils may fall victim to their appetites. Install physical barriers or use repellents to keep them away from your garden.
Common Diseases and Their Management
- Tulip Fire (Botrytis tulipae): This fungal disease causes brown spots and streaks on leaves and flowers. Remove affected plant parts and avoid overhead watering to prevent its spread. Apply fungicides if necessary, following manufacturer instructions.
- Narcissus Bulb Rot (Fusarium oxysporum f. sp. narcissi): This disease affects daffodils, causing the bulbs to decay. Choose healthy bulbs to avoid planting in poorly drained soil to prevent this issue.
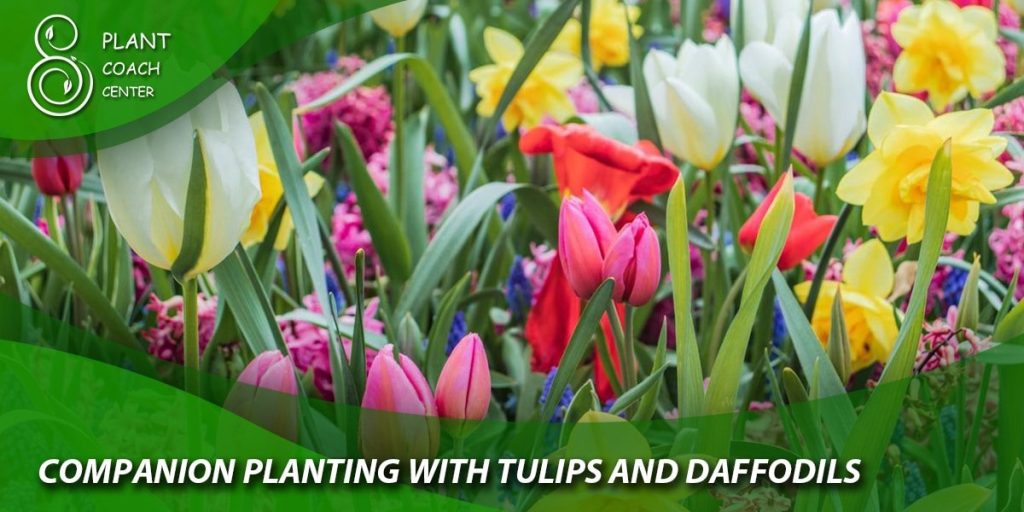
Companion Planting with Tulips and Daffodils
Companion planting involves strategically planting other flowers or vegetables near tulips and daffodils to enhance their growth and repel pests.
Complementary Plant Selection
- Plant low-growing annuals like pansies, violas, or alyssum alongside tulips and daffodils to create beautiful and harmonious flowerbeds.
- Perennials such as daylilies and peonies also make excellent companions for these spring bulbs, providing additional color and texture to the garden.
Repelling Pests through Companion Planting
- Planting alliums (such as garlic and chives) near tulips and daffodils can help repel aphids and other pests.
- Marigolds are known to deter nematodes and other harmful insects, making them excellent companions for your spring bulbs.
Special Tulip and Daffodil Varieties
The world of tulips and daffodils is incredibly diverse, with many unique cultivars and hybrids.
- Rare and Unique Cultivars
- Parrot Tulips: Known for their fringed and feather-like petals, these tulips display fascinating and exotic blooms.
- Double Daffodils: These daffodils boast multiple rows of petals, creating a lush and captivating appearance.
- Hybridization and Advancements
With ongoing efforts in hybridization and breeding, plant enthusiasts can expect exciting new tulip and daffodil varieties, including improved disease resistance, unique colors, and extended flowering periods.
Preserving and Storing Tulip and Daffodil Bulbs
After the blooming season, properly handling and storing bulbs are crucial for their successful reemergence in subsequent years.
- Harvesting and Curing Techniques
Allow the foliage to mature and turn yellow or brown naturally before cutting it back. Gently lift the bulbs using a garden fork and brush off excess soil. Lay them out in a well-ventilated area to cure for a few weeks.
- Proper Storage Conditions
Store cured bulbs in a cool, dry, and dark place. Use mesh bags or cardboard boxes with ventilation holes to ensure air circulation. Periodically check for signs of mold or decay, and remove affected bulbs promptly.
Conclusion
By understanding the growth cycle of tulips and daffodils and adopting appropriate cutting-back techniques, you can ensure a stunning display of blooms year after year. Remember to tailor your care practices to your region’s climate and use companion planting strategies to create a flourishing and vibrant spring garden. With some knowledge and a touch of artistry, your tulips, and daffodils will bring joy and beauty to your garden for many future springs. Happy gardening!
When should I cut back tulips and daffodils?
After flowering, trim tulips and daffodils while leaving the foliage until it turns yellow.
How can I extend the blooming season?
Try pre-chilling bulbs and succession planting for continuous flower displays.
What are some common pests affecting these plants?
Aphids, slugs, and deer are common pests to watch out for.


