When to Cut Down Tulips?
As spring’s vibrant symphony graces our gardens, few flowers captivate the heart quite like tulips. With their enchanting array of colors and graceful blooms, tulips bring a fleeting yet unforgettable beauty to our outdoor spaces. But as the days pass and the sun’s warm embrace lingers, every tulip lover faces a moment of contemplation: when is the right time to bid adieu to these ephemeral wonders? The answer lies in the delicate balance between savoring their picturesque display and ensuring the vitality of future blooms.
In exploring “When to Cut Down Tulips,” we journey through the intricate dance of nature’s rhythm and the gardener’s nurturing touch. Beyond the practical considerations, we delve into the emotions tied to this horticultural decision—a blend of reluctance and anticipation. So, take a moment to join us as we unravel the art and science behind that decisive snip, discovering how this seemingly simple act becomes a bridge between past, present, and future in the ever-evolving garden narrative.
The Art of Timing: Understanding the Growth Cycle of Tulips
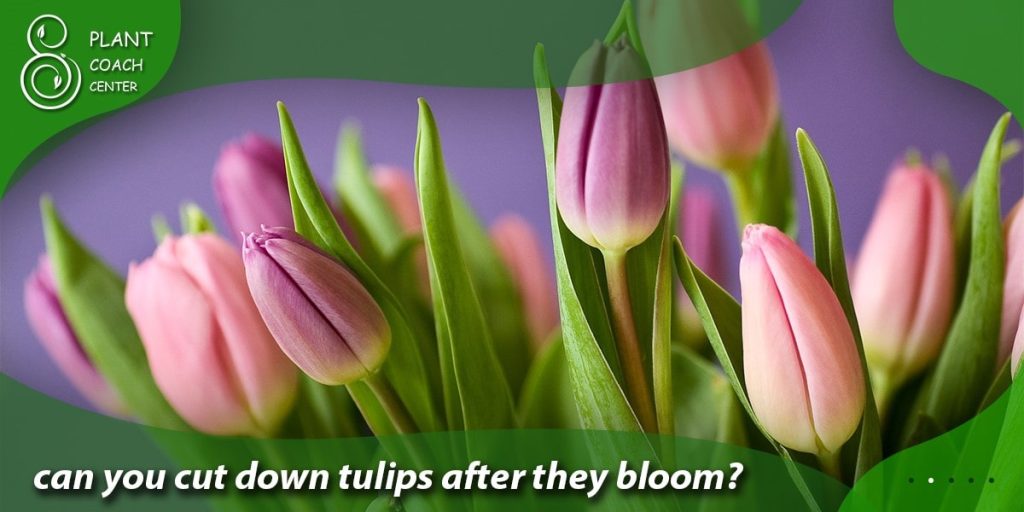
In the enchanting world of gardening, timing is everything. When it comes to tulips, understanding their growth cycle is akin to mastering a delicate dance—a dance that marries nature’s rhythms with our desire to extend the magic they bring to our landscapes. The journey of a tulip begins with the emergence of its tender green shoots, heralding the arrival of spring. As these shoots grow taller, they eventually blossom into the iconic tulip blooms that grace our gardens in various colors.
The key to mastering the art of timing lies in recognizing the peak of a tulip’s bloom. As tulips reach their zenith, their petals unfurl in all their splendor, attracting admirers from near and far. However, this moment of glory is transient, and therein lies the conundrum: when should we intervene and begin cutting down these marvelous blooms? Cutting too early might rob us of the full spectacle while waiting too long could lead to diminished bulb energy for future growth.
To truly appreciate the art of timing, one must observe the blooms and the surrounding environment. Weather plays a pivotal role in the life of a tulip, as a sudden frost or heavy rain can hasten the wilting process. Monitoring the progression of individual blooms and gauging their resilience in changing conditions provides valuable insight into the optimal moment for cutting.
In essence, timing tulips is a dialogue between the heart and the horticultural mind. It’s about indulging in the ephemeral beauty while respecting the plant’s life cycle. With each petal that gracefully falls, we find ourselves woven into the tapestry of the garden’s narrative, participating in its ever-changing story. So, whether you’re a gardening enthusiast or simply an admirer of nature’s grace, embrace the artistry of timing—a skill that transforms a fleeting bloom into a timeless memory.
Signs of Fading Glory: Recognizing When Tulip Blooms Are Nearing Their End
As the sun-kissed days of spring wane, the enchanting display of tulip blooms that once graced your garden begins to transform. Petals that once stood vibrant and proud now show subtle hints of change, hinting at the passage of time. Attunement to the signs of fading glory is essential to make informed decisions about cutting down your tulips.
Color Gradation
One of the earliest indicators of a tulip’s approaching end is the gradual change in its petal color. What was once a striking hue might now appear slightly muted or uneven. This natural transition serves as a gentle nudge that the peak of the bloom is nearing its conclusion.
Petals Drooping
As the life cycle progresses, the petals of tulips may begin to droop or curl at the edges. This change in posture is a visual cue that the bloom has expended much of its energy in showcasing its splendor.
Texture Changes
Running your fingers along the petals might reveal a shift in texture. They could become softer or even slightly papery to the touch, signifying the natural aging process of the flower.
Visible Seedpods
Another clear sign of the bloom’s progression is the seedpods’ emergence at the flower’s center. These greenish pods indicate that the tulip has shifted its focus from displaying petals to investing energy in seed production.
Wilt and Wrinkles
As a bloom’s vitality wanes, you might notice some wilting or wrinkling of the petals. This physical transformation is a visual testament to the natural course of a tulip’s life.
Harvesting Memories: Choosing the Perfect Moment to Cut Tulips for Indoor Display
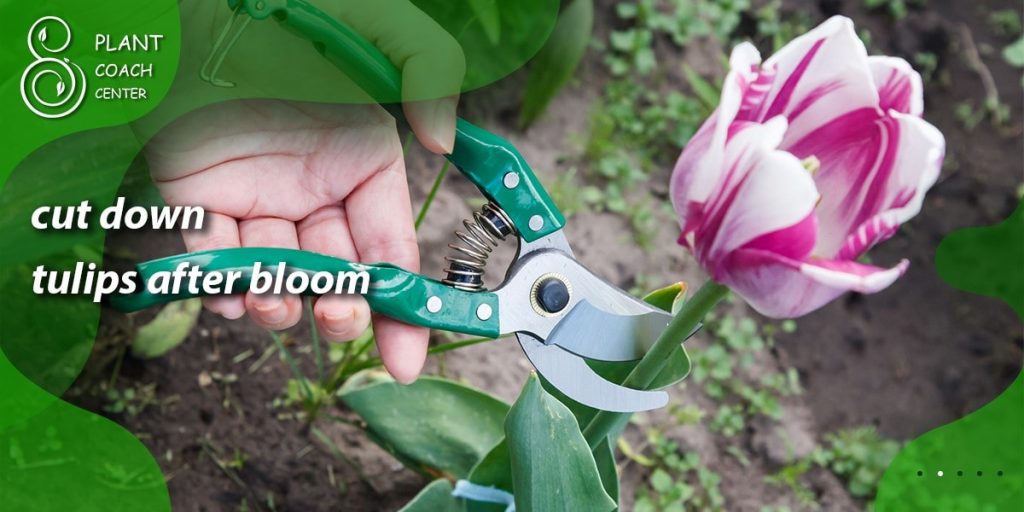
As the sun-drenched days of tulip season draw to a close, a unique opportunity emerges to bring your garden’s splendor indoors. The art of cutting tulips for indoor display is more than just a horticultural task; it’s a way to preserve the fleeting beauty of these blooms and create lasting memories.
Selecting the Ideal Time
Choosing the perfect moment to cut your tulips is a delicate balance between capturing their prime beauty and ensuring their longevity indoors. Look for blooms that have fully opened and are displaying their vibrant colors. The tulip has reached its pinnacle of grace and is ready to be immortalized in a vase.
Morning Magic
The early morning hours are often the best time to make the cut. The cooler dawn temperatures help preserve the tulips’ freshness, locking in their vibrant hues and extending their lifespan.
Using Clean Tools
When it’s time to snip, ensure your cutting tools are clean and sharp. A clean cut provides better water uptake, allowing the tulips to continue hydrating even after they’ve been removed from the soil.
Water Temperature Matters
Before placing your freshly cut tulips in a vase, fill it with lukewarm water. This helps prevent shock and stress for the flowers as they transition from the outdoor environment to your indoor space.
Trimming Stems
Once indoors, gently trim each stem at an angle to encourage better water absorption. Remove any leaves that might be submerged in water to prevent bacterial growth.
Displaying with Care
Tulips continue to grow after being cut, so arranging them in a vase with room for upward growth is essential. Opt for a vase that supports the tulips without crowding them, allowing each bloom to shine individually.
Changing the Water
To keep your indoor tulip display fresh, change the water every few days. This prevents the buildup of bacteria and ensures your tulips continue to thrive.
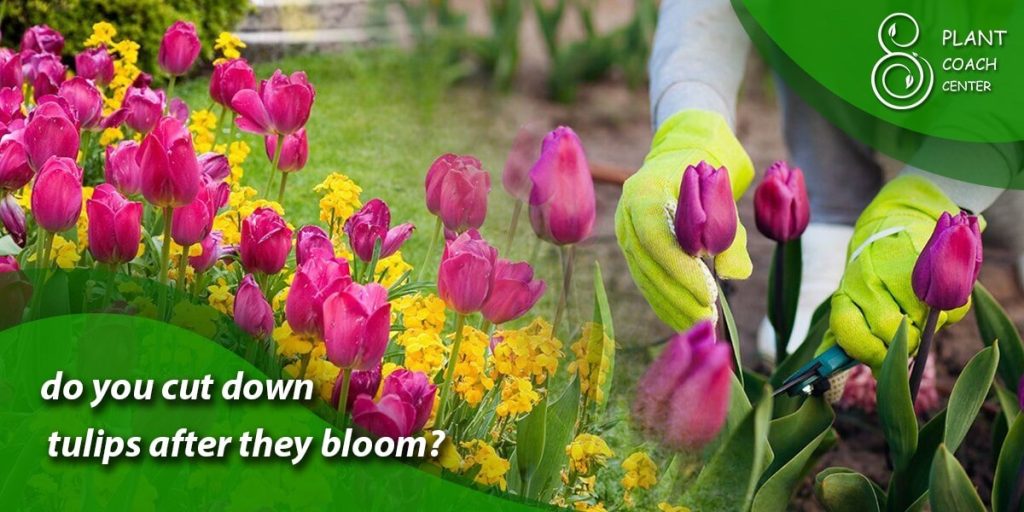
Tidying Up the Stage: Pruning Techniques for Enhancing Garden Aesthetics post-Bloom
As the final notes of the tulip season’s symphony fade, it’s time to turn your attention to the post-bloom choreography—tidying up the garden stage. Pruning your tulips with precision and care not only revitalizes the garden’s appearance but also paves the way for a healthier future bloom.
Patience for Post-Bloom
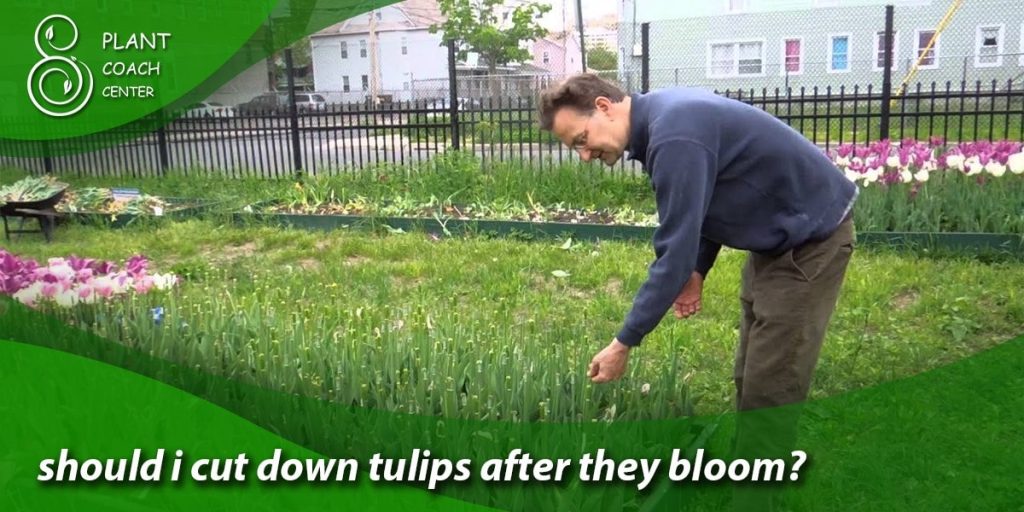
Resist the urge to prune immediately after the curtain falls on your tulip’s vibrant display. Allow the foliage to naturally wither and turn yellow. This phase is crucial for replenishing the bulbs’ energy reserves for the following year’s performance.
Gentle Removal
Once the foliage has faded, gently grasp the stem near the base and give it a slight tug. It’s time for the next step if the branch comes away easily. If not, give it more time to detach naturally.
Leave No Trace
As you trim away spent foliage, ensure you obliterate it. Decaying leaves can be a breeding ground for disease and pests, potentially impacting the overall health of your garden.
Neat and Tidy Beds
Prune your tulips to the ground, ensuring a clean and tidy appearance. This contributes to the garden’s aesthetics and prevents overwintering pests from finding refuge in decaying plant material.
Mulch Matters
After pruning, consider adding a layer of mulch to protect the soil and bulbs during the colder months. Mulch helps regulate soil temperature and moisture levels, giving your tulips the best chance to thrive in the following season.
Spatial Symphony
If you plan to redesign or rearrange your garden, use the post-bloom phase to experiment with spatial arrangements. As the tulips’ presence diminishes, you have a blank canvas to envision new patterns and plant combinations.
Planting Partnerships
Consider interspersing your tulip beds with companion plants that will fill the visual void left by the tulips. This creates a dynamic and captivating landscape even after their blooms have faded.
Dealing with Dilemma: Should You Trim Greenery Immediately or Let It Wither Naturally?
As the final act of your tulip’s magnificent display draws to a close, a familiar gardening dilemma emerges the fate of the greenery that supported those splendid blooms. Should you trim it immediately, tidying up the stage, or let it wither naturally? Both choices have merits and considerations, making this decision a delicate balance between aesthetics and horticultural wisdom.
Immediate Gratification
Opting for immediate trimming can create a tidier appearance in your garden. Removing the greenery that once stood as a backdrop to the tulips can give the display a sense of completion. This choice allows you to swiftly transition the garden to its next phase, whether that involves planting new annuals or enjoying a more minimalistic landscape.
Natural Ebb and Flow
On the other hand, letting the greenery wither naturally pays homage to the rhythm of nature. The wilting foliage might need to be more visually pleasing, but it is vital to replenish the tulip bulbs with energy for next year’s performance. Allowing the leaves to photosynthesize and gather sunlight contributes to the bulb’s overall health and future blooms.
Creative Versatility
The choice isn’t necessarily binary; it can be a blend of both. Some gardeners creatively weave the withering foliage into their garden’s aesthetic, embracing the cycle of life as an integral part of the landscape. Tall grasses, perennials, or other plants can be strategically placed to partially conceal the fading tulip leaves, transforming the transition into an artistic statement.
Practical Measures
If you let the foliage wither naturally, consider discreetly placing temporary markers to remind yourself of the bulb’s location. This prevents accidental digging or damage while ensuring your garden remains undisturbed until the leaves fully serve their purpose.
Timing is Key
Whether you choose immediate trimming or the natural route, timing is paramount. If you decide on the latter, allow the foliage to be entirely yellow and wither before gently removing it. This ensures that the maximum amount of energy is transferred to the bulb.
Saying Goodbye with Care: Proper Post-Cutting Practices for Tulip Plant Health and Future Growth
As the final act of the tulip season approaches, it’s time to bid adieu to these splendid blooms with a touch of care and foresight. How you treat your tulips after cutting them plays a significant role in their health and the promise of their future growth. Saying goodbye with respect is not just a courteous gesture; it’s a fundamental aspect of responsible gardening.
Gentle Handling
The act of cutting tulips might mark the end of their garden journey, but it’s the beginning of a new phase for these blooms. Handle them gently as you arrange and transfer them to vases. Rough handling can damage delicate petals and hinder water uptake.
Trimming for Rejuvenation
When cutting the stems for indoor display, trim them at a slight angle. This facilitates water absorption and prolongs the vase life of the flowers. Additionally, removing excess foliage from the stems prevents the water from becoming overly murky due to bacterial growth.
Hydration is Key
Once cut, place your tulips in a clean vase filled with lukewarm water. Tulips are thirsty blooms, and ensuring they remain hydrated prolongs their beauty and freshness.
Avoid Direct Sunlight and Drafts
While you might be tempted to display your cut tulips in the sunniest spot, direct sunlight can cause them to wilt prematurely. Similarly, avoid placing them near drafts or heating vents, as these conditions can accelerate their demise.
Changing the Water
As days go by, the water in the vase can become cloudy and depleted of nutrients. Change the water every two days and give the stems a fresh trim to maintain water uptake.
Appreciation in Every Stage
Even as your cut tulips transition from blooming magnificence to a graceful fade, take a moment to appreciate each stage’s beauty. As petals fall and leaves wither, the intricate design of the tulip’s structure becomes more apparent, allowing you to witness the intricacies of nature’s artistry.
Transition to the Outdoors
Once your cut tulips have fulfilled their indoor display, consider returning them to the garden soil. While they might not bloom again this year, allowing the foliage to wither and naturally decompose in the garden beds contributes nutrients to the ground and sustains the health of the bulbs.
Conclusion
In the intricate tapestry of gardening, knowing when to cut down tulips is more than a mere horticultural decision; it’s an art form that involves understanding nature’s rhythm, balancing aesthetics with nurturing, and participating in the ever-evolving narrative of the garden.
As tulip petals gracefully fall and leaves gently wither, we are reminded of the fleeting beauty that nature bestows upon us. Whether you capture their brilliance indoors, let the greenery wane naturally, or bid them adieu with thoughtful pruning, each choice is a brushstroke in the masterpiece of your garden’s journey.
So, as you embark on the journey of tulip care, remember that the choices you make today resonate not only through this season but also shape the canvas of seasons to come. For more insights on gardening artistry and nurturing blooms, visit us at plantcouchcenter.com and continue crafting your garden’s captivating story.
When should I cut tulips?
After petals fall & foliage yellows, transition to dormancy for future blooms.
Can I bring tulips indoors?
Yes, cut at peak bloom, place in a vase with water; enjoy their beauty indoors.
Should I trim fading leaves?
Allow leaves to wither naturally; they nourish bulbs for next year's growth.


