
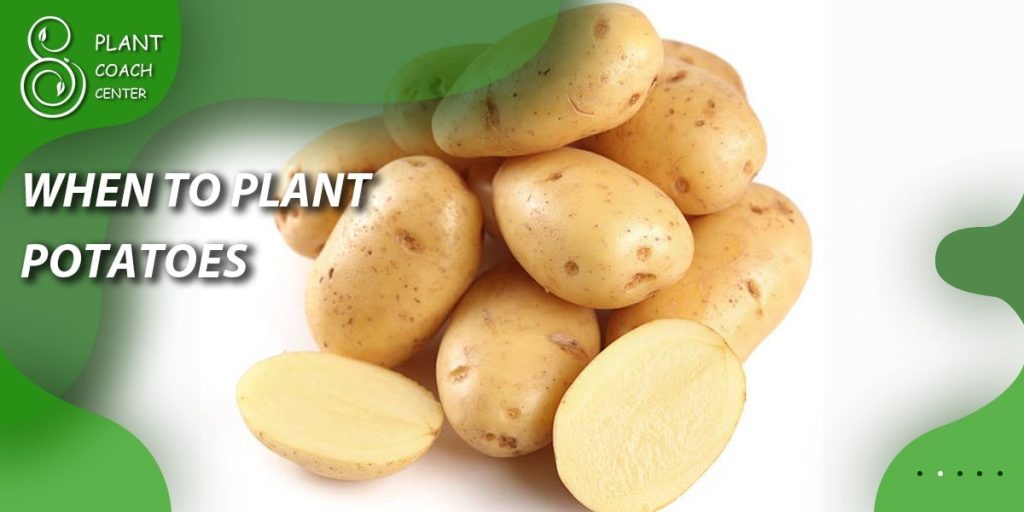
When to Plant Fall Potatoes
Growing potatoes in the fall can be a rewarding endeavor for gardeners who want to extend their harvest season and enjoy fresh, homegrown tubers well into the colder months. By understanding the specific considerations and techniques involved in fall potato planting, you can maximize your chances of success.
In this comprehensive guide, we will explore everything you need to know about when to plant fall potatoes, from selecting the right varieties to preparing the soil and providing optimal growing conditions. This article is brought to you by PlantCoachCenter.com, a trusted resource for plant enthusiasts seeking expert advice and guidance.
Understanding Potatoes and Their Varieties
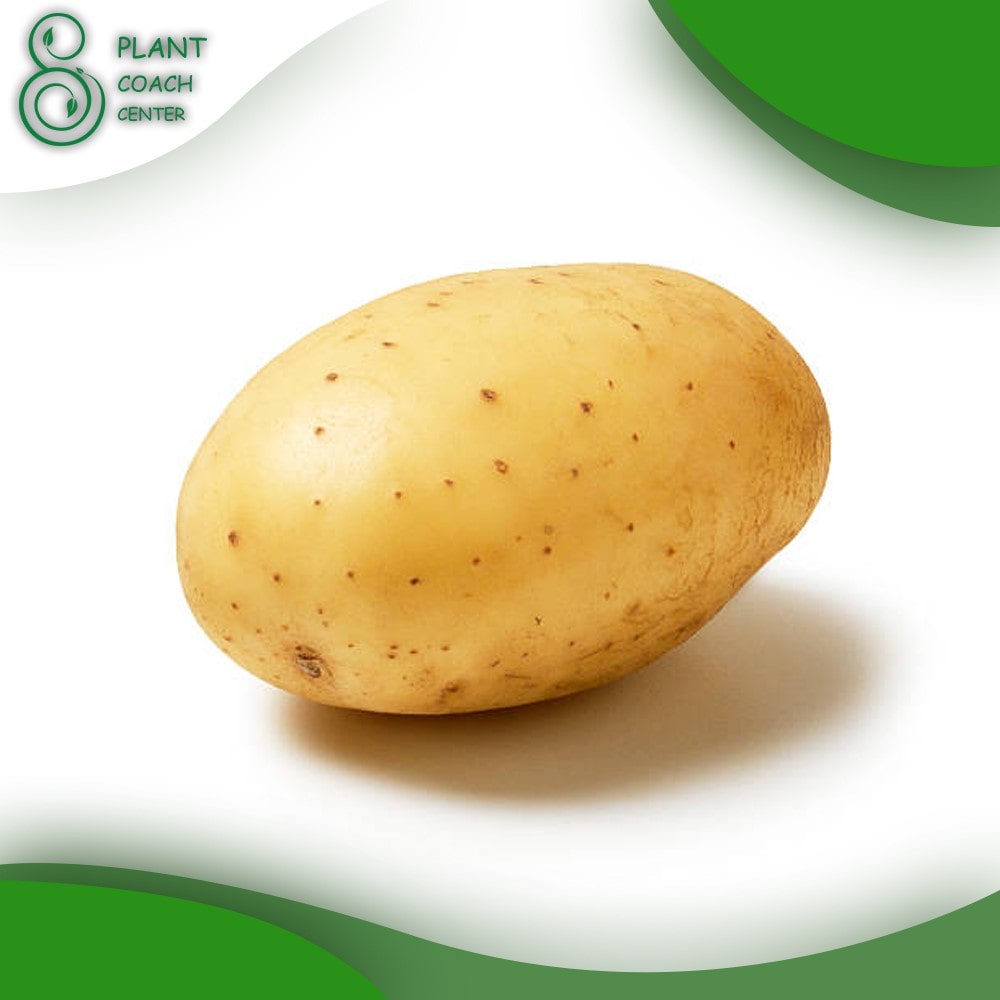
Potatoes (Solanum tuberosum) are versatile and nutritious root vegetables that come in a wide variety of shapes, sizes, and colors. Before diving into fall potato planting, it’s essential to familiarize yourself with different potato varieties and their growth characteristics. Some popular fall potato varieties include Yukon Gold, Russet, Red Norland, and Fingerling potatoes. Each variety has its unique flavor, texture, and preferred growing conditions, so choose the ones that best suit your culinary preferences and growing environment.
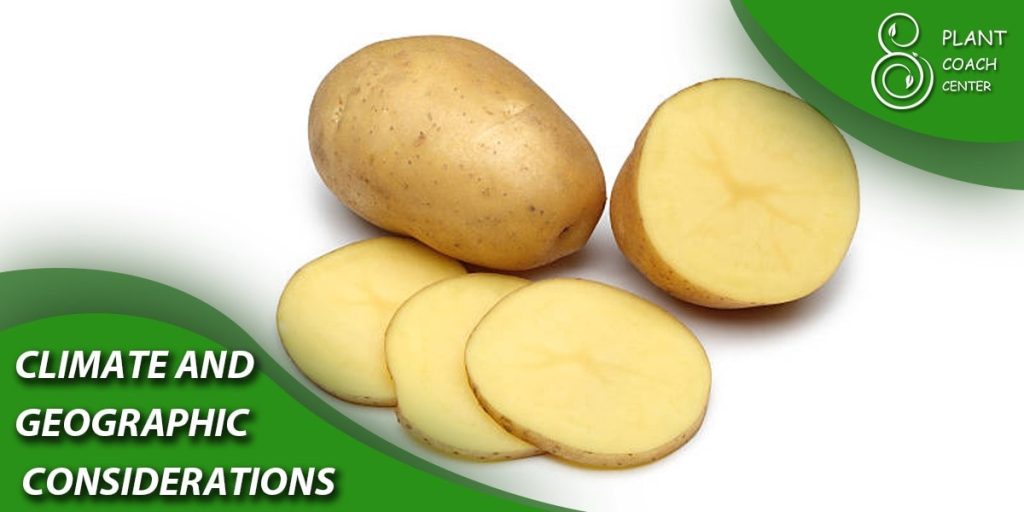
Climate and Geographic Considerations
The success of fall potato planting largely depends on the climate and geographic region in which you live. Potatoes thrive in cool temperatures and require a specific number of frost-free days to reach maturity. Understanding the climatic conditions and average frost dates in your area is crucial for determining the right time to plant fall potatoes.
Consult local gardening resources, extension offices, or reputable gardening websites to gather information about your region’s specific climate and the recommended planting windows for fall potatoes.
Soil Preparation for Fall Potato Planting
Preparing the soil is a critical step in ensuring healthy and productive fall potato plants. Potatoes prefer loose, well-draining soil with a slightly acidic pH between 5.0 and 6.0. Follow these steps to prepare your soil for fall potato planting:
- Soil Testing: Start by conducting a soil test to assess the pH level and nutrient content of your soil. This will help you determine if any amendments are necessary.
- Soil Amendments: Based on the soil test results, add organic matter such as compost, well-rotted manure, or peat moss to improve soil structure, fertility, and moisture retention. Incorporate the amendments into the top 6-8 inches of soil.
- Weed Control: Clear the planting area of weeds and grasses, ensuring that there is no competition for nutrients and space.
- Bed Preparation: Create raised beds or mounds to promote drainage and prevent waterlogging. This also facilitates easier harvesting later on.
Selecting and Preparing Seed Potatoes
Choosing high-quality seed potatoes is crucial for a successful fall potato harvest. Seed potatoes are specially grown and harvested for the purpose of planting. Here’s what you need to know about selecting and preparing seed potatoes:
- Certified Seed Potatoes: Purchase certified disease-free seed potatoes from reputable suppliers or nurseries. Certified seed potatoes ensure that you start with healthy, vigorous plants.
- Seed Potato Selection: Look for seed potatoes that are firm, free of blemishes, and have “eyes” or small sprouts. Avoid using supermarket potatoes, as they may be treated with growth inhibitors.
- Chitting: Before planting, consider chitting (pre-sprouting) the seed potatoes. Place them in a cool, well-lit area for a few weeks to encourage sprouting. This can give your potato plants a head start.
- Cutting and Drying: If your seed potatoes are larger than a golf ball, you can cut them into smaller pieces, ensuring that each piece has at least one or two eyes. Allow the cut surfaces to dry for a day or two before planting to prevent rotting.
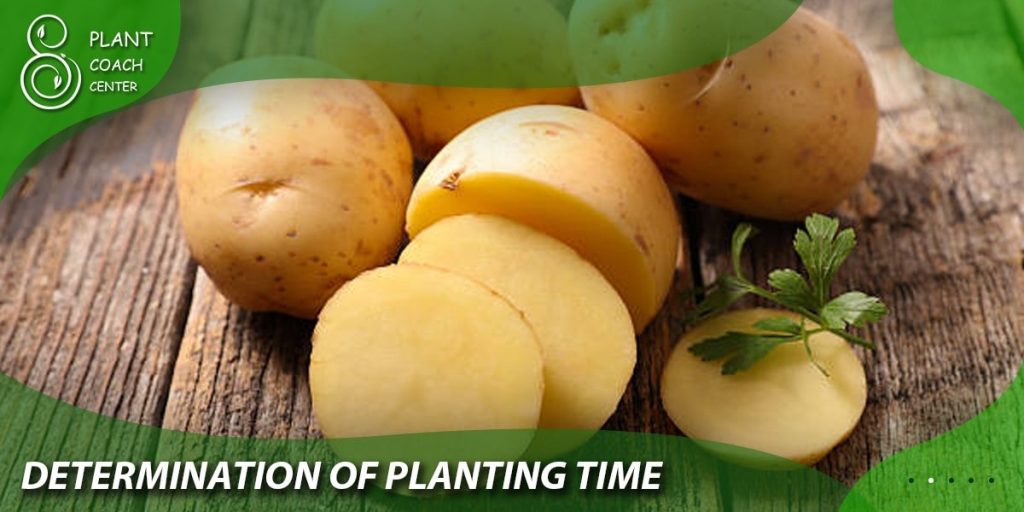
Determining the Ideal Planting Time for Fall Potatoes
Timing is crucial when it comes to planting fall potatoes. You need to consider both the average frost dates in your region and the specific requirements of the potato varieties you’re growing. Follow these guidelines to determine the ideal planting time for fall potatoes:
- Frost Dates: Determine the average date of the first fall frost in your area. Subtract the number of days to maturity for your chosen potato variety to calculate the ideal planting date. Aim to plant your potatoes 2-4 weeks before the first expected frost to allow them enough time to grow and mature.
- Days to Maturity: Different potato varieties have varying maturity periods, typically ranging from 70 to 120 days. Consult the seed potato packaging or reliable gardening resources for information on the days to maturity for the specific varieties you’re planting.
- Soil Temperature: In addition to frost dates, monitor the soil temperature. Potatoes require a soil temperature between 45°F (7°C) and 55°F (13°C) for proper sprouting and growth. Use a soil thermometer to check the temperature at a depth of 4-6 inches (10-15 cm) to ensure optimal conditions for planting.
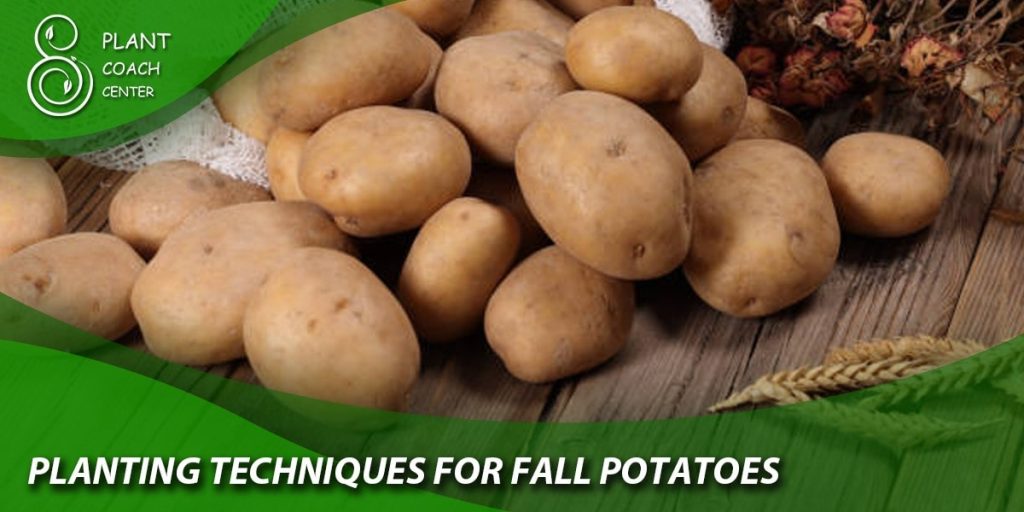
Planting Techniques for Fall Potatoes
Proper planting techniques contribute to the successful establishment and growth of fall potatoes. Follow these steps when planting your potatoes:
- Spacing: Plant seed potatoes in rows or mounds, spacing them about 10-12 inches apart. Maintain a distance of 2-3 feet between rows to allow for proper growth and easy access for maintenance.
- Planting Depth: Dig a small trench or hole approximately 4-6 inches (10-15 cm) deep. Place the seed potatoes in the trench with the sprouts facing up or the cut side facing down. Cover them with soil, leaving a slight mound to encourage drainage.
- Mulching: Apply a layer of organic mulch, such as straw or shredded leaves, around the planted potatoes. Mulching helps conserve moisture, suppresses weed growth, and regulates soil temperature.
- Watering: After planting, water the potatoes thoroughly to ensure proper hydration. Keep the soil consistently moist but not waterlogged throughout the growing season. Regular watering is particularly important during dry periods.
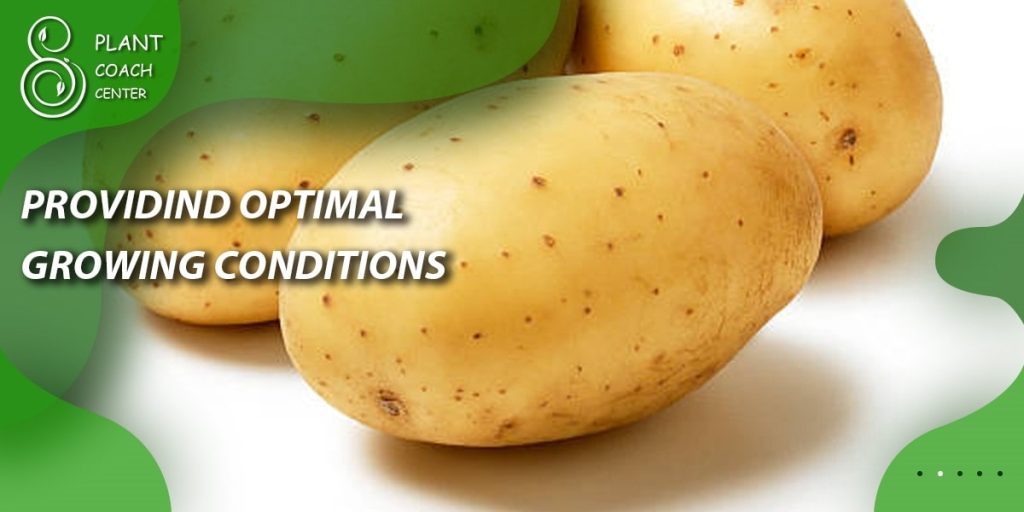
Providing Optimal Growing Conditions
Creating the right growing conditions for fall potatoes is crucial for their overall health and productivity. Consider the following factors to provide optimal conditions for your potato plants:
- Sunlight: Potatoes thrive in full sun, so choose a planting location that receives at least 6-8 hours of direct sunlight per day. Adequate sunlight promotes photosynthesis and contributes to robust plant growth.
- Temperature: Fall potatoes prefer cool temperatures, ideally ranging between 60°F (15°C) and 70°F (21°C) during the day. Cooler temperatures help prevent tuber greening and promote better flavor.
- Soil Moisture: Potatoes require consistent soil moisture to develop properly. Aim to keep the soil evenly moist but avoid waterlogging, as it can lead to rot and disease. Regularly monitor soil moisture levels and adjust watering accordingly.
- Soil Fertility: Prioritize soil fertility by providing adequate nutrients to your potato plants. Conduct a soil test to determine nutrient deficiencies and amend the soil with organic matter or balanced fertilizers as needed.
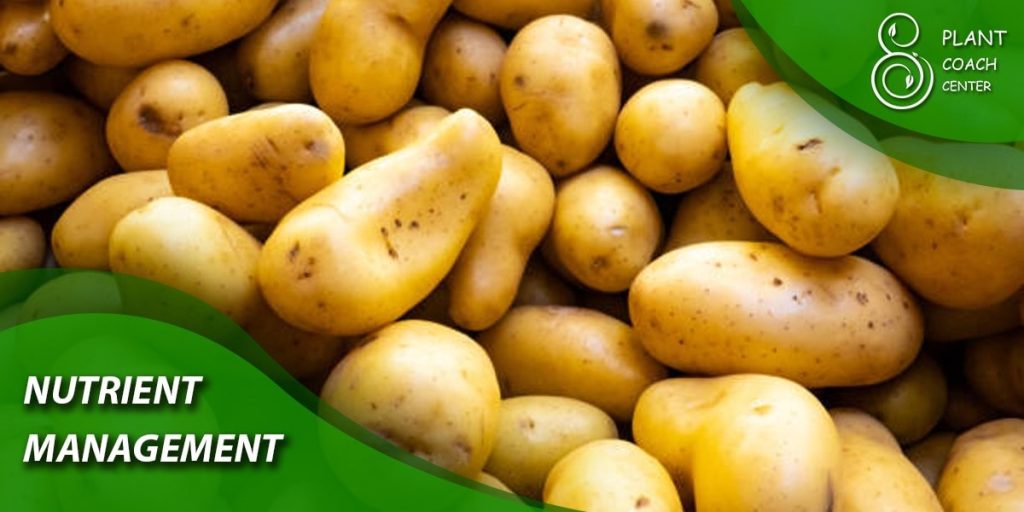
Nutrient Management for Fall Potatoes
Proper nutrient management is essential for the healthy growth and high yield of fall potatoes. Here are some guidelines to ensure optimal nutrient levels for your potato plants:
- Soil Testing: Conduct a soil test before planting to determine the nutrient content and pH level of your soil. This will help you identify any deficiencies or imbalances that need to be addressed.
- Nitrogen: Potatoes require a significant amount of nitrogen for vigorous growth and tuber development. Incorporate a balanced fertilizer or organic nitrogen source into the soil before planting. Additionally, side-dress the plants with nitrogen-rich fertilizer when they reach the mid-growth stage.
- Phosphorus and Potassium: Phosphorus and potassium are essential for root development, disease resistance, and overall plant health. Add a phosphorus and potassium fertilizer or organic amendments, such as bone meal or wood ash, to the soil before planting.
- Micronutrients: Ensure an adequate supply of micronutrients by incorporating compost or well-rotted manure into the soil. These organic amendments help provide a broad spectrum of micronutrients necessary for healthy potato growth.
Managing Pests and Diseases
Fall potato plants are susceptible to various pests and diseases that can impact their growth and yield. Implementing proper pest and disease management strategies is crucial. Here are some key considerations:
- Common Pests: Familiarize yourself with common pests that affect potatoes, such as Colorado potato beetles, aphids, and wireworms. Monitor your plants regularly and take appropriate action at the first sign of infestation.
– Colorado Potato Beetles: Handpick and destroy adult beetles and larvae. Apply organic insecticides if necessary.
– Aphids: Use insecticidal soap or neem oil to control aphid populations. Encourage natural predators like ladybugs.
– Wireworms: Rotate crops and use wireworm traps to reduce their populations. Avoid planting potatoes in areas previously infested with wireworms.
- Disease Prevention: Preventing diseases is crucial for maintaining healthy potato plants. Follow these practices to minimize disease risks:
– Crop Rotation: Avoid planting potatoes in the same location year after year to reduce the risk of soil-borne diseases.
– Seed Potato Selection: Choose certified disease-free seed potatoes to minimize the introduction of pathogens.
– Proper Spacing: Adequate spacing between plants allows for better air circulation, reducing the risk of foliar diseases.
- Disease Identification and Treatment: Familiarize yourself with common potato diseases, such as late blight and early blight. If you suspect a disease, promptly identify it and take appropriate action. Remove and destroy infected plant material to prevent the spread of pathogens.
Consider using organic and integrated pest management approaches to minimize environmental impacts and preserve beneficial insects and organisms in your garden.
Weed Control in Fall Potato Plantings
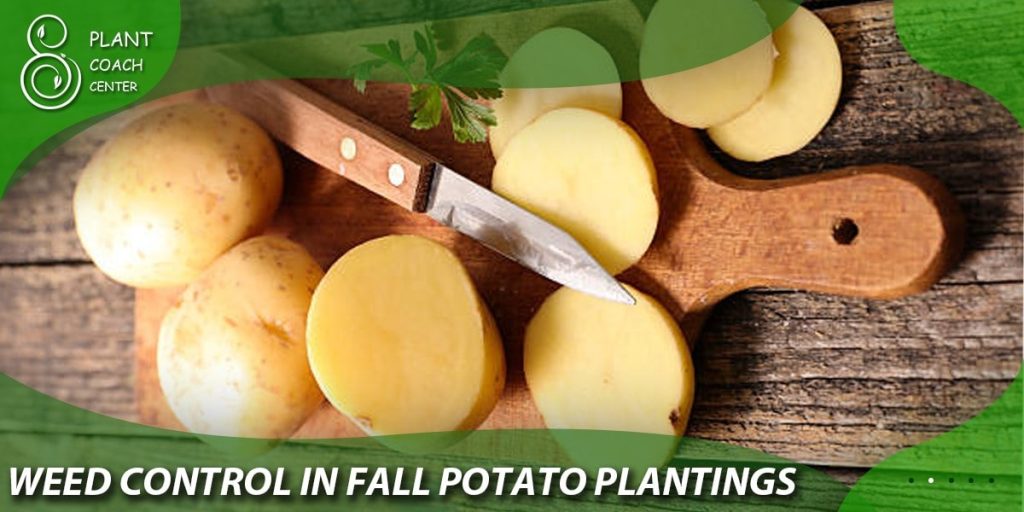
Weed management is essential to prevent competition for nutrients, water, and light in your fall potato plantings. Here are some effective weed control methods:
- Mulching: Apply a layer of organic mulch, such as straw or wood chips, around the base of your potato plants. Mulch helps suppress weed growth, conserve soil moisture, and maintain more consistent soil temperatures.
- Hand Weeding: Regularly inspect your potato beds and remove any emerging weeds by hand. Be careful not to disturb the potato plants or their shallow root systems.
- Hoeing: Use a garden hoe to carefully cultivate the soil between rows and around the base of potato plants. This helps disrupt weed growth and eliminates young weed seedlings.
- Weed-Free Planting: Before planting your potatoes, ensure that the planting area is free from weeds. Clear the site of any existing vegetation and thoroughly remove weed roots to prevent regrowth.
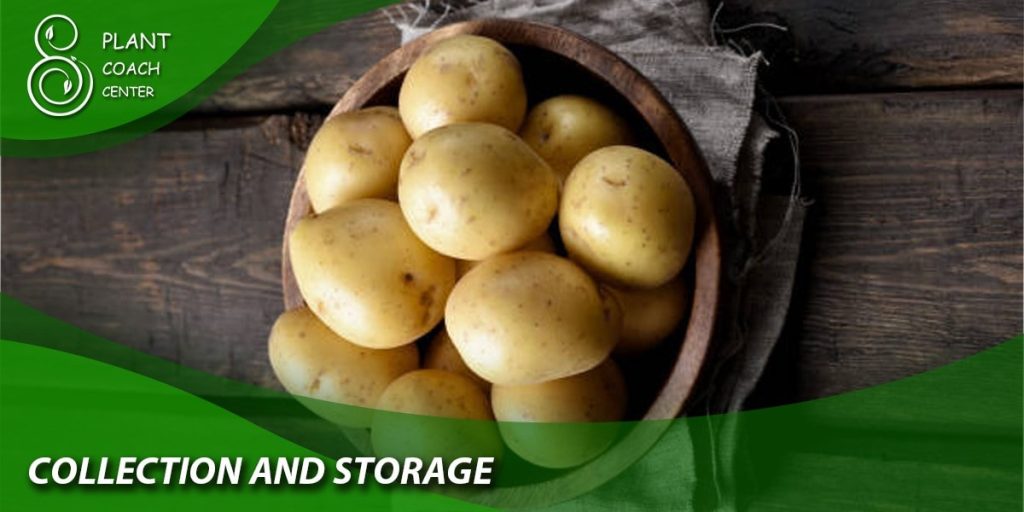
Harvesting and Storing Fall Potatoes
When your fall potato plants have reached maturity, it’s time to harvest and store the tubers. Follow these guidelines to ensure a successful harvest and proper storage:
- Harvesting Time: Fall potatoes are typically ready for harvest when the foliage turns yellow and begins to die back. It’s best to wait for about two weeks after the foliage has died back to allow the potatoes to mature fully.
- Harvesting Method: Carefully dig up the potatoes using a garden fork or shovel. Insert the tool into the soil at a distance from the plant to avoid damaging the tubers. Gently lift the plants, and then carefully brush off excess soil to expose the potatoes.
- Curing: After harvest, allow the potatoes to cure for about 1-2 weeks in a cool, well-ventilated area with moderate humidity. Curing helps toughen the skin and heal any minor wounds, extending their storage life.
- Storage Conditions: Once cured, store the potatoes in a cool, dark, and well-ventilated location. Ideal storage temperatures range from 35°F (2°C) to 40°F (4°C). Avoid storing potatoes near fruits, as the ethylene gas produced by ripening fruits can cause sprouting and spoilage.
- Storage Containers: Use breathable containers like burlap sacks, paper bags, or wooden crates for storing potatoes. These containers allow for air circulation, preventing moisture buildup and reducing the risk of rot.
- Monitoring: Regularly inspect stored potatoes for any signs of decay, sprouting, or disease. Remove any damaged or rotting potatoes to prevent the spread of spoilage.
- Long-Term Storage: If you’re planning to store potatoes for an extended period, consider periodically checking their condition and removing any deteriorating tubers. This helps prevent spoilage from spreading to the entire batch.
By following these harvesting and storage practices, you can enjoy the fruits of your labor and have a supply of fresh, homegrown potatoes well into the winter months.
Conclusion
Growing fall potatoes requires careful consideration of planting time, proper techniques, and providing optimal growing conditions. Pay attention to frost dates, days to maturity, and soil temperature to determine the ideal planting time. Follow recommended planting techniques, manage nutrients, pests, and diseases diligently, and implement weed control measures to promote healthy growth.
When it’s time to harvest, handle the potatoes with care, cure them, and store them in suitable conditions to prolong their shelf life. By adhering to these guidelines, you can enjoy a bountiful harvest of delicious fall potatoes.
When should I plant fall potatoes?
Early to mid-fall.
Is there a specific month for planting fall potatoes?
September or October.
Can I plant fall potatoes in late summer?
Yes, if the weather conditions are favorable.
How long does it take for fall potatoes to mature?
Approximately 80-100 days.