
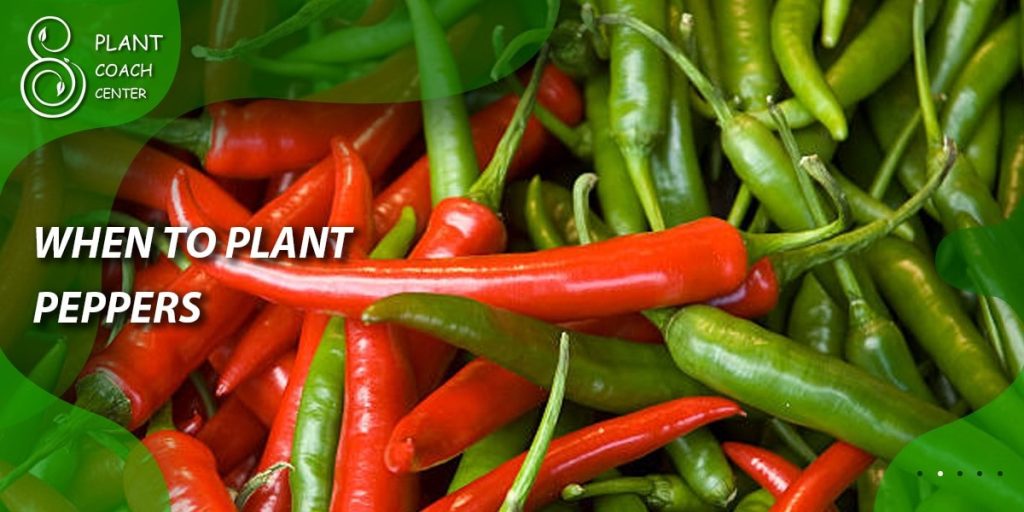
When to Plant Peppers
Planting peppers can be a rewarding experience for gardeners, as these vibrant and flavorful vegetables add a delightful kick to various culinary dishes. To ensure a successful pepper harvest, it is crucial to understand when and how to plant them.
In this comprehensive guide, we will delve into the process of planting peppers, while incorporating insights from plant coaching and troubleshooting practices. Please note that the content provided in this article is for informational purposes only and is not directly affiliated with plantcoachcenter.com.
Understanding Pepper Varieties
Peppers come in various types, each with its unique characteristics and flavors. Before diving into the planting process, it’s essential to explore the different pepper varieties and choose the ones that suit your preferences and growing conditions. Some popular pepper types include:
– Bell Peppers: Known for their mild flavor and vibrant colors, bell peppers are a versatile choice for cooking and snacking.
– Chili Peppers: Ranging from mildly spicy to intensely hot, chili peppers add heat and depth to dishes, making them a favorite among spice enthusiasts.
When selecting pepper varieties, consider factors such as taste preferences, heat tolerance, and disease resistance. It is beneficial to refer to reputable seed catalogs or consult local gardening experts to find suitable pepper varieties for your region.
Climate and Hardiness Zones
Pepper plants thrive in specific climate conditions, and understanding your region’s climate and hardiness zone is crucial for successful cultivation. Climate factors that affect pepper growth include temperature, humidity, and sunlight exposure. Hardiness zones, on the other hand, provide information about the average minimum winter temperatures in specific areas.
By identifying your hardiness zone, you can determine which pepper varieties are best suited for your region’s climate. The United States Department of Agriculture (USDA) assigns hardiness zones based on temperature data, and similar zone systems are used in other countries as well. It’s important to note that peppers are generally warm-weather plants and require adequate heat to flourish.
To determine your hardiness zone, you can refer to local gardening resources, consult gardening experts, or search for online resources that provide zone information based on your geographical location.
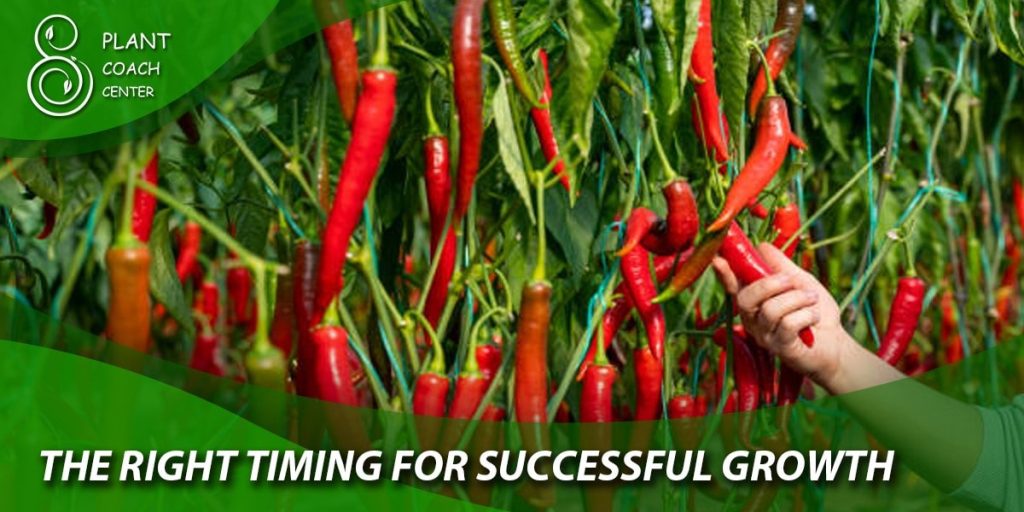
Frost Dates and Temperature Considerations
Pepper plants are highly sensitive to frost and cold temperatures, which can stunt their growth or even cause damage. Therefore, it is crucial to be aware of the average last frost date in your area before planting peppers. The last frost date refers to the estimated date when the probability of frost is significantly reduced.
Planting peppers too early, before the last frost date, can expose them to potential harm. It is recommended to wait until after the last frost date to ensure safer growing conditions for your pepper plants. However, it’s important to note that peppers also require warm temperatures to thrive, so it’s essential to consider both frost dates and optimal temperature ranges for successful cultivation.
The optimal temperature range for pepper planting is generally between 70°F (21°C) and 90°F (32°C). Peppers tend to germinate best when the soil temperature reaches at least 60°F (15°C). Soil thermometers can be used to monitor the temperature and ensure optimal conditions for planting.
Proper temperature considerations, including frost dates and optimal temperature ranges, are key factors in determining the right time to plant peppers in your region. By aligning your planting schedule with these temperature guidelines, you provide your pepper plants with the best chance to flourish.
Soil Preparation and Fertility
Preparing the soil properly is essential for providing peppers with the necessary nutrients and growing conditions. Here are some key points to consider:
- Soil Testing: Before planting peppers, it’s beneficial to conduct a soil test to assess its composition and nutrient levels. Soil testing kits are readily available at garden centers or through local agricultural extension services. The test results will indicate any deficiencies or imbalances in the soil, allowing you to make informed decisions regarding soil amendments.
- Soil Amendments: Based on the soil test results, you may need to amend the soil to improve its fertility. Common soil amendments include:
– Organic Matter: Incorporating compost, well-rotted manure, or other organic materials into the soil can enhance its structure, drainage, and nutrient content. Aim to add organic matter a few weeks before planting to allow it to decompose and integrate into the soil.
– pH Adjustment: Peppers prefer a slightly acidic soil with a pH range of 6.0 to 6.8. If your soil is too acidic (low pH) or alkaline (high pH), you can adjust it by adding amendments like lime to raise the pH or sulfur to lower it. Follow the instructions provided with the amendments and retest the soil to ensure the desired pH level is achieved.
– Nutrient Supplements: If the soil test indicates specific nutrient deficiencies, you can supplement with organic or synthetic fertilizers. Common macronutrients for peppers include nitrogen (N), phosphorus (P), and potassium (K). Select a balanced fertilizer or one specifically formulated for vegetables, and apply it according to the package instructions.
- Soil Drainage: Peppers thrive in well-draining soil to prevent waterlogged conditions that can lead to root rot. If your soil tends to retain excessive moisture, consider improving drainage by incorporating organic matter, creating raised beds, or using raised rows.
Starting Peppers from Seeds
Starting peppers from seeds allows for greater variety selection and ensures healthier, more robust plants. Follow these steps to successfully start pepper seeds indoors:
- Seed Selection: Choose high-quality pepper seeds from reputable sources. Consider factors such as flavor, heat level, disease resistance, and growth habit when selecting varieties. Refer to seed packets or catalogs for specific instructions on planting depth, spacing, and germination time.
- Timing: Start pepper seeds indoors 8-10 weeks before the anticipated transplanting date. Calculate this date by counting back from the last expected frost date in your area. Adequate time for seedlings to develop sturdy stems and mature leaves is crucial for successful transplanting.
- Containers and Soil Mix: Use clean seed trays or individual cell packs filled with a well-draining seed-starting mix. A mix containing peat moss, perlite, and vermiculite provides an ideal balance of moisture retention and aeration for seed germination.
- Planting Seeds: Sow pepper seeds at the recommended depth (typically around ¼ inch or 6 mm) in the prepared containers. Moisten the soil gently using a misting spray bottle or a fine watering can. Ensure the soil remains consistently moist but not waterlogged.
- Temperature and Light: Place the seeded containers in a warm location with temperatures around 70-80°F (21-27°C). Using a heating mat under the trays can provide consistent warmth, promoting faster and more uniform germination. Provide 12-16 hours of bright, indirect light daily using fluorescent or LED grow lights.
- Germination and Care: Pepper seeds typically germinate within 7-14 days. Once seedlings emerge, remove the plastic cover if using one and continue providing adequate light. Maintain a temperature of around 65-75°F (18-24°C) during the day and slightly cooler temperatures at night.
- Thinning and Fertilizing: When seedlings develop their first set of true leaves, thin them by removing weaker or crowded seedlings, allowing the strongest ones to thrive. Feed the seedlings with a diluted, balanced liquid fertilizer every two weeks to provide essential nutrients.
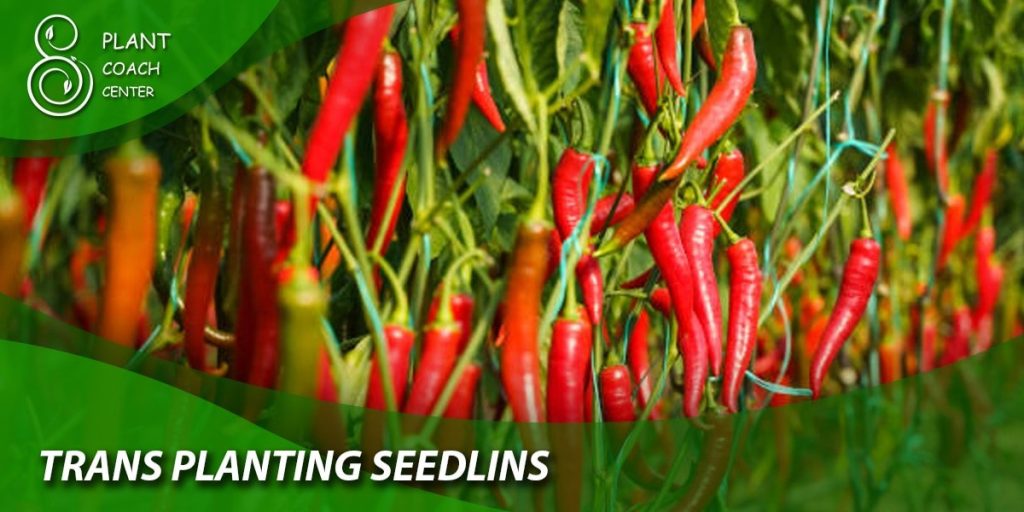
Transplanting Seedlings
Transplanting seedlings from indoor containers to the outdoor garden is a critical step in the pepper planting process. Follow these guidelines for successful transplanting:
- Harden Off Seedlings: About a week before transplanting, gradually expose the seedlings to outdoor conditions to help them adjust. Start by placing them in a sheltered location outdoors for a few hours each day, gradually increasing the time and exposure to sunlight and wind. This process, known as “hardening off,” prepares the seedlings for the outdoor environment.
- Timing: Transplant seedlings outdoors after the danger of frost has passed and soil temperatures consistently reach a minimum of 60°F (15°C). This typically aligns with the last frost date in your area. Ensure the soil is well-drained and warmed up, as cold soil can stunt growth.
- Spacing: Pepper plants require adequate space for proper air circulation and growth. Space transplants 18-24 inches (45-60 cm) apart in rows, leaving 24-36 inches (60-90 cm) between rows. This spacing allows the plants to receive sufficient sunlight and reduces the risk of disease transmission.
- Digging Holes: Dig holes slightly larger than the root ball of each seedling. Gently loosen the soil in the hole to promote root penetration and growth. Ensure the hole depth is such that the seedling’s soil line aligns with the garden soil surface.
- Planting: Carefully remove the seedlings from their containers, being cautious not to damage the delicate roots. Place each seedling in a prepared hole, backfill with soil, and firm it gently around the base of the plant. Water the transplant thoroughly to settle the soil and eliminate air pockets.
- Mulching: Apply a layer of organic mulch, such as straw or wood chips, around the base of the plants to help conserve moisture, suppress weed growth, and regulate soil temperature. Maintain a gap between the mulch and the stem to prevent excess moisture accumulation.
- Staking and Support: Depending on the pepper variety and expected plant size, consider providing support to prevent branches from breaking under the weight of fruit. Install stakes or cages around each plant early in the growing process to avoid damaging the root system later.
- Watering and Care: After transplanting, monitor the soil moisture closely and water the plants when the top inch (2.5 cm) of soil feels dry. Avoid overwatering, as excessive moisture can lead to disease issues. Additionally, provide regular irrigation during dry spells to ensure steady growth.
Direct Seeding Techniques
While starting peppers from seeds indoors is a popular method, you can also directly sow pepper seeds outdoors under the right conditions. Follow these guidelines for successful direct seeding:
- Timing: Direct seed peppers outdoors after the danger of frost has passed and the soil temperature consistently reaches a minimum of 60°F (15°C). This temperature range ensures optimal germination and seedling establishment.
- Soil Preparation: Prepare the soil by removing weeds, rocks, and debris. Loosen the soil to a depth of 6-8 inches (15-20 cm) using a garden fork or tiller. Incorporate organic matter, such as compost, to improve soil fertility and structure.
- Planting Depth: Sow pepper seeds at a depth of around ¼ to ½ inch (6-12 mm) in the prepared soil. Space the seeds according to the recommended seed packet instructions or leave about 12-18 inches (30-45 cm) between each seed.
- Germination and Thinning: Keep the soil evenly moist until the pepper seeds germinate, which typically takes 1-2 weeks. Once the seedlings emerge and grow their first set of true leaves, thin them to ensure proper spacing. Remove the weaker seedlings, leaving the strongest and healthiest ones to grow.
- Mulching: Apply a layer of organic mulch around the base of the plants to conserve moisture, suppress weed growth, and regulate soil temperature. Leave a gap between the mulch and the stem to prevent excess moisture accumulation and potential rot.
- Watering and Care: Water the seedbed regularly to keep the soil evenly moist until the seedlings are established. Once the plants have developed a strong root system, water deeply but less frequently to encourage deep root growth. Monitor soil moisture levels and adjust watering as necessary based on weather conditions.
- Thinning and Support: As the direct-seeded pepper plants grow, thin them to provide adequate space for each plant to thrive. Additionally, consider providing support to the plants if necessary, using stakes or cages, to prevent branches from breaking under the weight of fruit.
Managing Environmental Factors
To ensure optimal growth and productivity for your pepper plants, consider managing the following environmental factors:
- Sunlight: Peppers thrive in full sunlight, requiring at least 6-8 hours of direct sunlight each day. Select a planting location that receives ample sunlight to promote healthy plant development and fruit production.
- Temperature: Peppers prefer warm temperatures, ideally between 70-85°F (21-29°C) during the day and 60-70°F (15-21°C) at night. Protect the plants from frost or cold temperatures by covering them with floating row covers or providing temporary shelters during unexpected cold spells.
- Watering: Pepper plants require consistent soil moisture, but overwatering can lead to root rot and other diseases. Water the plants deeply when the top inch (2.5 cm) of soil feels dry, allowing excess water to drain away. Avoid wetting the leaves to minimize the risk of fungal diseases.
- Nutrients: Peppers benefit from regular feeding throughout the growing season. Apply a balanced fertilizer or one specifically formulated for vegetables, following the package instructions. Supplementing with additional nutrients, such as compost tea or fish emulsion, can also promote healthy growth.
- Pest and Disease Management: Monitor your pepper plants for common pests like aphids, flea beetles, and caterpillars. Use organic pest control methods like handpicking, spraying with insecticidal soap or neem oil, and introducing beneficial insects. Employ good cultural practices, such as proper spacing and adequate airflow, to minimize the risk of diseases like fungal infections and bacterial spot.
Conclusion
growing peppers can be a rewarding and enjoyable experience. Whether you choose to start peppers from seeds indoors or directly sow them in the garden, proper timing is crucial for successful growth and abundant harvests.
Starting peppers from seeds indoors allows for greater variety selection, healthier seedlings, and earlier planting. By following the steps outlined in the guide, you can effectively start pepper seeds, transplant the seedlings outdoors, and provide them with the necessary care and support.
Direct seeding techniques offer a simpler approach, allowing you to sow pepper seeds directly in the garden. By paying attention to soil temperature, soil preparation, watering, and thinning, you can encourage strong germination and growth.
Managing environmental factors such as sunlight, temperature, watering, and nutrient levels is vital for the overall health and productivity of pepper plants. By providing optimal growing conditions and addressing potential pest and disease issues, you can help your pepper plants thrive.