
Introduction to When to Plant Potatoes in Zone 7b:
Welcome to our comprehensive guide on planting potatoes in Zone 7b. Proper timing is crucial for a successful potato crop, and understanding the specific requirements of your growing zone is essential.
In this article, we will explore the factors influencing the ideal planting time, discuss soil preparation, planting techniques, care, and harvesting methods. Whether you’re a novice or experienced gardener, this guide will provide valuable insights to help you achieve a bountiful potato harvest in Zone 7b.
Understanding Potatoes and Their Growth Requirements
Potatoes are versatile and nutritious tubers that require specific conditions for optimal growth. Before diving into the planting process, let’s familiarize ourselves with key aspects of potato cultivation in Zone 7b:
Potato Varieties Suitable for Zone 7b
In Zone 7b, you have a range of potato varieties to choose from, each with unique characteristics. Some popular options suitable for this zone include:
– Russet Burbank: Known for its high-starch content and excellent baking qualities.
– Yukon Gold: A versatile variety with golden flesh and buttery flavor.
– Red Pontiac: Ideal for boiling and roasting, with red skin and firm texture.
Research and select potato varieties based on your preferences, culinary uses, and disease resistance.
Key Factors Affecting Potato Growth
Successful potato cultivation depends on several factors that impact their growth and development. Understanding these factors will help you make informed decisions throughout the planting process:
Temperature: Potatoes thrive in cool weather, with optimal growth occurring between 60°F and 70°F (15°C and 21°C). Extreme heat or frost can negatively affect their development.
Daylight Duration: Potato plants require a specific number of daylight hours for proper tuber formation. Understanding the day length requirements of different potato varieties is crucial for timing your planting.
Soil Conditions: Potatoes prefer well-draining, loamy soil with a slightly acidic pH between 5.8 and 6.5. Soil fertility, structure, and nutrient content significantly impact potato growth.
Watering Needs: Maintaining consistent soil moisture is crucial for potato plants. Adequate watering, avoiding both drought stress and waterlogging, is essential for healthy tuber development.
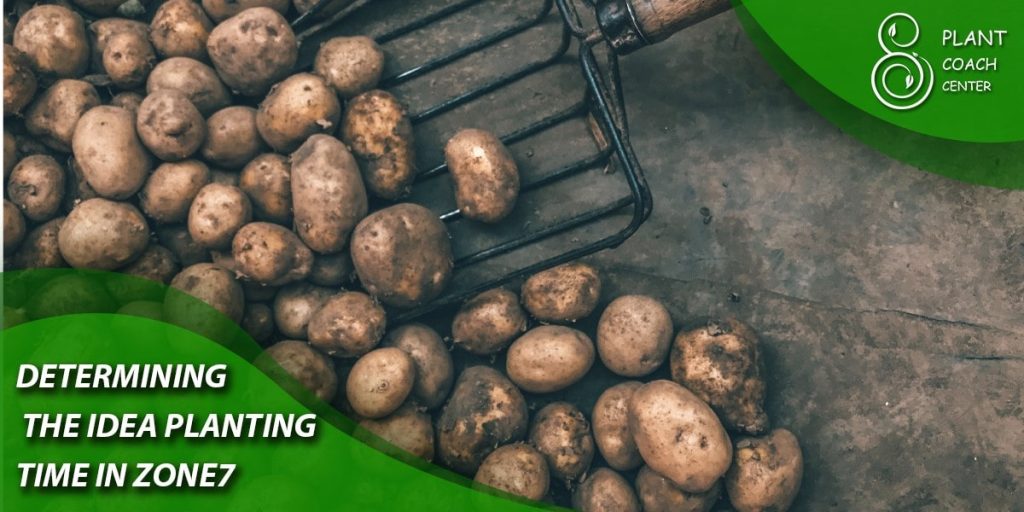
Determining the Ideal Planting Time in Zone 7b
To maximize your potato yield, it’s crucial to determine the ideal planting time in Zone 7b. Considering the average last frost date and the specific climate of your region will help you establish a planting window that minimizes the risk of frost damage and promotes optimal growth.
Frost Dates and Their Significance
Frost dates play a pivotal role in determining when it’s safe to plant potatoes. The last frost date indicates the approximate time when the probability of frost occurring is low enough to proceed with planting. Conversely, the first frost date marks the end of the growing season.
Average Last Frost Date in Zone 7b
In Zone 7b, the average last frost date typically falls between [insert month] and [insert month]. However, it’s important to note that these dates can vary from year to year, so it’s advisable to consult local gardening resources or the nearest agricultural extension office to obtain the most accurate and up-to-date information.
Average First Frost Date in Zone 7b
The average first frost date in Zone 7b is typically around [insert month]. Knowing this date helps you plan your harvest and ensure that your potatoes reach maturity before the onset of frost.
Calculating the Planting Window
To calculate the planting window, subtract the number of days required for potatoes to reach maturity (usually specified on the seed packet) from the average first frost date. This will give you an approximate date by which you should complete your potato planting.
Keep in mind that this is a general guideline, and other factors such as soil temperature and weather conditions can influence the exact timing. Monitoring soil temperature and observing weather patterns can further refine your planting schedule.
By aligning your planting timeframe with the frost dates and considering additional factors, you can optimize the chances of a successful potato harvest in Zone 7b.
Factors Influencing Planting Time in Zone 7b
In addition to frost dates, several other factors can influence the precise timing of potato planting in Zone 7b. These factors include soil temperature, microclimates, and rainfall patterns. Understanding their impact will help you make informed decisions about when to plant your potatoes.
Soil Temperature Considerations
Potatoes prefer soil temperatures of around 45°F to 55°F (7°C to 13°C) for proper tuber development. Planting potatoes in colder soil can lead to slow germination or rotting, while planting in excessively warm soil may delay tuber formation. Use a soil thermometer to monitor soil temperature and ensure it falls within the optimal range before planting.
Microclimates and Their Impact on Planting Dates
Zone 7b encompasses a range of microclimates, which are small-scale variations in temperature, moisture, and other environmental factors within a larger zone. Certain areas within Zone 7b may experience unique conditions, such as sheltered valleys or elevated locations, which can affect planting dates. Be mindful of these microclimates and adjust your planting schedule accordingly.
Rainfall Patterns and Soil Moisture Levels
Consider the rainfall patterns in your region when deciding on the planting time. Potatoes require adequate soil moisture for proper growth, but excessive rainfall can lead to waterlogged soil and cause issues like rotting or disease. Aim to plant potatoes when the soil is moist but not overly saturated. If heavy rainfall is expected, it may be beneficial to delay planting until conditions improve.
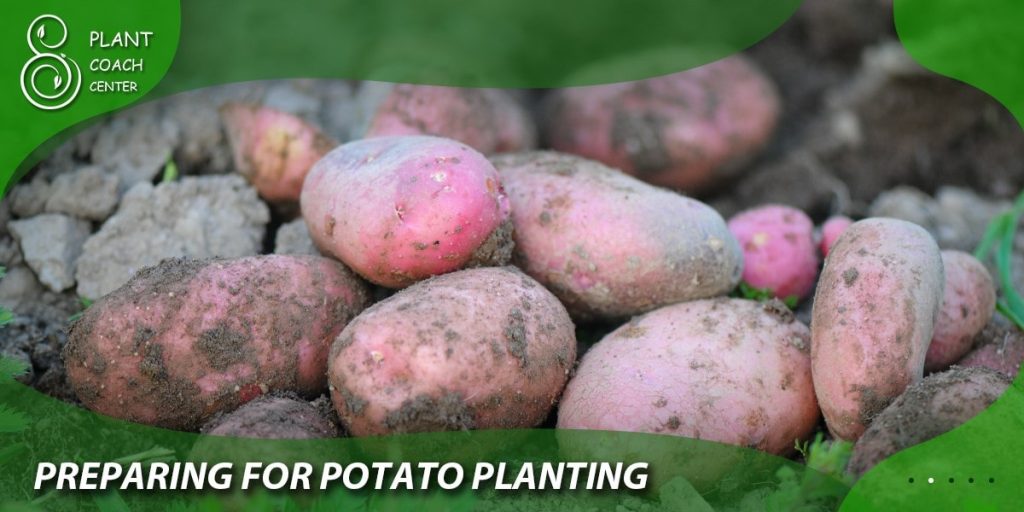
Preparing for Potato Planting
Before planting potatoes in Zone 7b, it’s essential to prepare the soil and ensure that your seed potatoes are in optimal condition. Adequate soil preparation and proper seed selection and preparation are key to setting the stage for a successful potato crop.
Soil Preparation for Potatoes
- Testing and Amending Soil: Conduct a soil test to assess its pH level and nutrient content. Potatoes thrive in slightly acidic soil with a pH range of 5.8 to 6.5. If necessary, adjust the pH by adding organic matter or soil amendments recommended by your soil test results.
- Improving Drainage and Fertility: Potatoes prefer well-draining soil to prevent waterlogging and root rot. If your soil has poor drainage, consider incorporating organic matter such as compost or well-rotted manure to improve its structure and fertility.
- Incorporating Organic Matter: Work organic matter into the soil to enhance its moisture retention, nutrient availability, and overall soil health. Organic matter also helps create a loose and crumbly texture that aids in root development.
Seed Selection and Preparation
- Choosing Certified Seed Potatoes: Select high-quality seed potatoes from reputable sources or certified seed suppliers. Certified seed potatoes are free from diseases and offer better yield potential.
- Chitting or Pre-Sprouting Potatoes: Chitting involves allowing seed potatoes to sprout before planting. Place them in a cool, well-lit area with temperatures around 50°F to 60°F (10°C to 15°C) for a few weeks. This process encourages early sprouting, which can lead to faster growth once planted.
- Cutting and Drying Seed Potatoes: If your seed potatoes are large, you can cut them into smaller pieces, ensuring that each piece has at least two or three eyes. Allow the cut surfaces to dry for a day or two before planting. This helps reduce the risk of rot and improves the chances of successful sprouting.
Proper soil preparation and seed selection are crucial steps that set the foundation for healthy potato plants. By optimizing the soil conditions and ensuring your seed potatoes are in good shape, you increase the likelihood of a thriving potato crop.
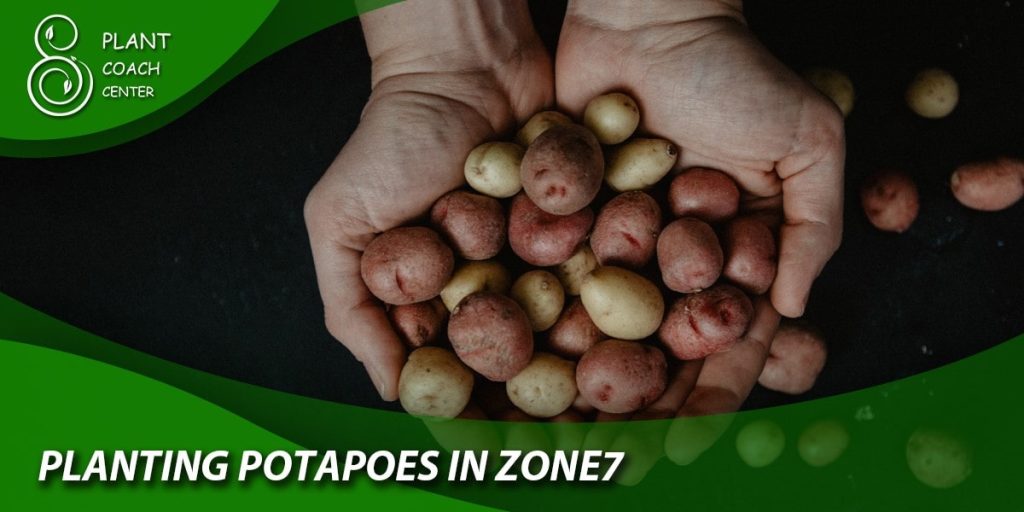
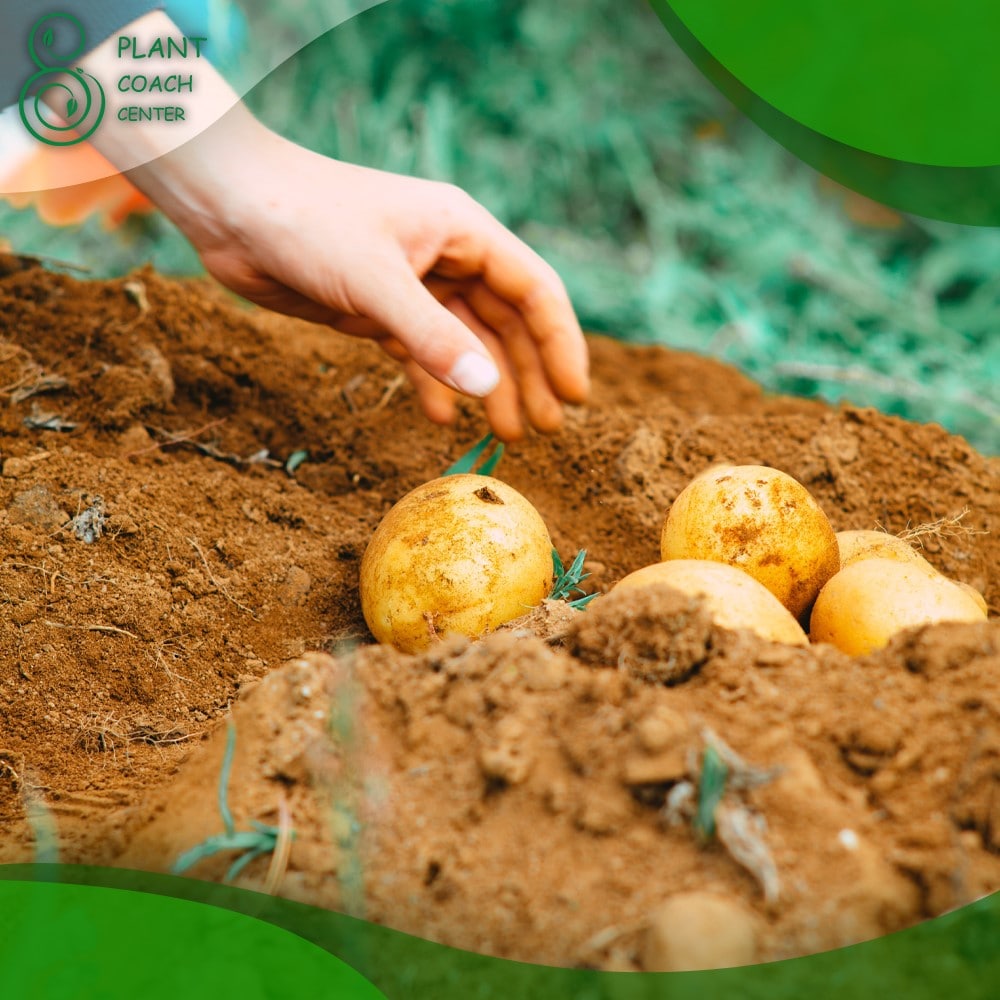
Planting Potatoes in Zone 7b
Now that you’ve prepared the soil and selected your seed potatoes, it’s time to plant them in Zone 7b. Understanding the planting methods and techniques specific to potatoes will help you establish a strong foundation for their growth.
Traditional vs. No-Dig Planting Methods
There are two primary methods for planting potatoes: traditional planting and no-dig planting.
– Traditional Planting: In this method, trenches or furrows are created in the soil, and seed potatoes are planted at a specific depth, usually around 4 to 6 inches (10 to 15 cm). As the plants grow, soil is gradually mounded or hilled around the stems to encourage tuber formation.
– No-Dig Planting: As an alternative to traditional planting, the no-dig method involves placing seed potatoes directly on the soil surface or a layer of organic mulch. The potatoes are then covered with additional mulch or soil as they grow. This method can help conserve moisture and reduce weed competition.
Both planting methods have their advantages, so choose the one that suits your preferences, available resources, and gardening philosophy.
Proper Spacing and Depth for Planting
To give your potato plants sufficient room to grow and develop healthy tubers, it’s important to follow the recommended spacing and planting depth guidelines:
– Spacing: Plant seed potatoes approximately 12 to 15 inches (30 to 38 cm) apart within rows. Leave 2 to 3 feet (60 to 90 cm) between rows to allow for adequate air circulation and easy access for maintenance.
– Planting Depth: Plant seed potatoes at a depth of around 4 to 6 inches (10 to 15 cm) in the soil. Deeper planting can delay sprouting, while shallower planting may expose tubers to sunlight, leading to greening and increased toxin production.
Planting Techniques for Different Potato Varieties
Different potato varieties may have specific planting requirements based on their growth habits and maturity lengths. Consider the following techniques when planting specific types:
– Early Varieties: Early potatoes mature faster, typically within 60 to 80 days. Plant them earlier in the season to take advantage of cooler temperatures and ensure an earlier harvest.
– Maincrop Varieties: Maincrop potatoes take longer to mature, usually between 80 to 120 days. Plant them when soil and weather conditions are favorable for their extended growth period.
– Container Planting: If space is limited, you can grow potatoes in containers such as pots, bags, or grow boxes. Ensure containers have adequate drainage holes, and use a well-draining potting mix. Plant one or two seed potatoes per container, following the same spacing and planting depth guidelines.
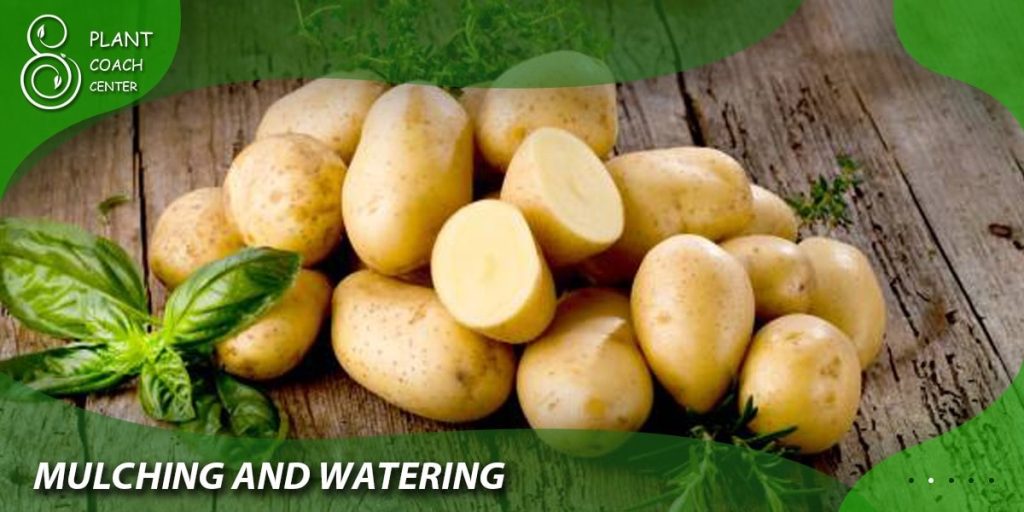
Mulching and Watering
After planting your potatoes, it’s important to provide them with proper mulching and watering to support their growth and development.
– Mulching: Apply a layer of organic mulch, such as straw or shredded leaves, around the potato plants. Mulching helps conserve soil moisture, suppresses weed growth, and regulates soil temperature. Maintain a mulch layer of about 2 to 4 inches (5 to 10 cm) thick.
– Watering: Potatoes require consistent soil moisture throughout their growing season. Keep the soil evenly moist, but not waterlogged. Water deeply when necessary, aiming for about 1 to 2 inches (2.5 to 5 cm) of water per week, including rainfall. Adjust watering frequency depending on weather conditions and soil moisture levels.
Managing Pests and Diseases
Potatoes can be susceptible to various pests and diseases, so it’s important to monitor and manage them proactively. Here are a few strategies to help prevent and control common issues:
– Crop Rotation: Avoid planting potatoes in the same location year after year. Implement a crop rotation plan where potatoes are grown in a different area of the garden each year to reduce the risk of soil-borne diseases and pests.
– Pest Control: Monitor for common potato pests such as Colorado potato beetles, aphids, and potato leafhoppers. Use organic pest control methods, such as handpicking or using insecticidal soaps or neem oil, to manage infestations.
– Disease Prevention: Practice good sanitation by removing and disposing of any infected or diseased plant material. Choose disease-resistant potato varieties when available. Additionally, avoid overwatering and ensure proper soil drainage to prevent conditions favorable for diseases like late blight or fungal rots.
Harvesting Potatoes
The time to harvest your potatoes will depend on the variety and desired size. Here are some general guidelines:
– Earlies: Harvest early potatoes when the plants have flowered and the tubers are small to medium-sized. Carefully dig around the plants and harvest as needed. Early potatoes are typically harvested before the plants reach maturity.
– Maincrops: For maincrop potatoes, wait until the plants have died back or the foliage has turned yellow and withered. Gently dig up the tubers, being careful not to damage them. Allow harvested potatoes to dry and cure in a cool, dark, and well-ventilated area for a week or two before storing.
Storing Potatoes
Proper storage is crucial to preserve the quality and flavor of your harvested potatoes. Follow these tips for storing potatoes:
– Curing: After harvesting, allow the potatoes to cure for a brief period at around 50°F to 60°F (10°C to 15°C) and high humidity. Curing helps toughen the skin and heal small wounds.
– Storage Conditions: Store cured potatoes in a cool, dark, and well-ventilated area with temperatures between 35°F and 40°F (2°C and 4°C). Avoid storing them near onions or fruits that release ethylene gas, as it can accelerate sprouting.
– Storage Containers: Use breathable containers like burlap sacks, paper bags, or wooden crates to store potatoes. Avoid plastic bags, as they can trap moisture and promote rotting.
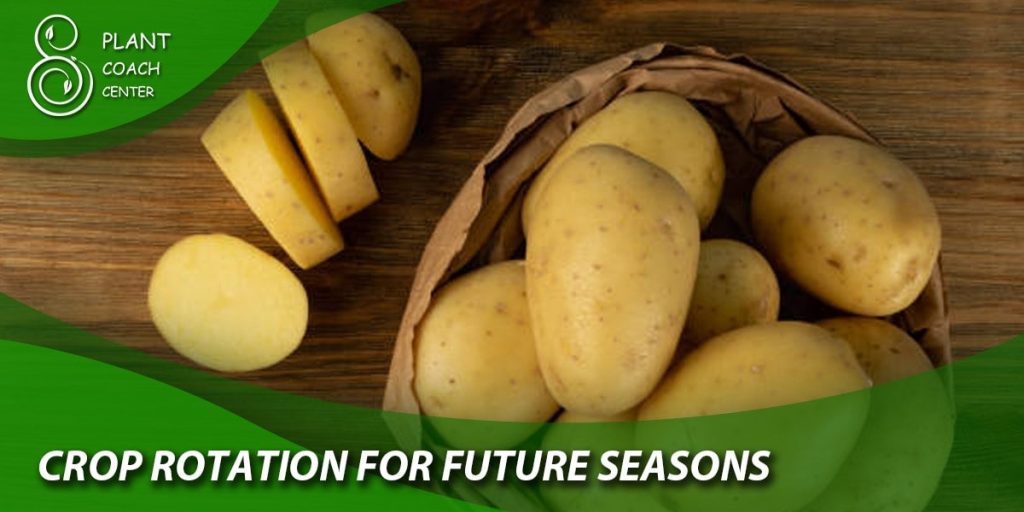
Crop Rotation for Future Seasons
After harvesting your potato crop, it’s important to practice crop rotation to maintain soil health and prevent the buildup of pests and diseases. Crop rotation involves alternating the types of crops grown in specific areas of your garden each year. Here’s a basic crop rotation plan:
- Year 1: Potatoes and other Solanaceae family crops (e.g., tomatoes, peppers, eggplants) should not be planted in the same area where potatoes were grown the previous year. Instead, opt for crops from different plant families such as legumes (beans, peas), leafy greens (lettuce, spinach), or brassicas (cabbage, broccoli).
- Year 2: Move the potato planting area to a new location in your garden. This helps reduce the risk of soil-borne diseases and pests that may have overwintered from the previous potato crop.
- Year 3: Avoid planting potatoes or other Solanaceae crops in the same area where they were grown two years ago. Continue rotating with different plant families to maintain soil fertility and reduce the likelihood of pest and disease issues.
By rotating your crops each year, you disrupt pest and disease life cycles, improve soil health, and promote overall garden productivity.
Conclusion
Growing potatoes in Zone 7b requires proper soil preparation, seed selection, planting techniques, and care throughout the growing season. Remember to test and amend your soil, select high-quality seed potatoes, and provide adequate spacing and planting depth. Mulch and water your plants appropriately, and take proactive measures to manage pests and diseases. Harvest your potatoes at the right time and store them properly to enjoy their flavor and quality for an extended period.
Additionally, practice crop rotation to maintain soil health and prevent the buildup of pests and diseases. By following these guidelines, you’ll increase your chances of a successful potato harvest and a thriving garden in Zone 7b. Happy gardening!