When to Plant Potatoes in Zone 9
Planting potatoes at the right time is crucial for a successful harvest. In Zone 9, where the climate poses unique challenges, understanding the optimal planting time is essential. This comprehensive guide will walk you through the process of determining when to plant potatoes in Zone 9 and provide valuable tips to maximize your success.
Understanding Potato Growth and Development
Potatoes have a distinct life cycle, and understanding their growth and development is key to choosing the right planting time. Here’s an overview of the stages involved:
Germination: Once planted, potatoes begin to sprout within a few weeks, emerging as shoots from the seed potatoes.
Vegetative Growth: During this stage, the potato plants focus on developing a robust leaf canopy, which is crucial for energy production and tuber formation.
Tuber Initiation: As the plants mature, they enter the tuber initiation phase. This is when the potato plants start allocating nutrients towards tuber development.
Tuber Bulking: The tubers grow in size during this phase, accumulating starch and nutrients. It’s a critical period for the final yield and quality of the potatoes.
Maturity: At the end of the growth cycle, the potato plants start senescing, and the tubers reach maturity. This is the optimal time for harvesting.
Climate Considerations in Zone 9
Zone 9 has a unique climate characterized by hot summers and mild winters. Understanding the climate patterns in your specific area within Zone 9 is crucial for determining the best time to plant potatoes. Here are some key climate considerations:
Temperature: Zone 9 experiences high temperatures, especially during summer. Potatoes prefer cooler conditions, so it’s important to plan your planting time accordingly. Keep track of average temperatures and identify the optimal temperature range for potato growth.
Frost Dates: While Zone 9 generally has mild winters, there can still be occasional frost events. Familiarize yourself with the average last frost date in your area, as planting too early can expose young potato plants to potential frost damage.
Microclimates: Zone 9 encompasses a range of microclimates, influenced by factors such as elevation, proximity to bodies of water, and urban heat islands. Take note of any microclimate variations in your garden or local area, as they can impact temperature and frost patterns.
Potato Varieties Suitable for Zone 9
Choosing the right potato varieties adapted to Zone 9 conditions is crucial for successful growth. Look for varieties that exhibit traits such as heat tolerance, disease resistance, and shorter maturity periods. Here are some recommended potato varieties for Zone 9:
Yukon Gold: This popular variety performs well in Zone 9, tolerating heat and producing medium-sized, golden-fleshed tubers.
Red LaSoda: Known for its disease resistance, Red LaSoda is a reliable choice for Zone 9 gardeners. It produces round, red-skinned potatoes with creamy flesh.
Kennebec: Kennebec is a versatile variety suitable for various climates, including Zone 9. It offers good heat tolerance and produces large, white-skinned potatoes.
Adirondack Blue: If you’re looking for a unique potato variety, Adirondack Blue stands out with its vibrant blue skin and blue flesh. It performs well in Zone 9 gardens.
Determining the Best Planting Time
Timing is crucial when planting potatoes in Zone 9. Consider the following factors to determine the optimal planting time:
Soil Temperature: Potatoes prefer cool soil for optimal growth. Wait until the soil reaches a temperature of around 50°F (10°C) before planting. Use a soil thermometer to monitor the temperature at a depth of 4-6 inches (10-15 cm).
Last Frost Date: Planting potatoes too early can expose them to potential frost damage. Determine the average last frost date in your area and plan your planting accordingly. It’s generally safe to plant potatoes two to four weeks before the last expected frost date.
Day Length: Potatoes require a certain amount of daylight to grow and develop. Longer days promote vegetative growth, while shorter days trigger tuber formation. Consider the day length in your area and select appropriate planting times to align with the desired growth stages.
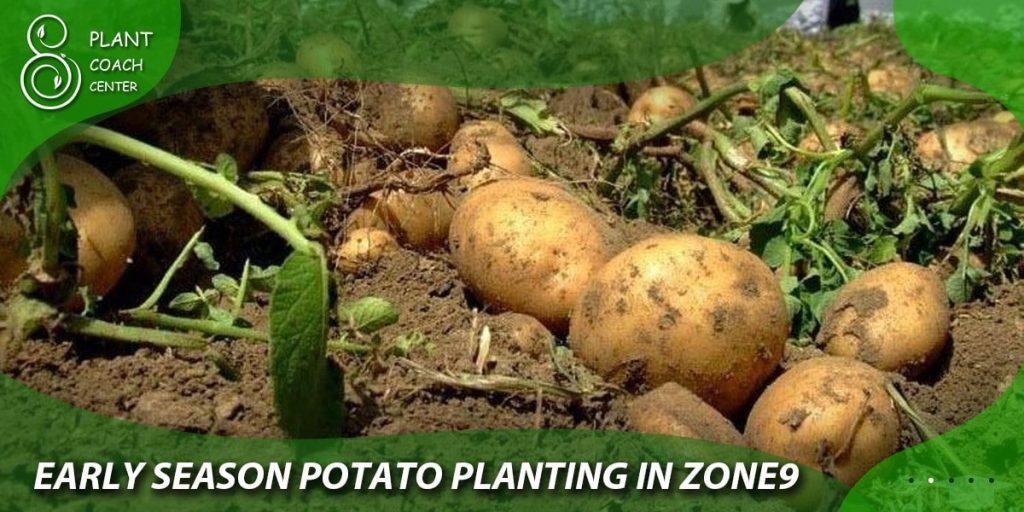
Early Season Potato Planting in Zone 9
Early season planting can be advantageous in Zone 9 to take advantage of cooler temperatures. Here’s what you need to know:
Advantages: Early planting allows potatoes to establish and grow before the intense heat of summer. It can result in higher yields and better quality tubers.
Recommended Varieties: Choose early-maturing potato varieties for early season planting. They have a shorter growing cycle and can tolerate cooler temperatures. Examples include ‘Norland’ and ‘Irish Cobbler.’
Preparing the Garden: Before planting, ensure the soil is well-drained and has adequate organic matter. Clear any weeds or debris from the planting area. Consider using row covers or mulch to protect young plants from potential late frosts.
Mid-Season Potato Planting in Zone 9
Mid-season planting is a suitable option for Zone 9 gardeners who missed the early planting window. Consider the following:
Optimal Conditions: Mid-season planting takes advantage of warmer soil temperatures while avoiding the peak heat of summer. Aim to plant when the soil has warmed up to around 60-70°F (15-21°C).
Recommended Varieties: Select mid to late-maturing potato varieties for mid-season planting. These varieties have a longer growing cycle and can handle higher temperatures. Examples include ‘Red Pontiac’ and ‘Russet Burbank.’
Preparing the Garden: Prepare the soil by incorporating organic matter and ensuring proper drainage. Remove any weeds and loosen the soil to a depth of 8-10 inches (20-25 cm) for optimal root development.
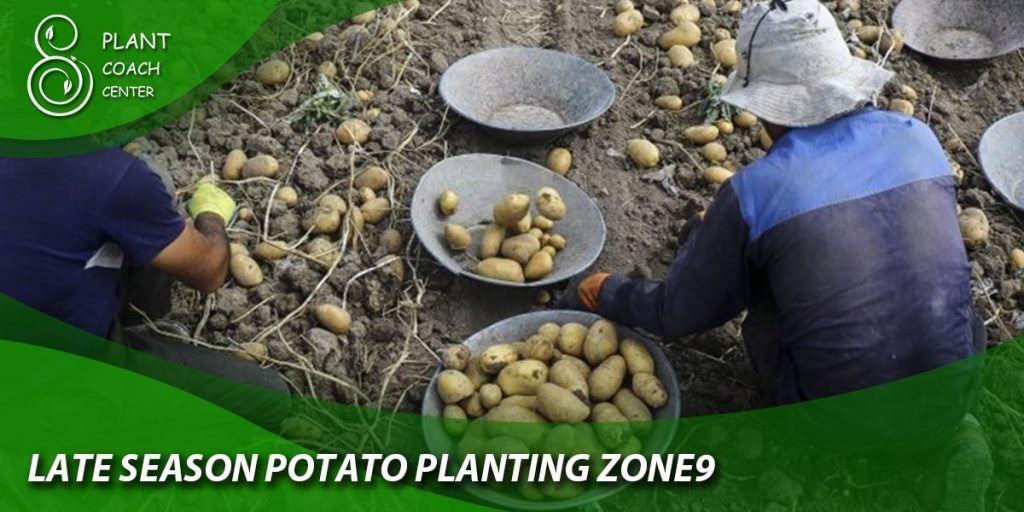
Late Season Potato Planting in Zone 9
Late season planting in Zone 9 is a strategy to extend the potato growing season into fall. Consider the following:
Late Planting Considerations: Late season planting can be challenging due to the potential for high temperatures and pest pressure. However, with proper care, it can yield a fall harvest.
Recommended Varieties: Choose late-maturing potato varieties that are heat-tolerant and have a longer growing cycle. Examples include ‘German Butterball’ and ‘Purple Majesty.’
Preparing the Garden: Prepare the soil by providing ample organic matter and ensuring proper drainage. Consider implementing shade cloth or using mulch to protect plants from excessive heat.
Planting Methods and Techniques
Choosing the right planting method and employing proper techniques can greatly contribute to the success of your potato crop. Consider the following options:
Traditional Hilling Method: This method involves mounding soil around the base of the plants as they grow. It helps promote tuber formation, prevents sunlight from reaching the developing tubers (preventing greening), and improves soil moisture retention.
– Start by planting seed potatoes in furrows or shallow trenches, spaced about 12-15 inches (30-38 cm) apart.
– As the plants grow to a height of 6-8 inches (15-20 cm), gently mound soil around the base, leaving only the top foliage exposed.
– Repeat the hilling process every few weeks until the plants reach maturity.
Container Potato Gardening: If you have limited space or poor soil quality, growing potatoes in containers can be a viable option. Follow these steps:
– Select a container with a minimum depth of 12 inches (30 cm) and ample drainage holes.
– Fill the container with a well-draining potting mix enriched with compost or aged manure.
– Plant the seed potatoes about 4-6 inches (10-15 cm) deep, with the eyes facing upward.
– Place the container in a sunny location and water regularly to keep the soil evenly moist.
– As the plants grow, add more soil or mulch to cover the emerging tubers.
– Harvest by carefully emptying the container and collecting the mature tubers.
Raised Bed Planting: Raised beds offer improved drainage, better soil quality, and easier access for maintenance. Follow these steps for successful raised bed potato planting:
– Prepare the raised bed by loosening the soil and incorporating organic matter.
– Plant the seed potatoes in shallow trenches or spaced evenly across the bed.
– Cover the seed potatoes with soil, leaving a small portion of the foliage exposed.
– Maintain consistent moisture levels throughout the growing season.
– Hill the plants gradually as they grow to promote tuber development.
Common Potato Planting Problems and Solutions
While growing potatoes in Zone 9 can be rewarding, several common problems can hinder their growth. Here are some issues you may encounter and their respective solutions:
Pest Control and Management:
– Colorado Potato Beetle: Handpick and destroy adult beetles, larvae, and eggs. Consider using organic insecticides if infestations are severe.
– Wireworms: Rotate crops regularly and use bait traps to monitor and control wireworm populations.
– Aphids: Use insecticidal soap or neem oil to control aphids. Encourage natural predators like ladybugs and lacewings.
Disease Prevention and Treatment:
– Late Blight: Choose resistant potato varieties, practice good sanitation, and apply fungicides if necessary.
– Early Blight: Practice crop rotation, avoid overhead watering, and remove infected plant debris.
Nutrient Deficiencies and Fertilization:
– Nitrogen Deficiency: Apply a balanced fertilizer with a higher nitrogen content. Supplement with organic matter like compost or aged manure.
– Potassium Deficiency: Use a fertilizer high in potassium or apply potassium sulfate to address deficiencies.
Maximizing Yields in Zone 9 Potato Gardens
To maximize potato yields in your Zone 9 garden, consider implementing the following practices:
Watering: Potatoes require consistent moisture throughout the growing season. Water deeply and evenly, aiming for about 1-2 inches (2.5-5 cm) of water per week. Avoid overwatering, as it can lead to diseases and rot.
Mulching: Apply a layer of organic mulch, such as straw or shredded leaves, around the base of the plants. Mulching helps conserve soil moisture, suppress weeds, and regulate soil temperature.
Fertilization: Conduct a soil test to assess nutrient levels and pH. Based on the results, amend the soil with appropriate fertilizers to provide essential nutrients. Avoid excessive nitrogen fertilization, as it can promote excessive foliage growth at the expense of tuber development.
Crop Rotation: Practice proper crop rotation to reduce the risk of soil-borne diseases and pests. Avoid planting potatoes or other related crops (such as tomatoes) in the same location for consecutive years. Rotate with unrelated crops to break disease cycles.
Pest and Disease Monitoring: Regularly inspect your potato plants for signs of pests or diseases. Early detection allows for prompt intervention, minimizing damage. Remove and destroy any infected or infested plants to prevent the spread of pests and diseases.
Harvesting: Harvest potatoes when they have reached maturity. For most varieties, this occurs when the foliage turns yellow and begins to die back. Gently dig up the tubers, being careful not to damage them. Allow harvested potatoes to cure in a cool, dark, and well-ventilated area for about two weeks before storing.
Storage: After curing, store potatoes in a cool, dry, and dark location with good airflow. Avoid exposure to light, which can cause greening and increase the production of solanine, a natural toxin. Check stored potatoes regularly and remove any that show signs of rot or decay.
Conclusion
Planting potatoes in Zone 9 requires careful consideration of climate, planting times, and suitable varieties. By understanding the growth stages of potatoes, selecting appropriate planting times, and implementing proper planting techniques, you can maximize your chances of a successful harvest.
Additionally, addressing common planting problems, optimizing growing conditions, and following best practices for watering, fertilization, and pest control will contribute to higher yields and healthier plants. With dedication and proper care, you can enjoy a bountiful potato harvest in your Zone 9 garden.
Remember to utilize local resources, seek advice from experienced gardeners, and adapt your approach based on your specific microclimate and garden conditions. This article is brought to you by Plant Coach Center (plantcoachcenter.com), your go-to resource for plant care and gardening advice. Happy potato gardening!


