
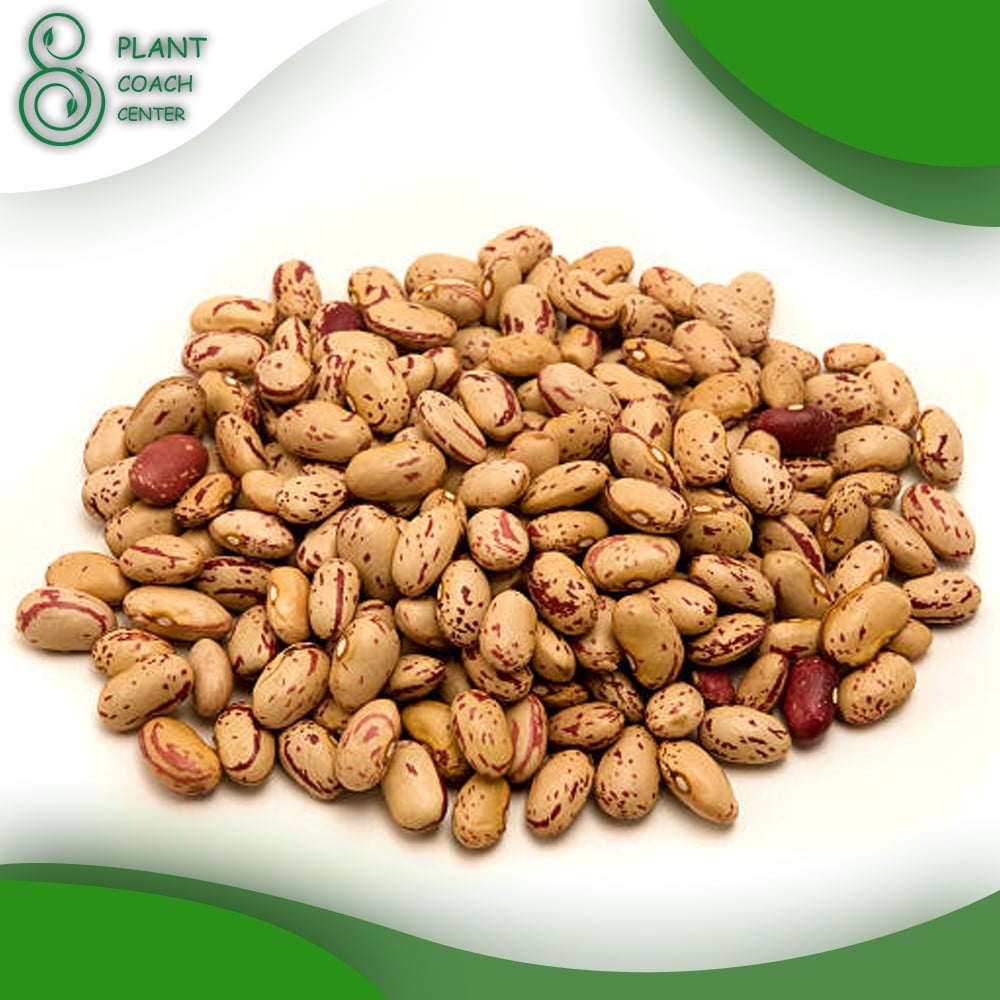
When to Plant Runner Bean Seeds
Welcome to the comprehensive guide to plant coaching and solving common runner bean seed problems. In this article, we will delve into the fascinating world of plant coaching and explore everything you need to know about planting runner bean seeds successfully. Whether you are a seasoned gardener or a beginner, this guide will equip you with the knowledge and techniques to maximize the growth and yield of your runner bean plants.
Before we dive into the specifics of planting runner bean seeds, let’s briefly understand the concept of plant coaching. Plant coaching, also known as plant mentoring or plant consulting, is a practice that involves providing guidance and support to individuals who wish to enhance their gardening skills and overcome plant-related challenges. It aims to empower gardeners with the knowledge and tools necessary to nurture healthy and thriving plants.
At the heart of our discussion lies the versatile and beloved runner bean. Runner beans (Phaseolus coccineus) are popular legumes known for their vibrant flowers and delicious pods. They are a favorite among gardeners due to their ease of cultivation and high nutritional value. By exploring the nuances of runner bean seed planting, we will equip you with the expertise to cultivate these wonderful plants successfully.
Understanding Runner Bean Seeds
To begin our journey, it is important to familiarize ourselves with the anatomy of a runner bean seed. Understanding the structure and characteristics of the seed will provide valuable insights into its germination process and subsequent growth.
The anatomy of a runner bean seed consists of several key components. These include:
Seed Coat: The outer protective layer that encloses the seed.
Embryo: The tiny plant within the seed that will develop into the runner bean plant.
Cotyledons: The seed leaves that provide nourishment to the developing plant.
Radicle: The embryonic root that emerges from the seed upon germination.
Plumule: The embryonic shoot that gives rise to the stem and leaves.
Runner bean seeds come in various types and varieties, each offering unique characteristics and growth patterns. It’s important to select the most suitable seed variety for your specific needs and growing conditions. Varieties such as ‘Scarlet Emperor,’ ‘Painted Lady,’ and ‘White Dutch’ are commonly available and well-regarded among gardeners.
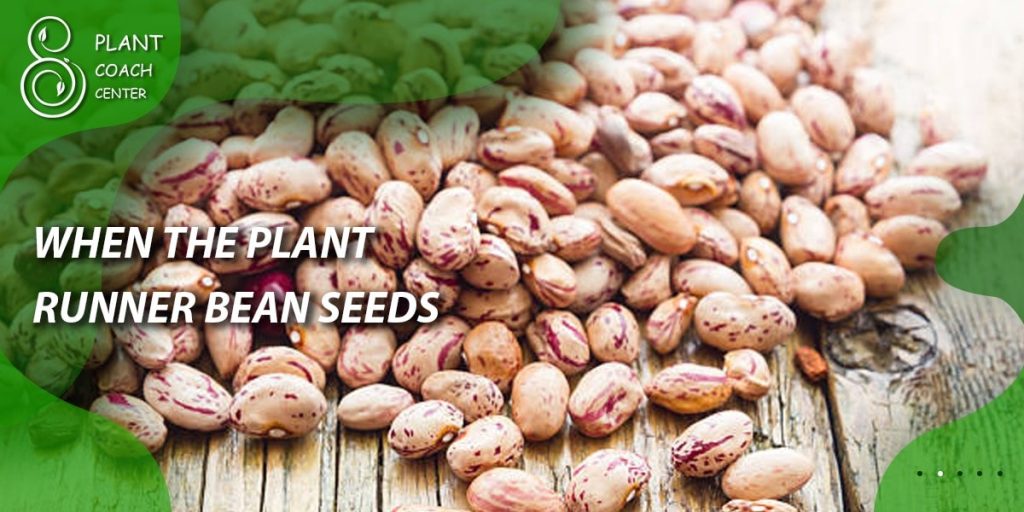
Preparing for Planting Runner Bean Seeds
Before planting your runner bean seeds, it is important to make careful preparations to ensure their success. This section will guide you through the necessary steps, including choosing the right location, preparing the soil, considering timing, and selecting and storing your seeds.
Choosing the Right Location
The location in which you plant your runner bean seeds can greatly impact their growth and productivity. Consider the following factors when selecting a suitable spot:
– Sunlight: Runner beans thrive in full sun, so choose a location that receives at least 6-8 hours of direct sunlight per day.
– Soil Drainage: Ensure the soil has proper drainage to prevent waterlogging, which can lead to root rot.
– Wind Exposure: Protect your runner bean plants from strong winds that can cause damage or hinder their growth.
– Vertical Support: As runner beans are climbing plants, plan for vertical support structures such as trellises or stakes.
Soil Preparation Techniques
Preparing the soil properly is crucial for providing the necessary nutrients and a favorable growing environment for your runner bean seeds. Follow these soil preparation techniques:
- Clear the Area: Remove any weeds, rocks, or debris from the planting area.
- Soil Testing: Conduct a soil test to determine its pH level and nutrient composition. This will help you adjust the soil accordingly.
- Organic Matter: Incorporate well-rotted compost or organic matter into the soil to improve its structure, fertility, and moisture retention.
Timing Considerations for Planting Runner Bean Seeds
The timing of planting runner bean seeds is crucial for their successful germination and growth. Consider the following factors when determining the best time to plant:
– Frost Danger: Runner beans are sensitive to frost, so avoid planting them until all frost has passed.
– Soil Temperature: Ensure that the soil has warmed up adequately, as runner bean seeds prefer temperatures above 50°F (10°C).
– Regional Climate: Take into account your specific climate and the local average temperatures to determine the optimal planting time.
Seed Selection and Storage
Choosing high-quality runner bean seeds is essential for a successful harvest. Consider the following when selecting and storing your seeds:
– Seed Source: Obtain your seeds from reputable suppliers or trusted sources like plantcoachcenter.com to ensure their quality and viability.
– Seed Viability: Check the expiration date or germination rate specified on the seed packet to ensure theseeds are still viable for planting.
– Storage Conditions: Store your runner bean seeds in a cool, dry place, preferably in airtight containers or seed packets. This will help maintain their viability for future use.

Planting Runner Bean Seeds
The method of planting runner bean seeds depends on your preference and the specific conditions of your garden. Let’s explore two common approaches: direct sowing and transplanting.
Direct Sowing vs. Transplanting Runner Bean Seeds
- Direct Sowing: Direct sowing involves planting the runner bean seeds directly into the ground where they will grow. This method is straightforward and suitable for most gardeners.
To directly sow your runner bean seeds, follow these steps:
– Prepare the Soil: Ensure the soil is well-prepared and free from weeds or debris.
– Dig Planting Rows: Create shallow planting rows, spaced about 2-3 feet apart, depending on the variety.
– Plant the Seeds: Place the seeds in the rows, spacing them 4-6 inches apart and covering them with soil, approximately 1-2 inches deep.
– Water the Seeds: Gently water the area to ensure the soil is moist but not waterlogged.
Direct sowing offers the advantage of simplicity and minimizes transplant shock. It’s important to provide adequate support structures, such as trellises or stakes, for the runner bean plants to climb as they grow.
- Transplanting: Transplanting runner bean seedlings can be advantageous in regions with shorter growing seasons or for gardeners who want to gain a head start on the growing process.
To transplant your runner bean seedlings, follow these steps:
– Start Seeds Indoors: Begin by starting your runner bean seeds indoors, approximately 2-3 weeks before the last expected frost date in your area.
– Harden Off Seedlings: About a week before transplanting, gradually expose the seedlings to outdoor conditions by placing them outside for a few hours each day, gradually increasing the duration.
– Prepare the Planting Site: Choose a location with well-prepared soil and vertical support structures.
– Dig Planting Holes: Dig holes that are wide and deep enough to accommodate the root ball of each seedling.
– Transplant Seedlings: Carefully remove the seedlings from their containers, ensuring the root system remains intact. Place each seedling in a planting hole and cover the roots with soil, gently firming it around the base.
– Water Thoroughly: Water the newly transplanted seedlings generously to settle the soil and promote root establishment.
Transplanting runner bean seedlings allows for precise placement and control over the growing environment. However, it requires additional care to minimize transplant shock and ensure successful establishment.
Environmental Factors Affecting Runner Bean Seeds
Runner bean seeds require specific environmental conditions to germinate and thrive. Understanding the ideal temperature, light, and water requirements will help you create an optimal environment for your plants. Let’s explore these factors in detail.
Temperature and Light Requirements
Runner bean seeds prefer warm temperatures and thrive in full sunlight. Consider the following temperature and light requirements:
– Germination Temperature: Runner bean seeds require a soil temperature of around 60-80°F (15-27°C) for successful germination. Warmer temperatures generally promote faster germination.
– Sunlight: Ensure your runner bean plants receive at least 6-8 hours of direct sunlight each day. Insufficient light can result in weak and leggy growth.
When planting runner bean seeds, monitor the soil temperature and choose a planting time that aligns with the optimal temperature range. Additionally, select a sunny location in your garden or provide supplemental light if needed.
Watering Techniques for Optimal Growth
Proper watering techniques are essential for the healthy growth of runner bean plants. Consider the following watering guidelines:
– Moisture Balance: Maintain a consistent moisture balance in the soil by watering evenly and avoiding waterlogging or excessive dryness.
– Deep Watering: Water deeply, ensuring the water reaches the root zone. Shallow watering can lead to shallow root development.
– Watering Schedule: Monitor the moisture levels in the soil and adjust your watering schedule accordingly. Aim to keep the soil consistently moist, but not saturated.
Regularly check the soil moisture and adjust your watering practices based on the specific needs of your runner bean plants. Avoid overwatering, as it can lead to root rot and other problems.
Common Runner Bean Seed Problems and Solutions
While runner beans are relatively easy to grow, they can encounter certain problems during their lifecycle. By being aware of these issues and their respective solutions, you can address them promptly and ensure the health and productivity of your runner bean plants. Let’s explore some common problems and their solutions:
- Disease and Pest Infestation
– Disease: Runner beans can be susceptible to diseases such as powdery mildew, bacterial blight, and bean rust. These diseases can cause leaf discoloration, spots, and overall plant decline.
– Pests: Common pests that affect runner beans include aphids, slugs, snails, and bean beetles. They can cause damage to leaves, flowers, and pods.
Solutions:
– Practice Proper Sanitation: Keep the garden clean and remove any infected or infested plant material promptly to prevent the spread of diseases and pests.
– Crop Rotation: Rotate your crops each year to minimize the buildup of soil-borne diseases and pests.
– Natural Predators: Encourage beneficial insects, such as ladybugs and lacewings, which feed on pests. Consider using organic pest control methods like neem oil or insecticidal soap.
– Disease-Resistant Varieties: Choose disease-resistant runner bean varieties when available to minimize the risk of infection.
- Nutrient Deficiencies
– Nitrogen Deficiency: Yellowing of leaves, stunted growth, and reduced pod production can indicate a nitrogen deficiency.
– Phosphorus Deficiency: Poor root development, purplish discoloration of leaves, and reduced flowering and fruiting are signs of phosphorus deficiency.
Solutions:
– Soil Testing: Conduct regular soil tests to determine nutrient deficiencies and amend the soil accordingly.
– Fertilization: Apply balanced organic fertilizers or compost to provide essential nutrients to the plants. Follow recommended application rates and timing.
– Mulching: Mulch around the base of runner bean plants with organic materials to conserve moisture and improve soil fertility.
- Improper Pollination and Fruit Set
– Insufficient Pollinators: Inadequate pollination can result in poor fruit set and misshapen or underdeveloped pods.
Solutions:
– Attract Pollinators: Create a pollinator-friendly garden by planting flowers that attract bees, butterflies, and other pollinators.
– Hand Pollination: If pollinators are scarce, you can manually transfer pollen from flower to flower using a small brush or cotton swab.
- Overcrowding and Lack of Support
– Overcrowding: Planting runner bean seeds too closely can lead to competition for nutrients, sunlight, and airflow, resulting in stunted growth and reduced yields.
– Lack of Support: Runner beans are climbing plants that require vertical support. Without appropriate structures, they may sprawl on the ground, making harvesting difficult and increasing the risk of disease.
Solutions:
– Proper Spacing: Follow the recommended spacing guidelines for your specific runner bean variety to allow each plant ample space for growth.
– Install Support Structures: Set up trellises, stakes, or bean poles to provide vertical support for the runner bean plants. This will promote proper growth, airflow, and easier harvest.
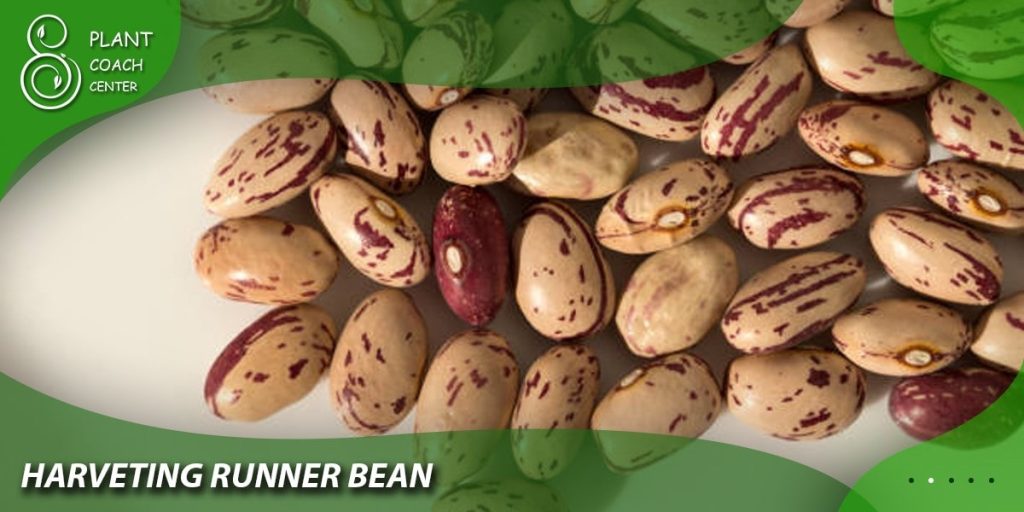
Harvesting Runner Beans
Once your runner bean plants have matured and produced pods, it’s time to harvest and enjoy the fruits of your labor. Harvesting runner beans at the right time ensures optimal flavor and tenderness. Follow these guidelines for a successful harvest:
– Regular Monitoring: Check the plants regularly for ripe pods. Runner beans are best harvested when the pods are young, tender, and before the seeds inside become too large.
– Harvesting Technique: Hold the stem of the pod firmly and snap it off from the plant. Alternatively, you can use a sharp pair of garden shears or scissors to cut the pods.
– Harvesting Frequency: Pick the runner beans every few days to encourage continuous production. Leaving mature pods on the plant can reduce further flowering and fruiting.

Conclusion
In this comprehensive guide to plant coaching and solving common runner bean seed problems, we have explored the fascinating world of runner bean cultivation. From understanding the anatomy of runner bean seeds to preparing the soil, selecting the right planting method, and addressing potential issues, we have covered the essential aspects of successful runner bean gardening.
By implementing the techniques and solutions discussed here, you can maximize the growth, health, and productivity of your runner bean plants. Remember to create an optimal environment by providing adequate sunlight, moisture, and nutrition. Regular monitoring, proper spacing, and support structures will help you address common problems and ensure a bountiful harvest of delicious runner beans.
Visit plantcoachcenter.com for further resources and expert guidance on plant coaching and all your gardening needs. Happy gardening and may your runner bean journey be filled with joy and abundant harvests!