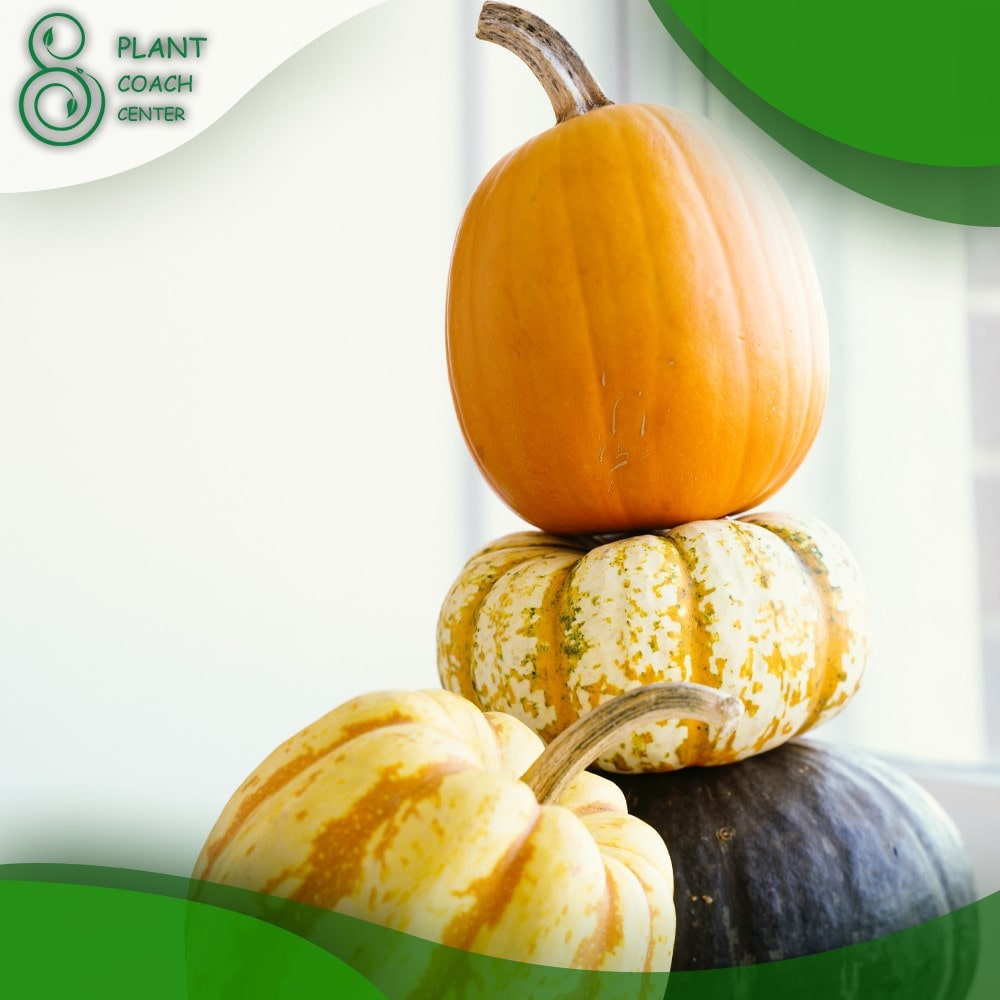
When to Plant Squash Seeds
Squash, with its diverse varieties and delicious produce, has become a favorite among gardeners. Knowing the appropriate time to plant squash seeds is crucial for achieving a bountiful harvest.
In this comprehensive guide, we will explore the factors affecting planting time, different squash varieties, indoor seed starting, direct sowing in the garden, common squash problems, maximizing yields, and troubleshooting solutions. By the end, you’ll have the knowledge and confidence to cultivate thriving squash plants in your garden.

Understanding Squash Varieties
Squash comes in various types, each with unique characteristics and growing requirements. Understanding these varieties is essential for successful cultivation. Let’s explore the different types of squash:
. Summer Squash:
– This type includes varieties like zucchini, yellow crookneck, and pattypan squash.
– Characteristics: Fast-growing, tender, and harvested when immature.
– Suitable for: Warm climates and shorter growing seasons.
. Winter Squash:
– Examples include butternut, acorn, and spaghetti squash.
– Characteristics: Hard rinds, longer storage life, and harvested when mature.
– Suitable for: Cooler climates and longer growing seasons.
. Specialty Squash:
– This category includes unique varieties like kabocha, delicata, and hubbard squash.
– Characteristics: Diverse shapes, colors, and flavors.
– Suitable for: Gardeners looking for something different and adventurous.

Factors Affecting Planting Time
Several factors come into play when determining the ideal planting time for squash. These considerations will ensure that your squash plants have the best chance of thriving. Let’s examine these factors:
Climate Considerations for Squash Cultivation
To determine the optimal planting time, it’s crucial to understand your local climate and its impact on squash growth. Consider the following climate-related factors:
. Determining Frost Dates and Last Expected Frost:
– Before planting squash seeds, know the average date of the last expected frost in your region.
– Squash plants are sensitive to frost, and exposing them to freezing temperatures can be detrimental.
– Consult local gardening resources or the nearest agricultural extension office to determine frost dates specific to your area.
. Ideal Temperature Ranges for Squash Growth:
– Squash plants thrive in warm soil and air temperatures.
– The optimal soil temperature for germination ranges from 70°F to 95°F (2°C to 35°C).
– Air temperatures above 60°F (5°C) are generally preferred for successful growth and fruit development.
Soil Conditions and Preparation for Planting Squash Seeds
Preparing the soil is crucial for healthy squash plants. Consider the following soil-related factors:
. Soil Temperature Requirements for Germination:
– Squash seeds require warm soil temperatures to germinate successfully.
– Soil temperatures should be consistently above 60°F (5°C) for optimal germination.
– Use a soil thermometer to monitor the temperature and ensure it is suitable for planting.
. Soil Fertility and Amendments for Optimal Growth:
– Squash plants are heavy feeders and benefit from fertile, well-draining soil.
– Conduct a soil test to assess nutrient levels and pH.
– Amend the soil with organic matter such as compost or well-rotted manure to improve fertility and structure.
Planning and Timing
Creating a planting schedule and timing your squash planting correctly are essential for maximizing your harvest. Let’s delve into the details:
Preparing a Planting Schedule and Timeline
. Determine Your Planting Window:
– Consider your local climate and the recommended growing season for squash.
– Identify the number of frost-free days in your area and estimate the time needed for squash plants to mature.
– Calculate the approximate duration from seed sowing to harvest for the specific varieties you plan to grow.
. Start with the Frost Date:
– Begin by marking your average last expected frost date on the calendar.
– Count backward from the frost date to determine the ideal time to start indoor seedlings or direct sow in the garden.
– Refer to seed packets or reliable gardening resources for specific information on each squash variety’s recommended planting time.
Determining the Appropriate Time for Planting Squash Seeds
The timing of planting squash seeds depends on whether you choose to start seeds indoors or directly sow them in the garden. Let’s explore both methods:
Indoor Seed Starting
Starting squash seeds indoors provides several advantages, including extended growing seasons and controlled environments. Follow these steps for successful indoor seed starting:
. Seed Selection and Soaking (if applicable):
– Choose high-quality squash seeds from reputable sources.
– Some squash seeds benefit from soaking in water before planting to enhance germination rates. Refer to seed packets or online resources for specific soaking instructions.
. Seedling Containers and Soil Mix Preparation:
– Select appropriate seedling containers such as seed trays or individual pots.
– Prepare a well-draining soil mix suitable for seed starting by combining sterile seed-starting mix, compost, and perlite or vermiculite.
. Germination Conditions and Care:
– Sow the squash seeds in the prepared containers according to the recommended planting depth.
– Place the containers in a warm and well-lit location, preferably under grow lights or near a sunny window.
– Maintain consistent moisture levels by watering gently or using a misting spray bottle.
– Provide adequate ventilation to prevent damping-off or fungal diseases.
. Transplanting Seedlings Outdoors:
– When the seedlings have developed a few sets of true leaves and the danger of frost has passed, it’s time to transplant them into the garden.
– Harden off the seedlings by gradually exposing them to outdoor conditions over a period of 7-0 days.
– Choose a sunny location in the garden with well-draining soil.
– Dig holes and space the transplants according to the specific spacing requirements for the squash variety.
– Gently remove the seedlings from their containers, being careful not to damage the roots, and place them in the prepared holes.
– Backfill the holes, firm the soil gently around the seedlings, and water thoroughly.
Direct Sowing in the Garden
Direct sowing squash seeds in the garden is a straightforward method that works well for many gardeners. Follow these steps for successful direct sowing:
. Site Selection and Soil Preparation:
– Choose a sunny location in the garden that receives at least 6-8 hours of direct sunlight per day.
– Ensure the soil is well-draining, fertile, and free from debris or weeds.
– Amend the soil with organic matter, such as compost, to improve its structure and fertility.
. Proper Spacing and Depth for Planting Squash Seeds:
– Refer to the specific spacing requirements mentioned on the seed packets.
– Generally, sow squash seeds inch (2.5 cm) deep and space them 2-3 feet (60-90 cm) apart, depending on the variety.
. Watering and Soil Moisture Management:
– After planting, water the soil gently but thoroughly to ensure good seed-to-soil contact.
– Keep the soil consistently moist but not waterlogged during the germination and early growth stages.
– Use mulch to help retain soil moisture, suppress weeds, and regulate soil temperature.
. Mulching and Weed Control:
– Apply a layer of organic mulch around the base of the plants once they have established.
– Mulch helps conserve moisture, suppress weed growth, and regulate soil temperature.
– Regularly inspect the garden bed and remove any competing weeds to prevent them from robbing nutrients and moisture from the squash plants.
. Thinning and Providing Support for Growing Plants:
– Once the seedlings have emerged and reached a few inches in height, thin them out to maintain the recommended spacing between plants.
– Thin out weaker or overcrowded seedlings, leaving the healthiest and most vigorous ones.
Common Squash Problems and Troubleshooting Solutions
Despite your best efforts, squash plants may encounter various challenges during their growth. Here are some common problems and possible solutions to help you troubleshoot:
. Pest Infestations:
– Common pests that affect squash plants include squash bugs, cucumber beetles, and vine borers.
– Monitor your plants regularly for signs of pest activity, such as wilting, yellowing leaves, or insect presence.
– Employ organic pest control methods like handpicking, using insecticidal soaps or neem oil, or introducing beneficial insects like ladybugs or lacewings.
. Disease Issues:
– Squash plants are susceptible to diseases like powdery mildew, bacterial wilt, and various fungal infections.
– To prevent diseases, practice crop rotation, provide adequate spacing between plants for good air circulation, and avoid overhead watering.
– If disease symptoms appear, promptly remove affected plant parts, treat with appropriate organic fungicides, and ensure proper sanitation in the garden.
. Nutrient Deficiencies:
– Squash plants require balanced nutrition for healthy growth and fruit development.
– Monitor your plants for signs of nutrient deficiencies, such as yellowing leaves or stunted growth.
– Maintain soil fertility by incorporating organic matter and using balanced organic fertilizers.
– Conduct a soil test to identify specific nutrient deficiencies and adjust your fertilizer application accordingly.
. Pollination Issues:
– Squash plants rely on pollination to produce fruit.
– Factors like low bee activity or poor weather conditions can hinder pollination.
– To encourage pollination, consider hand-pollinating the flowers using a small brush or by transferring pollen manually from male to female flowers.
. Environmental Stress:
– Squash plants can be sensitive to environmental stressors like extreme heat, drought, or waterlogged soil.
– Provide consistent watering, especially during dry periods, to prevent stress from water fluctuations.
– Implement proper irrigation techniques, such as watering at the base of the plants, to avoid wetting the foliage excessively.
Maximizing Yields and Harvesting Squash
To maximize your squash harvest, consider the following tips:
. Regular Harvesting:
– Harvest squash regularly to encourage continuous fruit production.
– Summer squash should be harvested when young and tender, typically when they reach 6-8 inches (5-20 cm) in length.
– Winter squash should be left on the vine until fully mature and the rinds have hardened.
. Proper Storage:
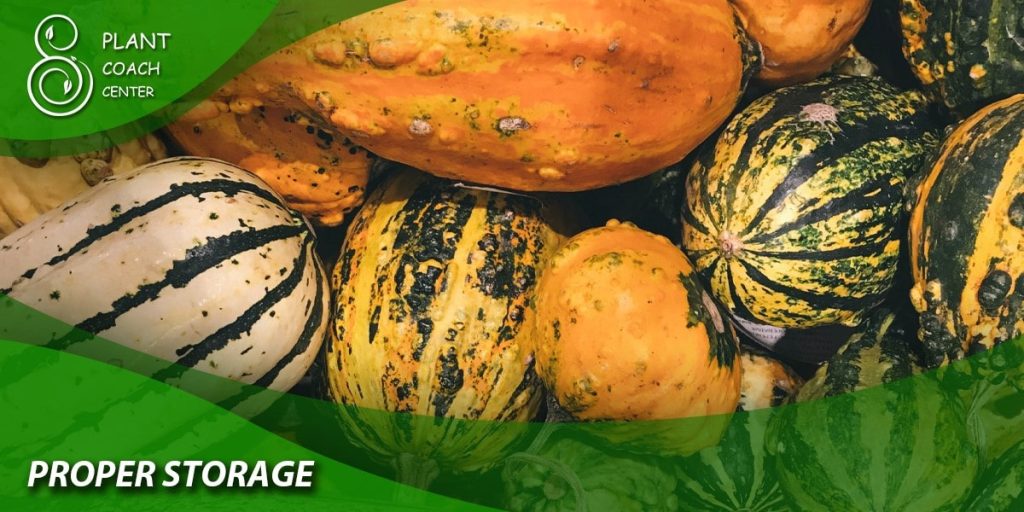
– Winter squash has excellent storage potential.
– Harvest winter squash before the first frost and cure them in a warm, dry place for a few weeks to enhance their flavor and extend their storage life.
– Store winter squash in a cool, dry area with good ventilation.
Conclusion
Successfully growing squash requires careful consideration of planting time, variety selection, climate conditions, soil preparation, and proper care. By understanding the factors affecting planting time, implementing appropriate planting methods, troubleshooting common problems, and adopting strategies to maximize yields, you can enjoy a bountiful harvest of delicious squash. Remember to keep a watchful eye on your plants, provide them with optimal growing conditions, and adapt your practices as needed.
Remember to visit PlantCoachCenter.com for more information and resources on plant coaching and gardening tips. Happy gardening!


